Back Button Focus

Just a couple of personal thoughts on Back Button Focus. I’m surprised at the number of people who don’t use this tool – it allows you to have a lot more control over what the camera is doing…
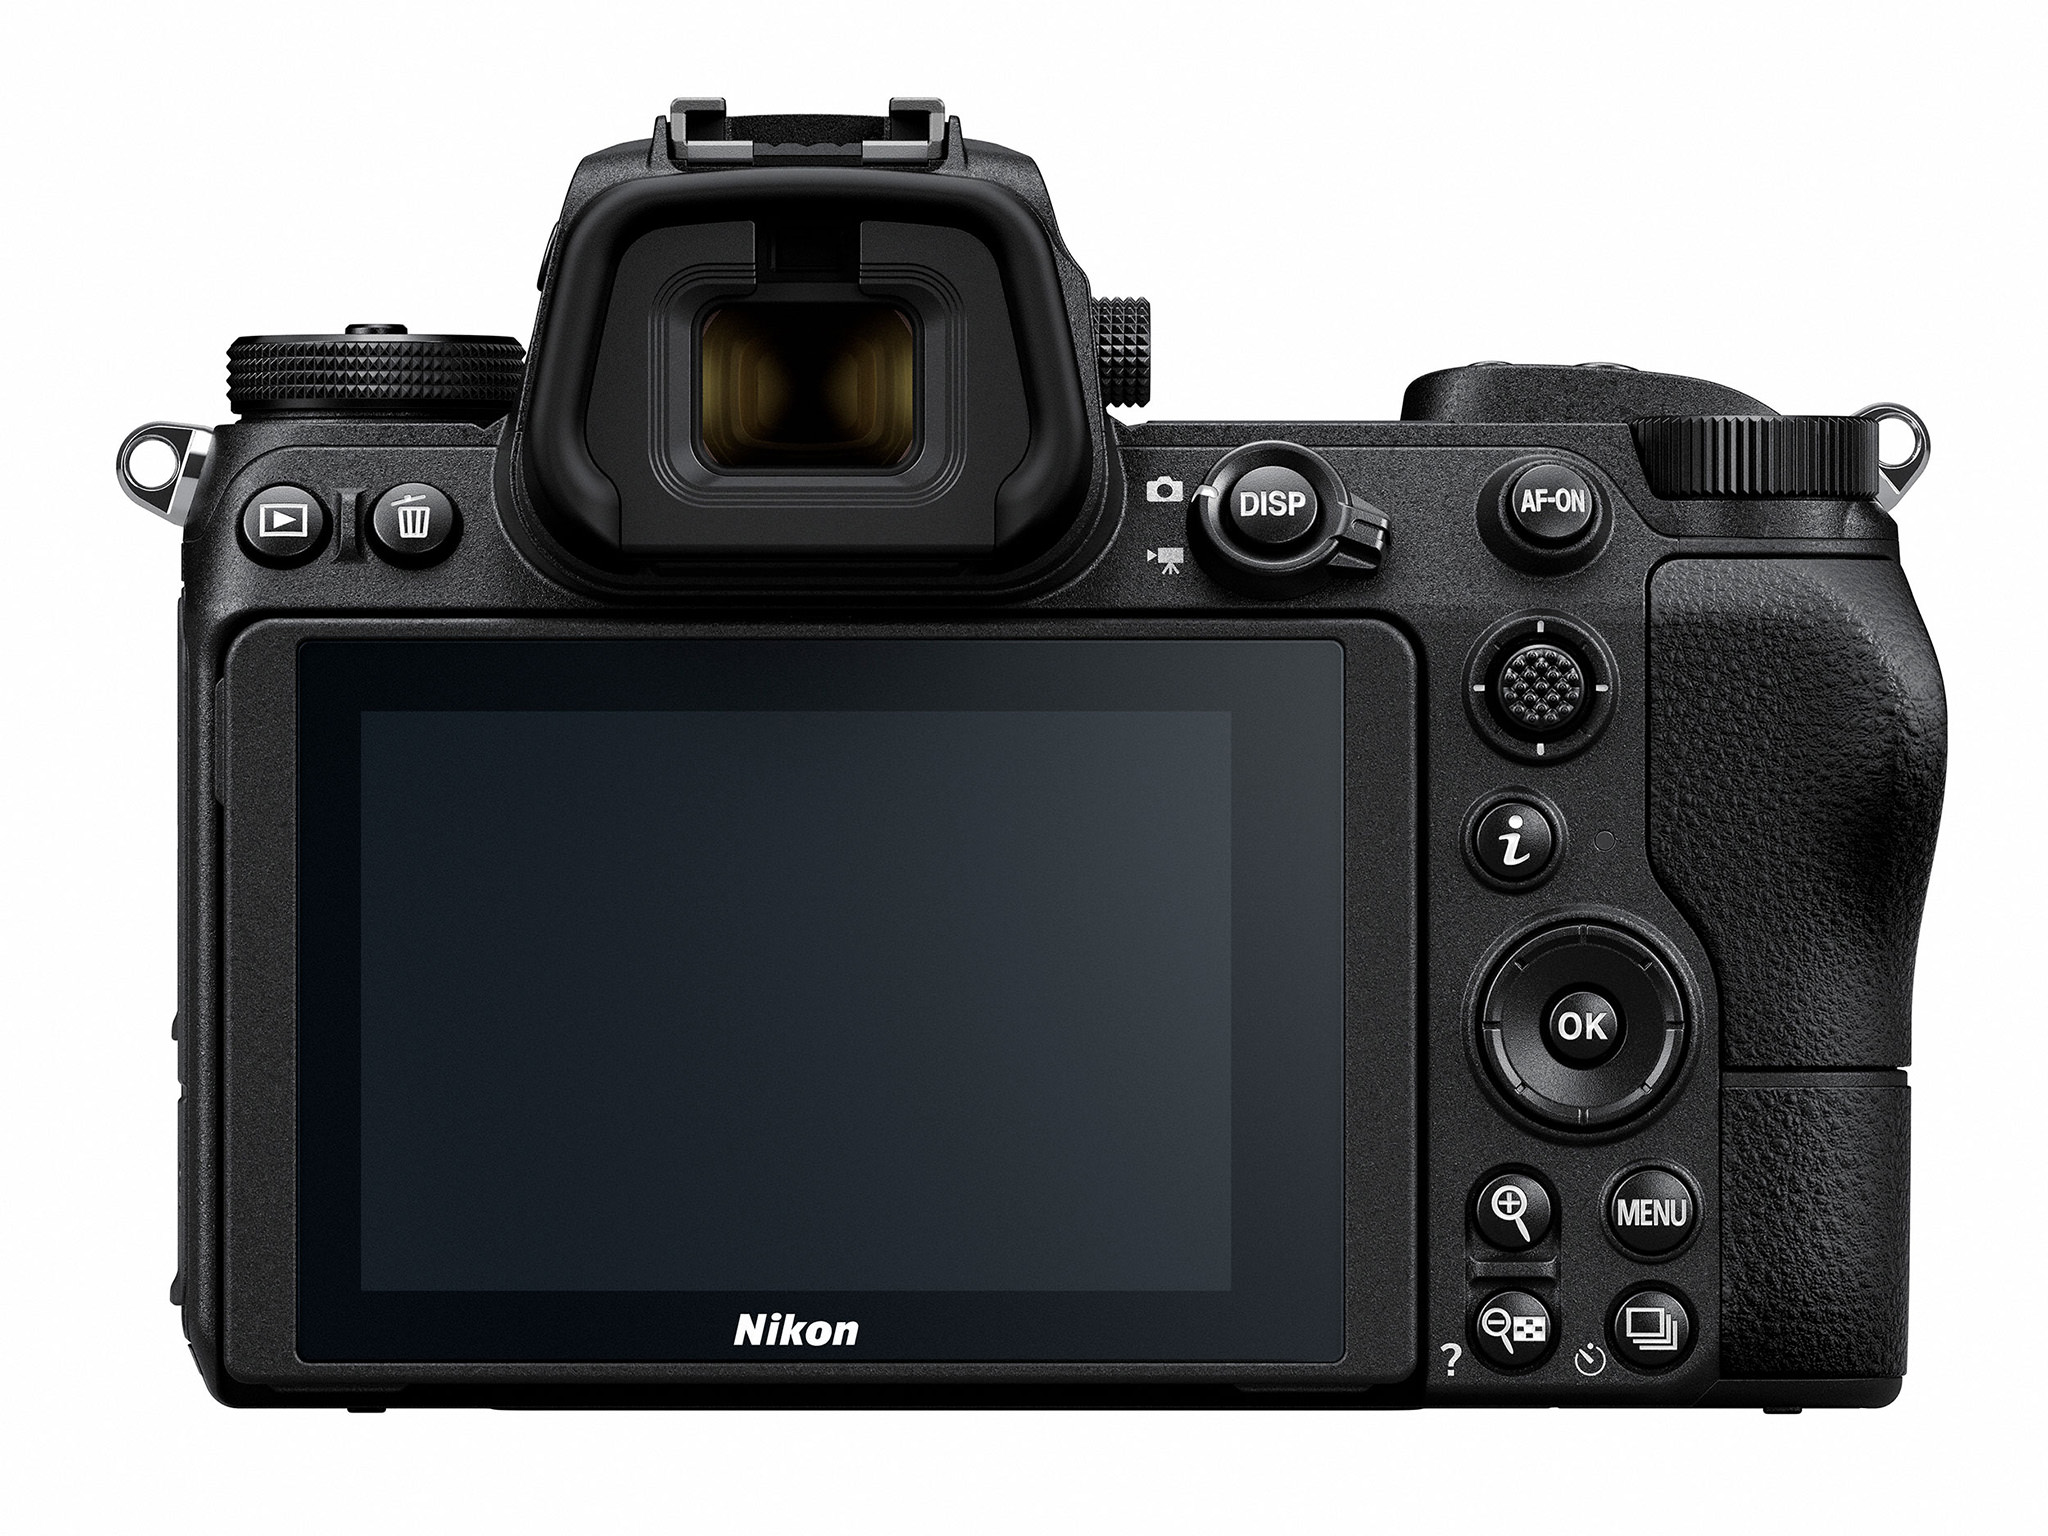
This is a NIKON mirrorless camera (but many NIKON cameras are similar) – and at the top right is a little button marked AF-ON. When you receive the camera, the default setting for the AF activation is the shutter button. To reassign this to the AF-ON button, go to the Custom Setting Menu and scroll down to a7 AF Activation.
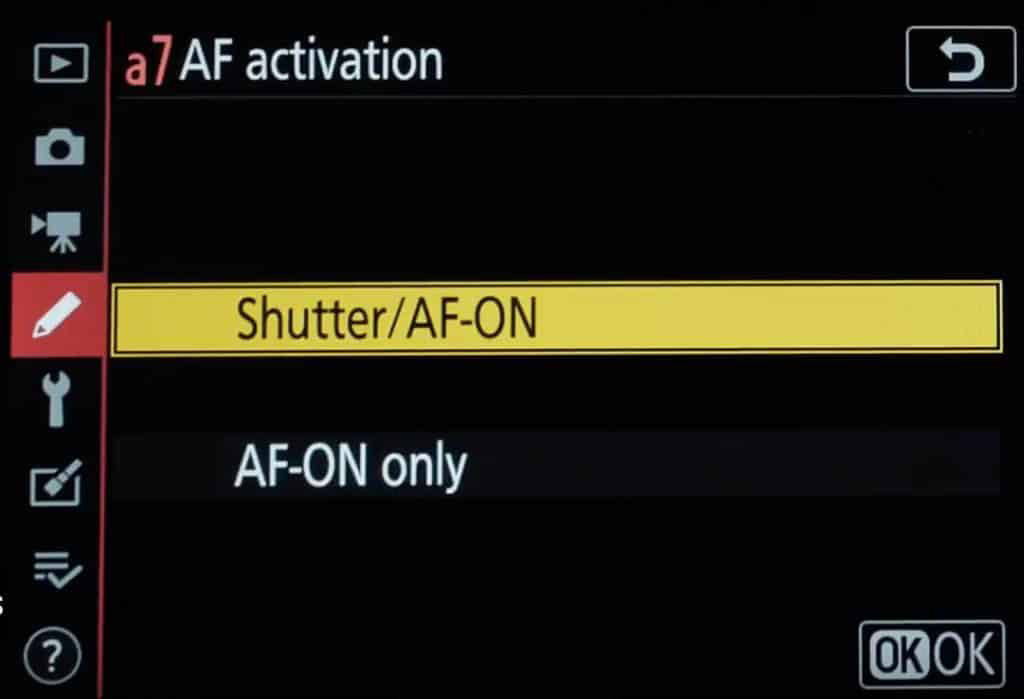
a7 AF Activation Menu

Now you can select AF-ON only which will decouple the AF activation from the shutter button and assign it to the AF-ON button instead. Once you have scrolled to AF-ON only, click on the right arrow button which will display the Out-of-focus release menu. Select Enable
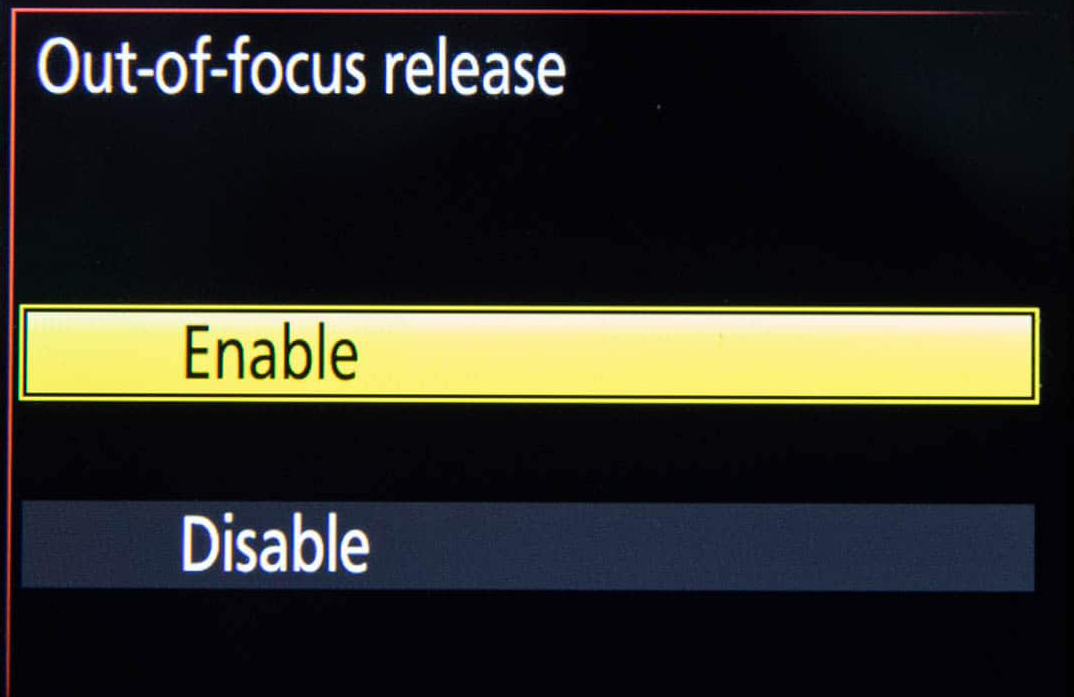
This allows the camera to make a picture even if the subject isn’t perfectly sharp.

Now all this actually gives you a lot more than just moving buttons.

1 : A first pressure on the shutter button will now lock the exposure setting.

2 : If the camera is setup correctly, with the Focus Mode (Photo Shooting Menu) set to AF-C Continuous AF, you will be able to control BOTH the exposure AND the autofocus at the same time, but independently.

Think of the flexibility – you can lock (or not) the exposure while independently controlling what the AF is doing – this is even more important when using the 3D AF tracking functions.

This takes a bit of getting used to, but everyone I’ve spoken to that has adopted this system are firmly convinced it’s the only way to go!


3D Squirrel

In an effort to test the new 3D Tracking firmware update, I waited for our ‘tame’ squirrel to come and find his breakfast this morning…this is the result

Squirrel – using 3D Tracking – NIKON Z7 105mm f/2.8 at f/8

I think you’ll agree – it’s sharp. And given the rapidity of the squirrels movements, I have to say I’m impressed…and eager to see what I can manage with circus performers who, agreed, move fast….but not that fast!

NIKON Z Series Firmware Updates

The latest series of NIKON Z series firmware updates (Z6/7 3.3, Z6ll 1.2) have finally convinced me to try 3D Tracking autofocus. The new firmware has made this much more precise and therefore more interesting to me, particularly with circus performers hurling themselves all over the place in front of my lens…

These settings were available from the previous firmware update – this update has just made them more accurate.

The 3D Tracking works very differently depending on which Focus Mode has been selected, and this can make a huge difference to the way you capture your images.

AF-S Single AF – once you have identified/selected the area/object to track, the camera will automatically follow the selection until you press the button to which you have assigned the 3D Tracking, turning it off – turning it again on allows you to change your selection.

AF-C Continuous AF – you must keep your finger on the AF-ON button to ‘force’ the 3D Tracking to follow the subject. Releasing the AF-ON button effectively resets the selection and you can select another area.

There are just three steps to setting up 3D Tracking autofocus.

Step 1 – In the Custom Setting Menu, select A7 – AF Activation and select AF-ON only. This will turn on the AF-ON button for focusing.(This should ALWAYS be activated, IMHO)

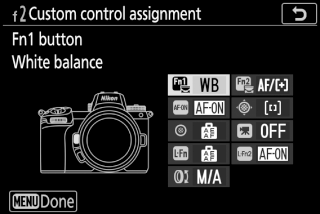
Step 2 – Still in the Custom Setting Menu, select F2 – Custom control assignment and set one of the buttons to Subject Tracking – I’ve chosen the Fn2 button by the lens

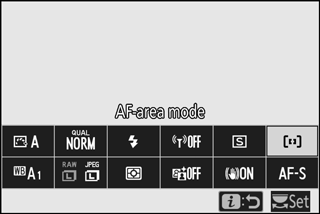
Step 3 – change the Focus mode to Auto-area AF – this is done by clicking the ‘I’ (info) button and using the joystick to navigate to the Focus mode logo – click on that and the choice of focus modes is displayed – select Auto-Area AF (at the right)

Using 3D tracking is relatively simple, but takes a bit of getting used to. When the Fn2 (in my example) button is pressed a large white square outline lights up in the middle of the viewfinder – point the camera to the area/object you wish to track and press the AF-ON button. Depending on the Focus Mode selected (AF-S Single point or AF-C Continuous) the camera will react differently.

As previously stated, in AF-S mode, once you have identified/selected the area/object to track, the camera will automatically follow the selection until you press the button to which you have assigned the 3D Tracking, turning it off – turning it again on allows you to change your selection.

In AF-C mode, you must keep your finger on the AF-ON button to ‘force’ the 3D Tracking to follow the subject. Releasing the AF-ON button effectively resets the selection and you can select another area.

The nice thing is that all of this can be saved to one of the ‘U’ settings – you could, for example, set U2 to Auto ISO, normal (spot) AF and U3 to the same Auto ISO but with 3D tracking – that way if the movement was too rapid for the camera using 3D tracking, you can quickly change back to ‘regular’ continuous AF with the U2 setting.

At my next circus residence I’ll be able to do some real-world testing of these two options – I’ll let you know how I get on.

Inital Setup

With the arrival of any new camera body, the first thing that has to be done is the initial setup. Camera settings are vital to making the camera useful and easy to use, and once you’ve fine tuned your camera, it’s handy to be able to recall these settings if need be.

Nikon, for instance, allow the camera settings to be saved to the memory card. This is very convenient if you have more than one camera body of the same type, as ‘cloning’ the original settings on to a new body is very easy.

This said, Nikon in their wisdom have decided that the second generation ‘Z’ series mirrorless bodies are NOT the same as the first series. This is frustrating as I have three setups which I use as ‘User’ settings, and instead of just copying these to a memory card and reloading them on the new body, I have to go through every setting, one by one.

With the arrival of the second generation Z6 camera body, I have setup the camera to use my ‘go to’ work settings as the ‘U2’ user defined function. ‘U1’ is for basic day-to-day settings (100 ISO, AF-C etc.) with the work settings on Auto-ISO (6400 ISO), exposure correction -1 etc.

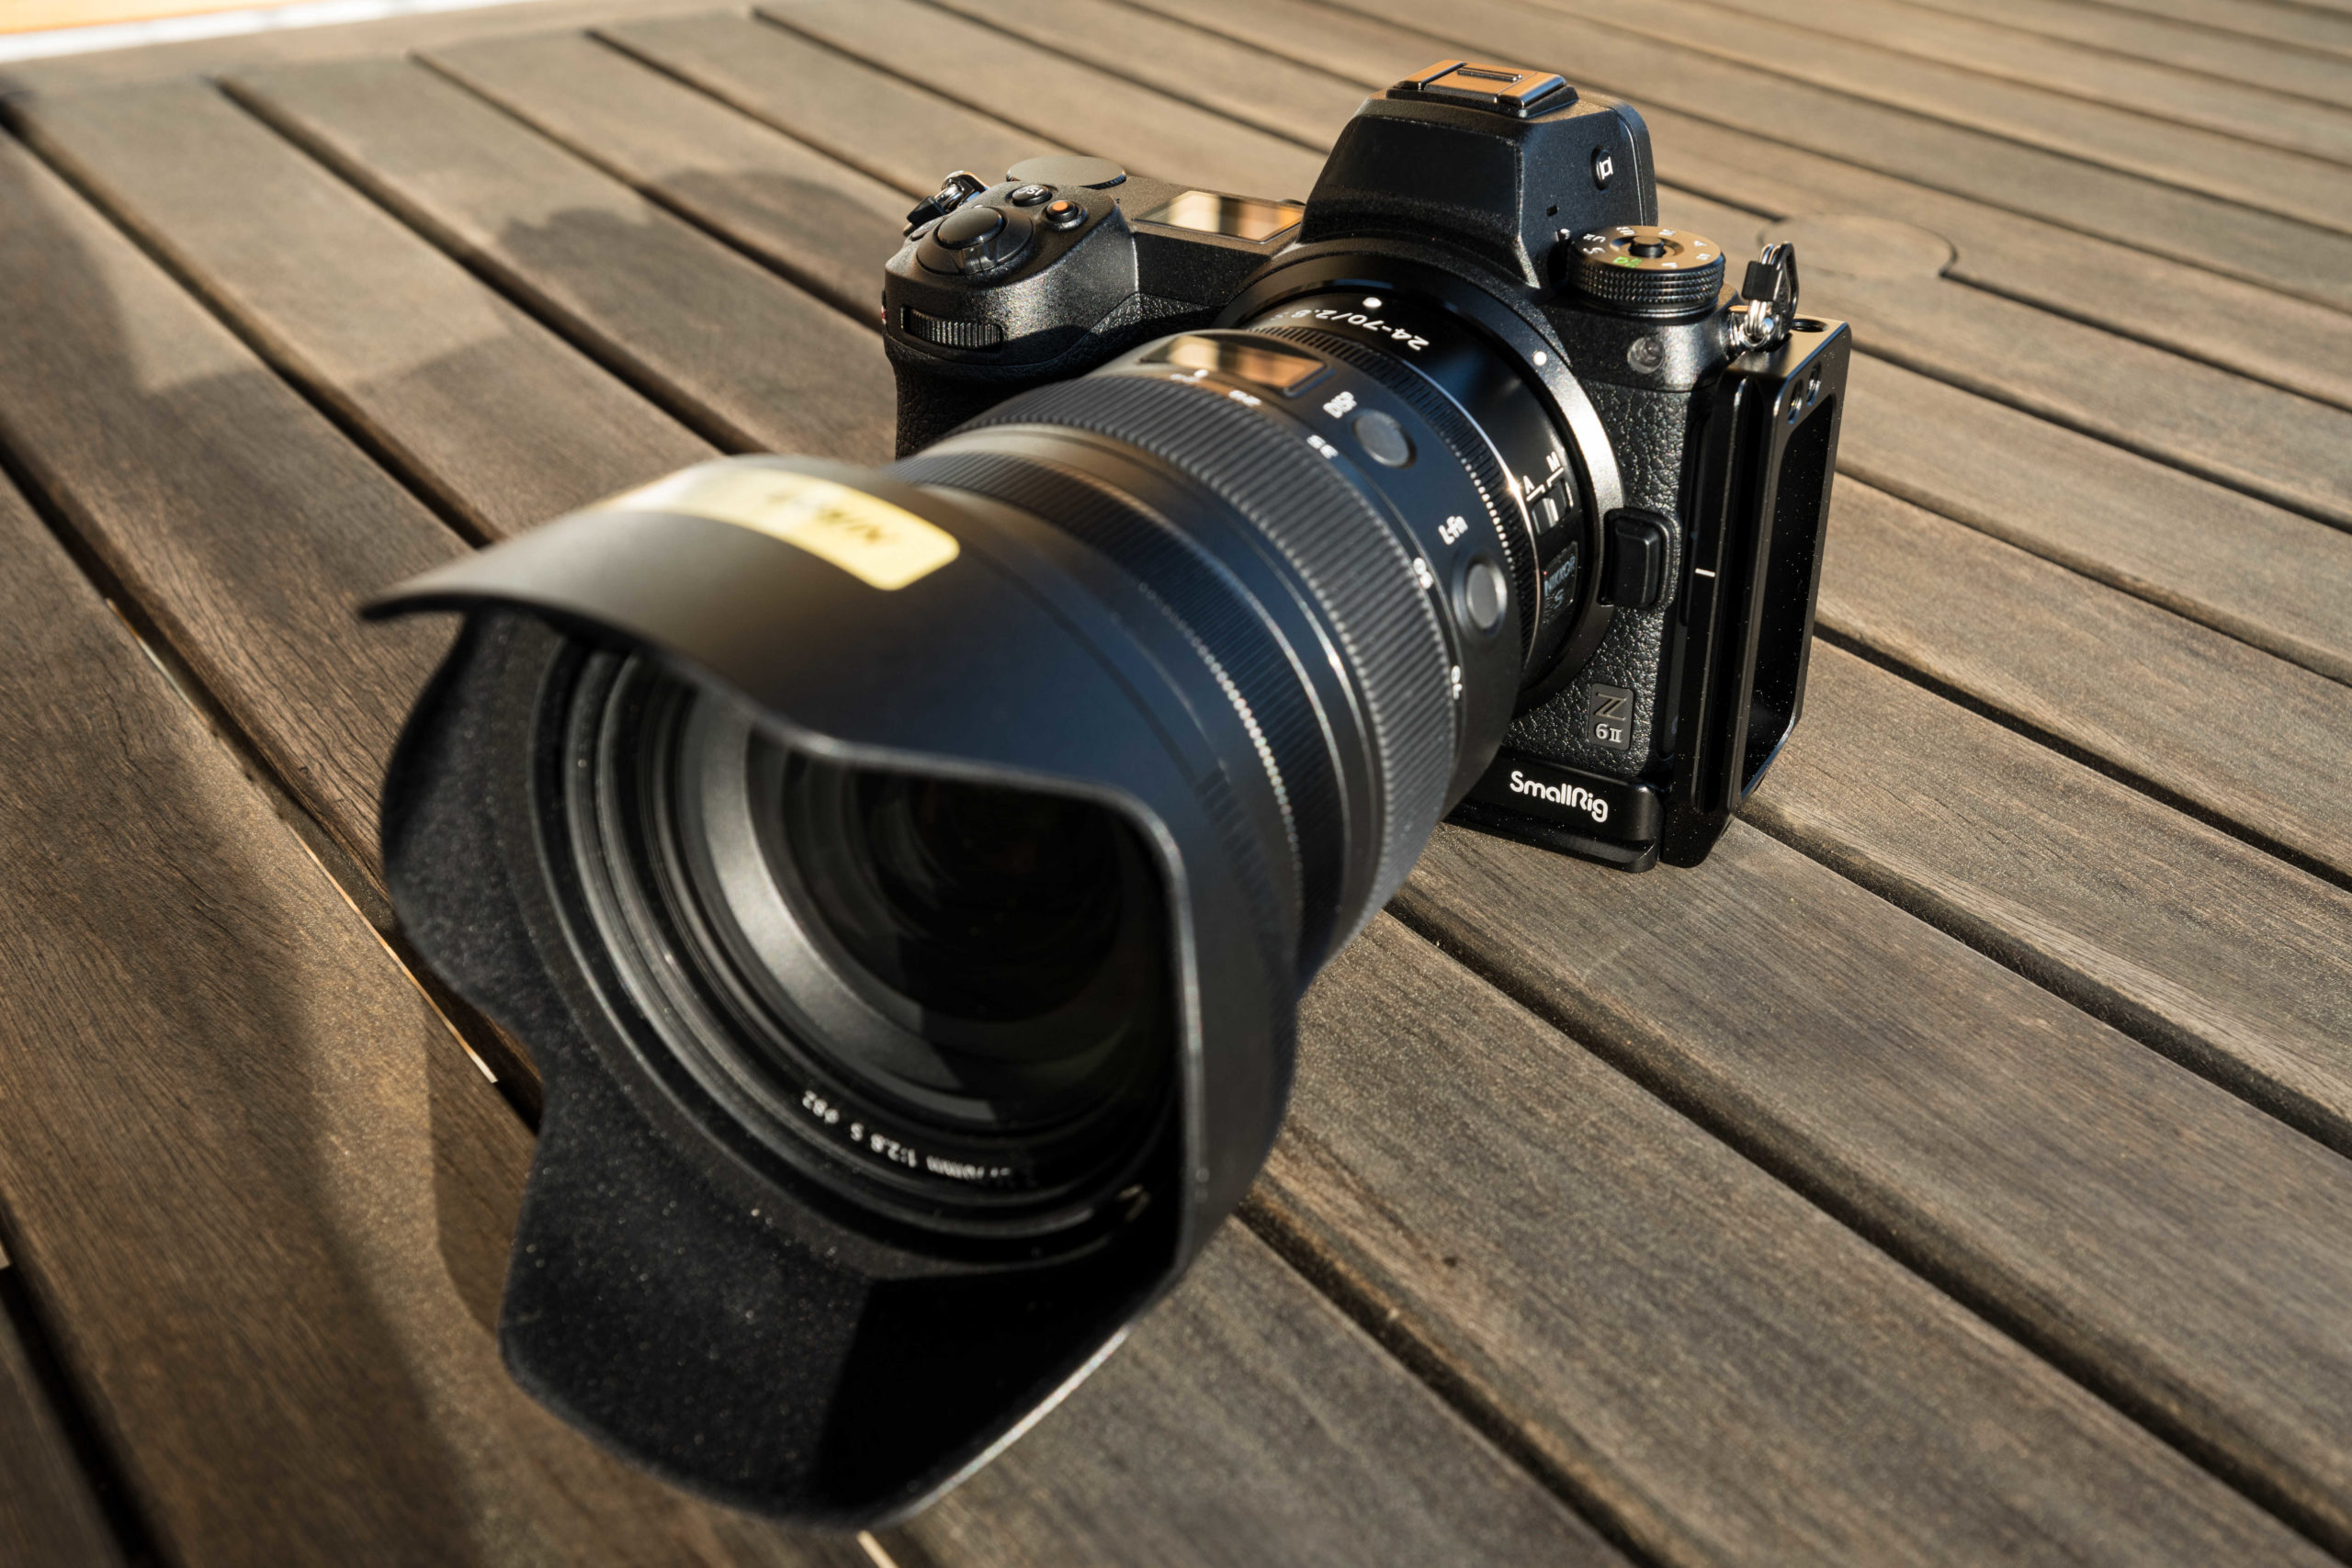
NIKON Z6ll 24-70mm f/2.8

Bear in mind there are a couple of possible errors that can occur when you’re programming the ‘U’ buttons. One of these is that certain camera settings cannot be modified between the ‘U’ numbers – the top screen, for example – if you decide, like me, to turn off the top screen for my U2 value, it’ll be off for ALL of the User settings – so double check after having selected or deselected values.

Another annoying thing is that the camera settings are recorded according to the initial position of the Mode dial – so if you inadvertently leave the Mode dial on ‘P’, make the setup changes and SAVE the settings to a ‘U’ button, the selected Mode will be P – if you never use P and always use A, this means you then have to go back and start again…believe me, it’s a PITA.