I’ve used MANFROTTO tripods for some time now – I have two, a large 055 series model and a smaller carbon fibre 190 series. The base is obviously very important, but the head is just as important in my view too.
I came across a Manfrotto 405 model a few years back and this is almost perfect for what I need.
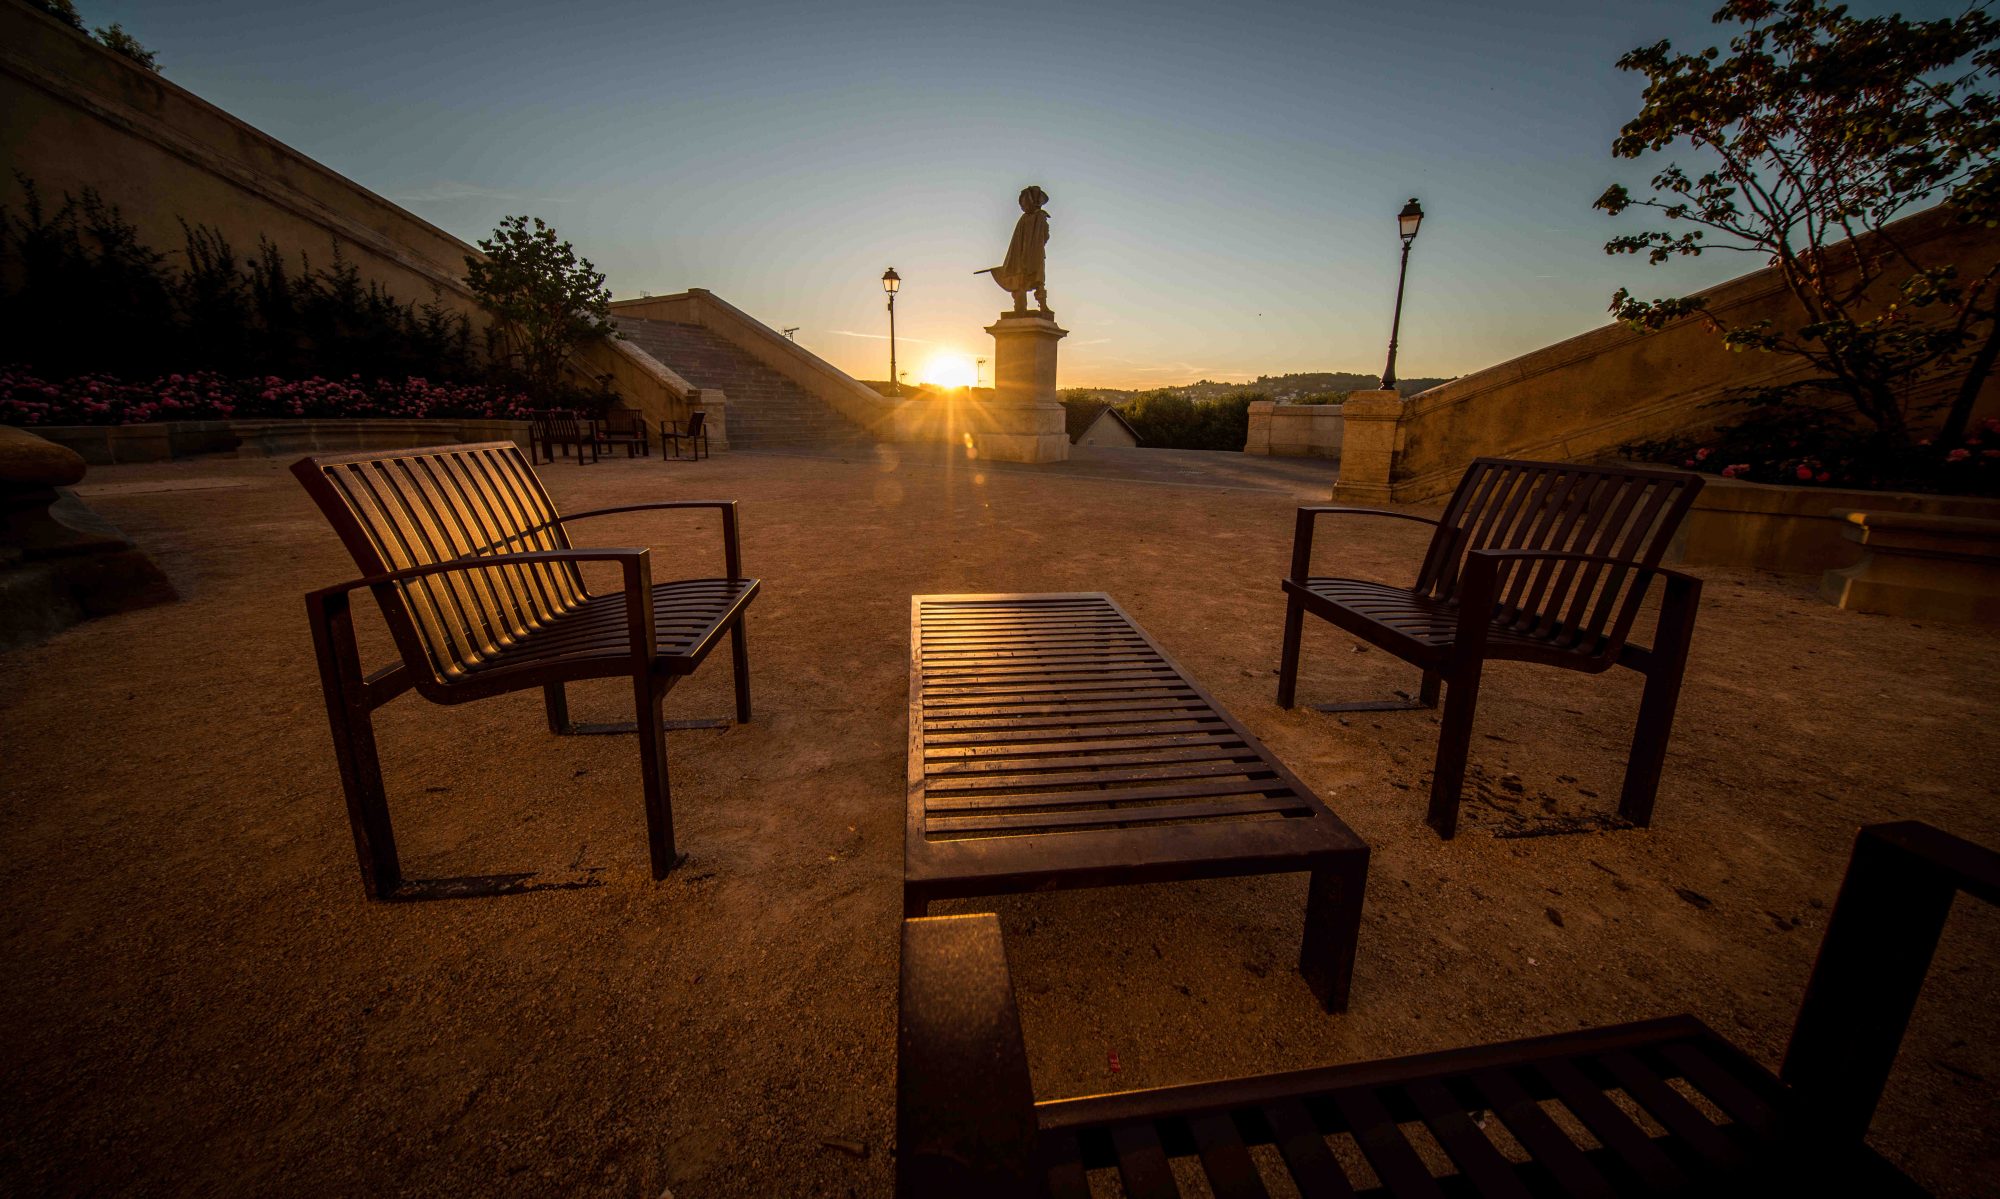
Manforotto 405
It’s sufficiently sturdy to hold pretty much anything I put on it, and the three adjusting knobs allow the plateau to be moved very precisely in any direction. This is 16cm high and lives on my larger 055 tripod.
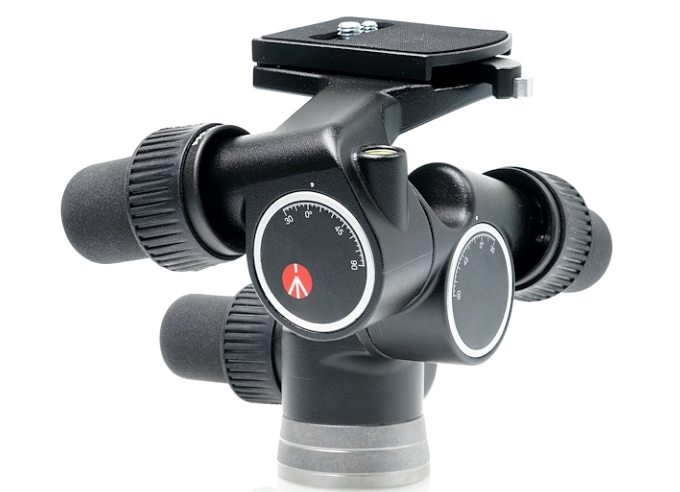
I also have a series of regular ball heads, and up until recently I found these were perfectly ok, but with the serious disadvantage (to me) of not being as precise to regulate. I use one of these on the lighter 190 series tripod, another on the monopod, and still another on the Platypod (when will it end?)
Manfrotto XPRO-BHQ6 (ARCA plate)
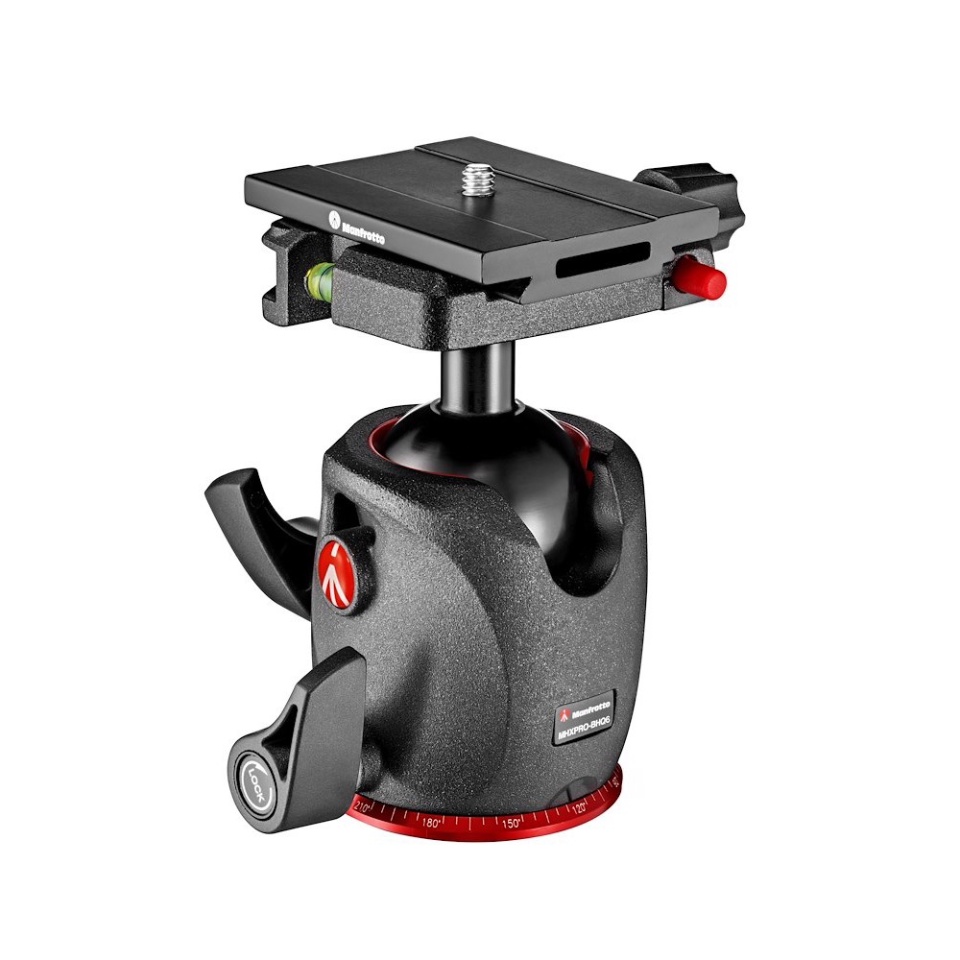
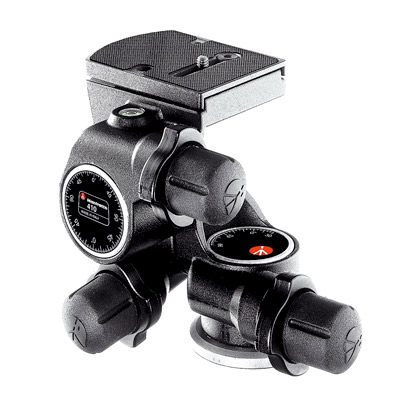
So I’ve been looking around on the WEB and I’ve come across a site (German) called MPB which buys and sells photographic equipment. Lo and behold they had a couple of Manfrotto 410, the smaller brother of the large 405.
Manfrotto 410
This is essentially the same as the 405 but in a smaller build – it’s 13cm high, the knobs have the same functions, and there is the same 410-PL mounting plate which means I can interchange the SMALLRIG quick-release adapteur I’ve mounted on the other head, with this one, just by changing the plate over.
MRMC is a NIKON owned company that manufactures robotic camera equipment. They build machines which can photograph or video in extreme conditions, or where repeatable motion is required etc. Everything is computer controlled to the point where AI (Artificial Intelligence) is fast becoming ‘built in’ and which renders the equipment almost completely autonomous in certain situations.
There have been reports hi-lighting the use of numerous MRMC setups during the recent World Cup football games in Qatar. The camera rigs have been mounted high up in the football stadiums (stadia?) and equipped with 100-400mm zoom lenses. Everything was ultimately controlled by a few humans, but it seems that both the ball AND the players have radio trackers and in consequence, the MRMC equipment could be ‘tuned’ to follow one or other of the trackers during a game.
My question is simple: is this photography?
In the sense that an image is recorded on a film or sensor, then yes, obviously it is. But to the purists like me, having a human eye in a viewfinder watching and anticipating (and oft times failing to capture) any given moment is a fundamental part of ‘photography’.
A couple of years back, during our annual ‘pilgrimage’ to Perpignan for Visa, we were presented with a large exhibition of wildlife photographs by an American photographer. The big cats, extremely hard to photograph in the wild, were presented in close-up etc. and the photographer was proudly showing off the camera setup – cameras in waterproof boxes linked to infra-red sensors which triggered the camera when something passed in front of it. The ‘photographers’ job was to simply place the boxes (based on information from his local trackers presumably) turn the system on, then retire to a safe distance to have a fag, read a book and let everything happen. Then the next morning or whatever, to return and collect the boxes and see what ‘he’ has managed to capture.
Sorry mate – whilst I’m interested, and impressed, by the technology, it simply isn’t photography as I understand it. In effect, it was the animals themselves which ‘took’ their own photographs…which to me renders the whole operation meaningless. With no human intervention, and the ‘chances’ which automatically go along with that, this is NOT photography to me.
I must admit I didn’t think I’ve ever be singing the praises of a piece of software with AI (machine/automatic learning) but I am slowly coming round to the fact that TOPAZ might actually have something here.
I waited until a suitable moment (A: I had some spare dosh, and B: there was a VERY attractive offer on…) and ‘invested’ in the TOPAZ photo suite (Photo AI which is the entire suite, with individual standalone programs for sharpening, removing noise and over-sizing.)
The following images show what can be achieved with no unpleasant bending or exercise whatsoever… (« …wrestle poodles and win » Viv Stanshall)
ISO 200 – 1/4s f/8 – no post treatmentTOPAZ Photo AI on ‘auto’ with sharpening activated
In truth there’s not a HUGE difference, and certainly nothing at this scale will show up (click on the little ‘+’ button and enlarge it as much as it allows) but the noise (albeit only ISO 200) has been radically ‘smoothed’ and if I were attempting a very large print, it would be the way to go.
Here’s another example:
ISO 200 – 1/4s f/8TOPAZ Photo AI
I’m not much of a ‘post treatment’ junkie – principally ‘cos I’m not very good at it – but I can imagine this software coming into it’s own when I need to produce very large copies of my images. The ‘over-sizing’ program Gigapixel AI makes a very good job (I’ve only tested the 2x computations) of the images – keen to try a couple of images at large scale with and without the software changes, just to see how the quality stands up.
One of the risks of ‘AI’ is that the smoothing applied smooths to the point of creating weird artefacts which pollute the image – training is going to be necessary here…
I’ve managed to resist thus far, but I’m sad to say that this situation has grown to such a point that I feel I must put my feelings in print.
I think it’s fairly clear now to one and all (but sadly not the British public) that Meghan Markle didn’t get what she wanted when she married Prince Harry. This could be understood possibly if she hadn’t previously been ‘warned’ by the people at ‘the firm’ about what was ahead – a thick dossier of information about when and how to do things, why they had to be done etc. to the point of having a series of contact numbers of people who could explain more regarding each point raised.
As a ‘B’ series actress who, judging by subsequent reports, is in a minority of one regarding the quality of her acting abilities, she presumably thought that she would get her way – and Harry, possibly not the brightest of the bunch, was there backing her up all the way « What Meghan wants, Meghan gets »
This farce will run dry soon when people get over the ‘revelations’ (or rather pure invention) voiced in their podcasts, interviews, Netflix series and shortly, books, but I think it will leave a stain that will be hard to erase completely.
Personally I think it’s sad that our well-loved and hard-working Queen, and royal family needs to be dragged into all this rubbish, but I find it significant that the worst accusations are coming out after the Queen died and can no longer stand up for herself, or indeed set the record straight – what a proud little prick Harry must feel.
Jealousy is such a nasty thing – and washing dirty laundry in public too.
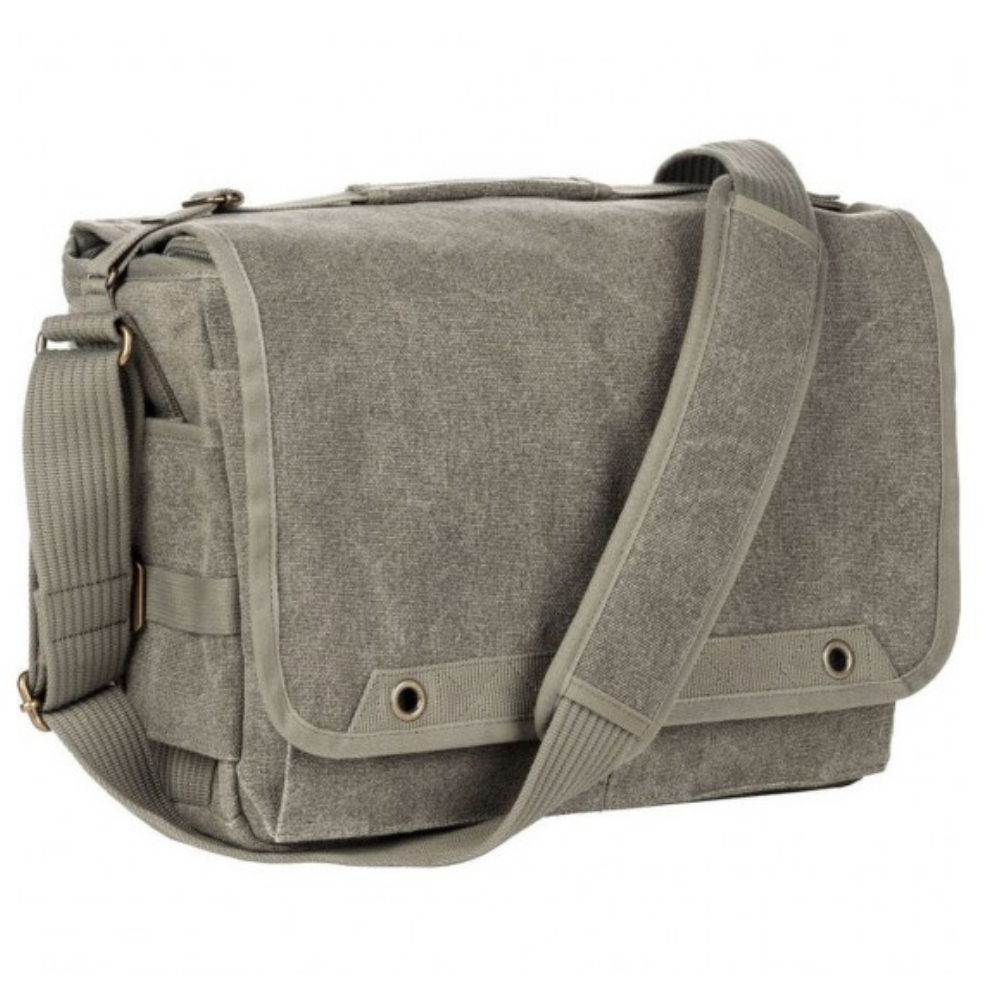
Think Tank Photo are a company based in the US who design camera bags. Most if not all are manufactured outside the US but they’ve become known for hardwearing, practical designs and I was won over a few years ago with their ‘Retrospective’ series – made out of rugged canvas, zillions of pockets and supplied with a rain cover.
(For info, the V2.0 series has improved the weatherproofing – with a zippable interior cover, and a water bottle pocket, amongst other innovations)
ThinkTank Photo Retrospective 30 V2.0
I’m keen for several reasons, but these bags don’t really look like camera bags, which suits me down to the ground. Some people like ‘wearing’ a camera bag like it was a trophy, I prefer the subtle approach – also, less like to be stolen…
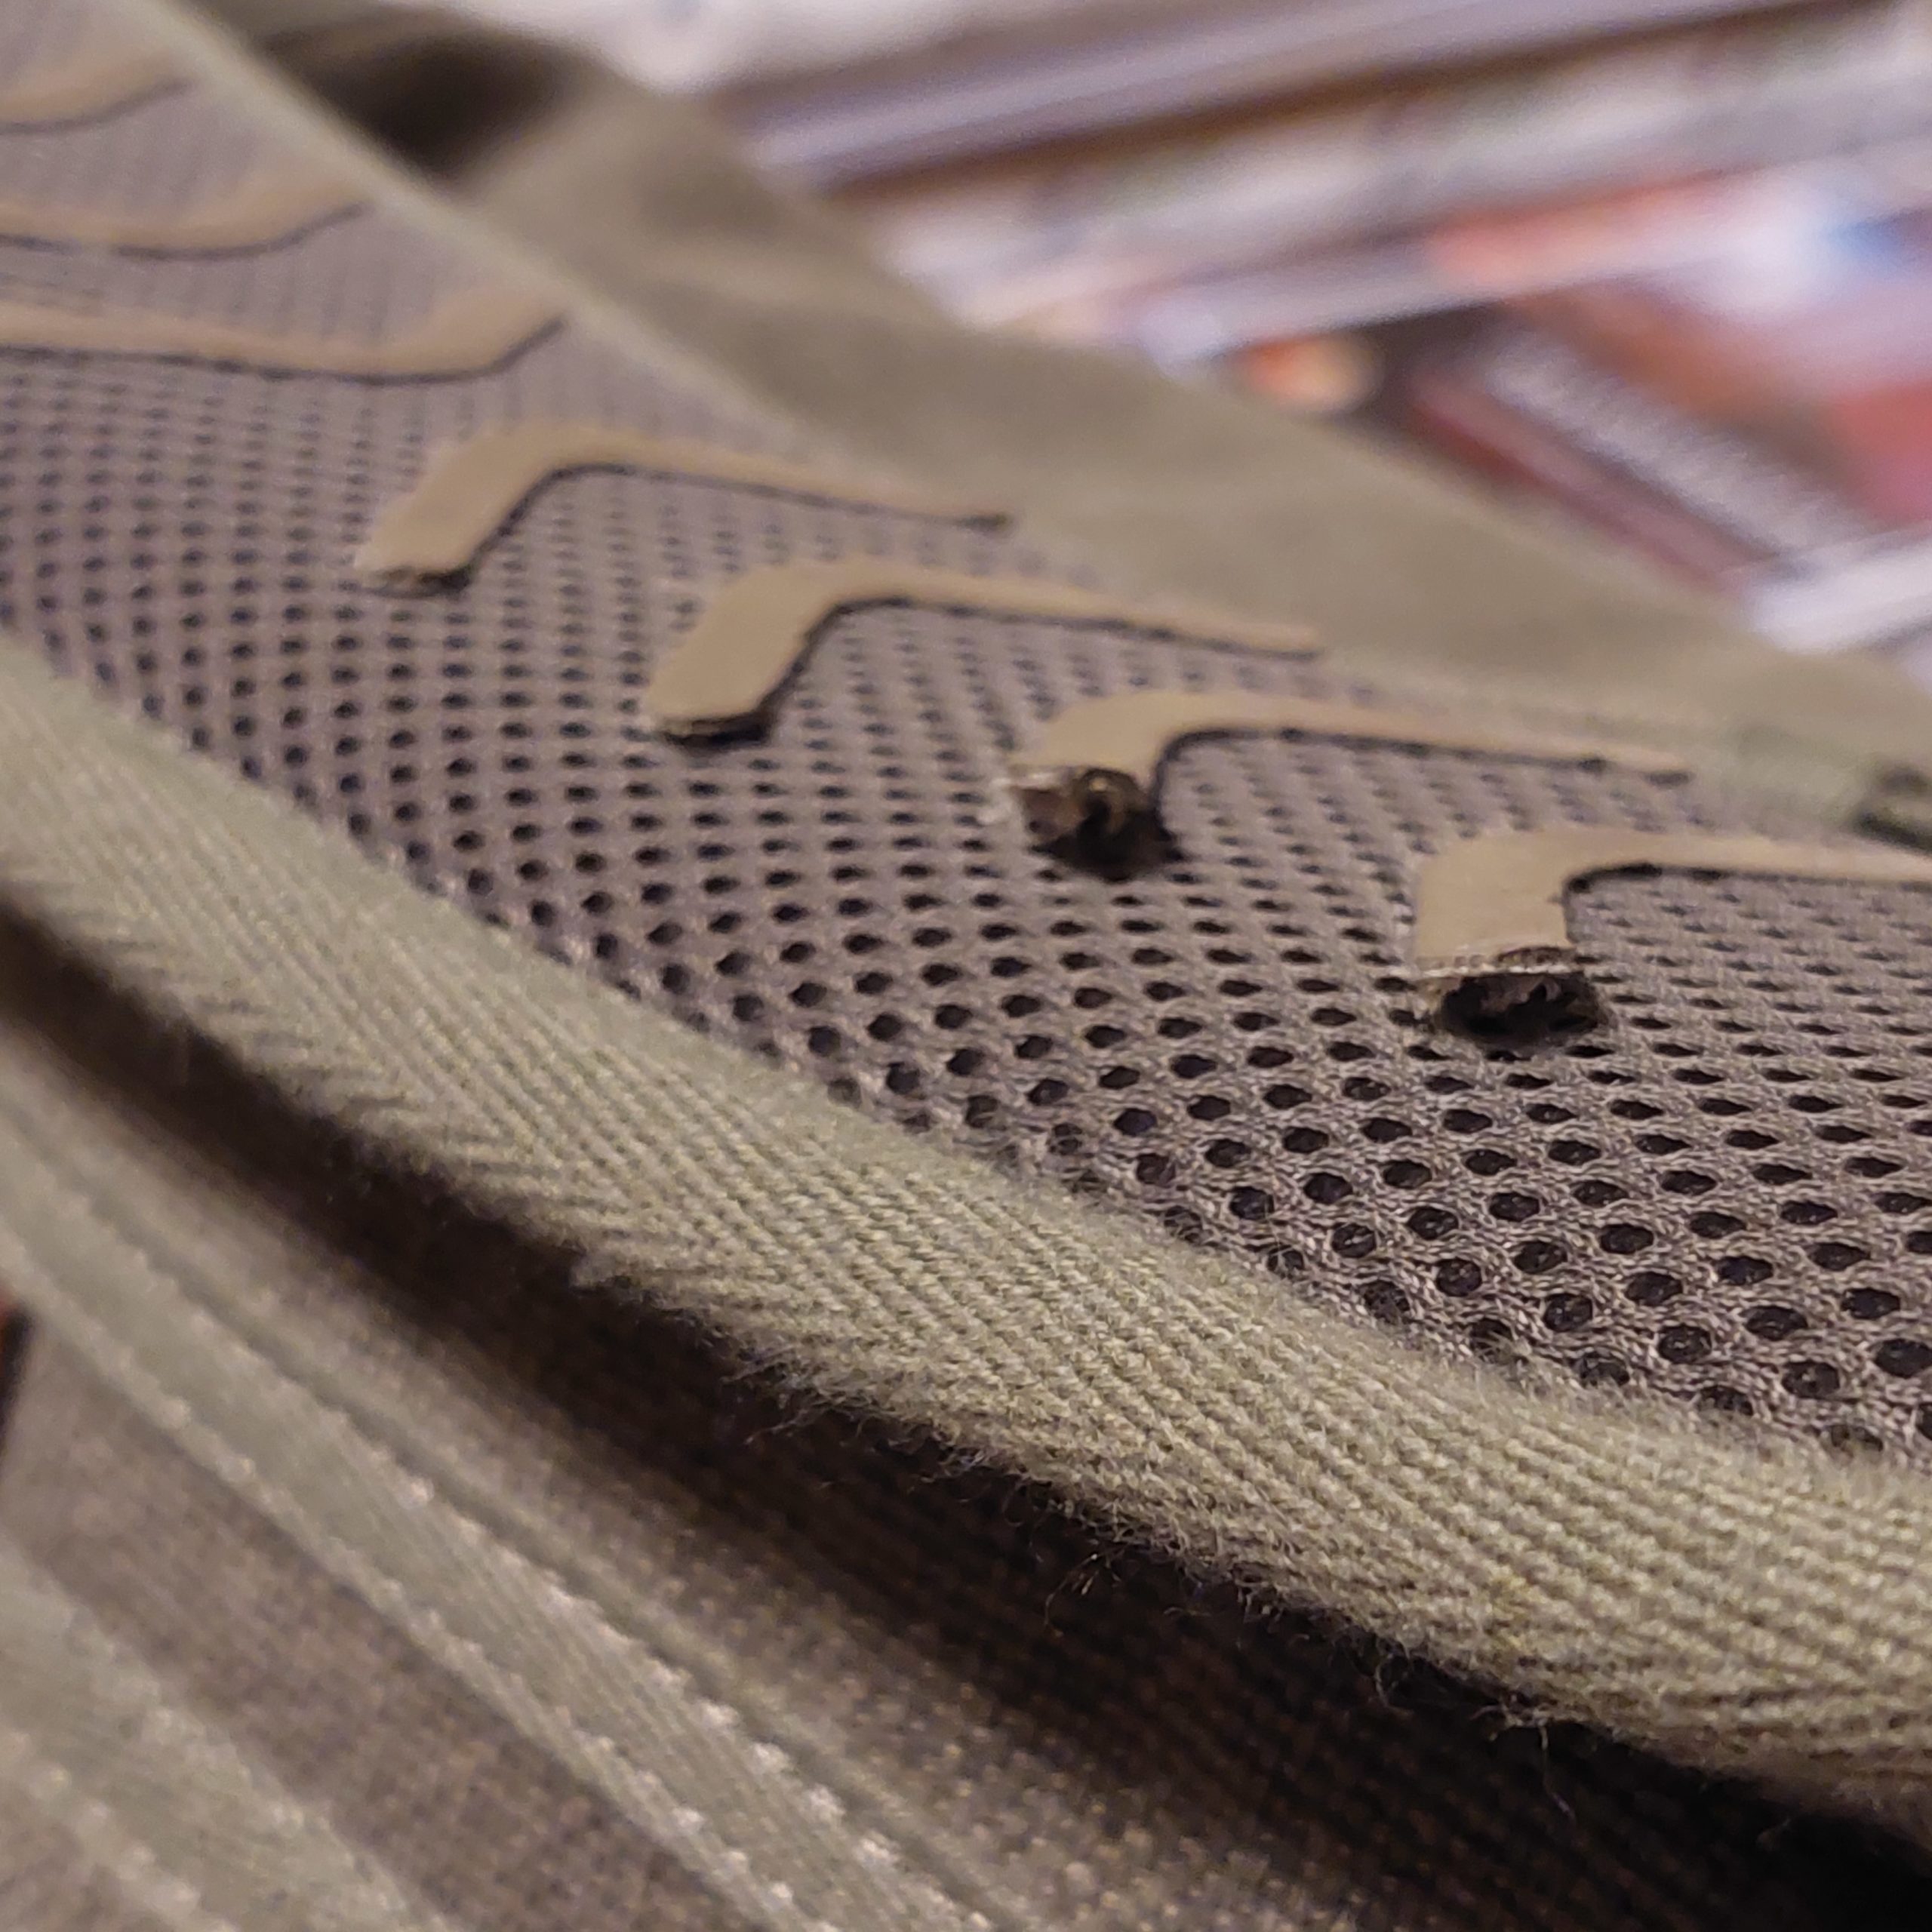
The only small fly-in-the-ointment is that the anti-slip pads glued onto the cushioned shoulder strap have a nasty tendency to come unstuck. This is not the end of the world, but it’s annoying – I’m now getting used to finding my pot of neoprene glue and ‘repairing’ this.
Anti-slip pads coming unstuck…
This came to a head when my latest purchase started suffering from this problem after only 2 or three months use. So I wrote them a letter…
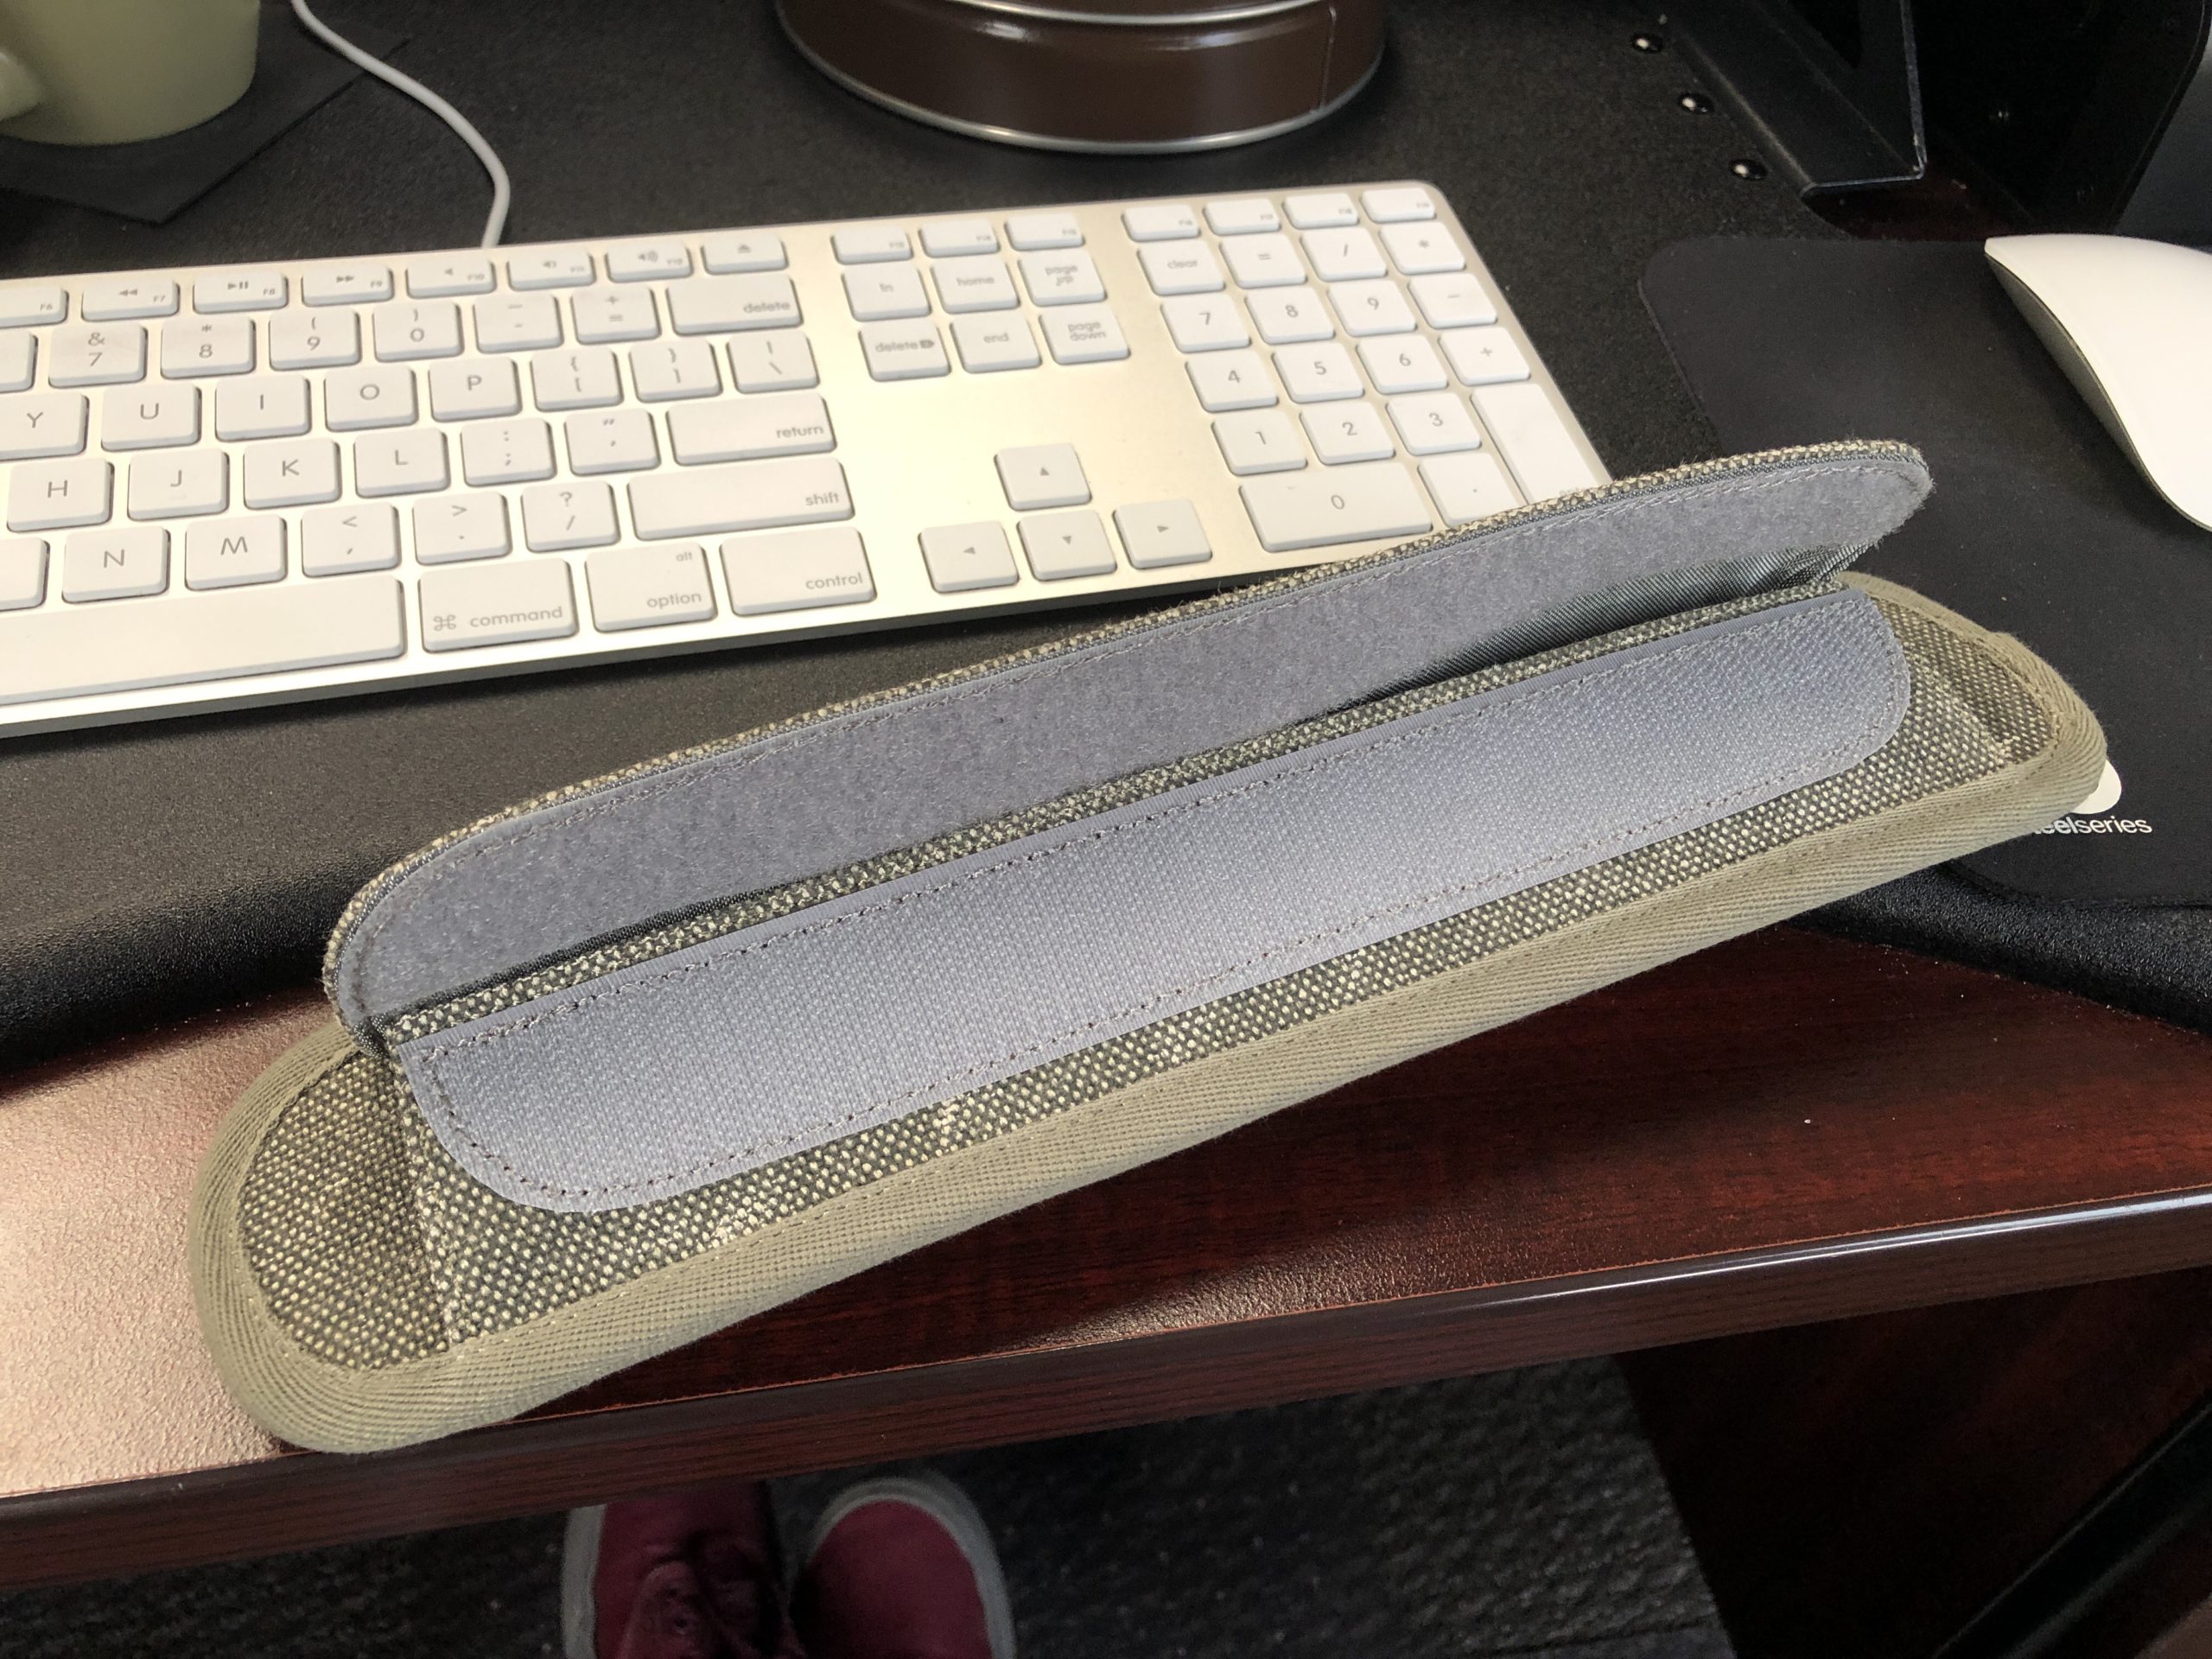
A nice man called Jonathan K replied very quickly and has offered to send me a replacement shoulder pad (for free) – this is held on with Velcro – makes one wonder why they doesn’t do this for standard…? Anyway, it’s a solution to this problem – I’ll keep the neoprene glue for the 5 other TTP bags I own…. 🙂
Replacement shoulder pad
Top marks to Think Tank Photo for their reactivity – looking forward to receiving this.
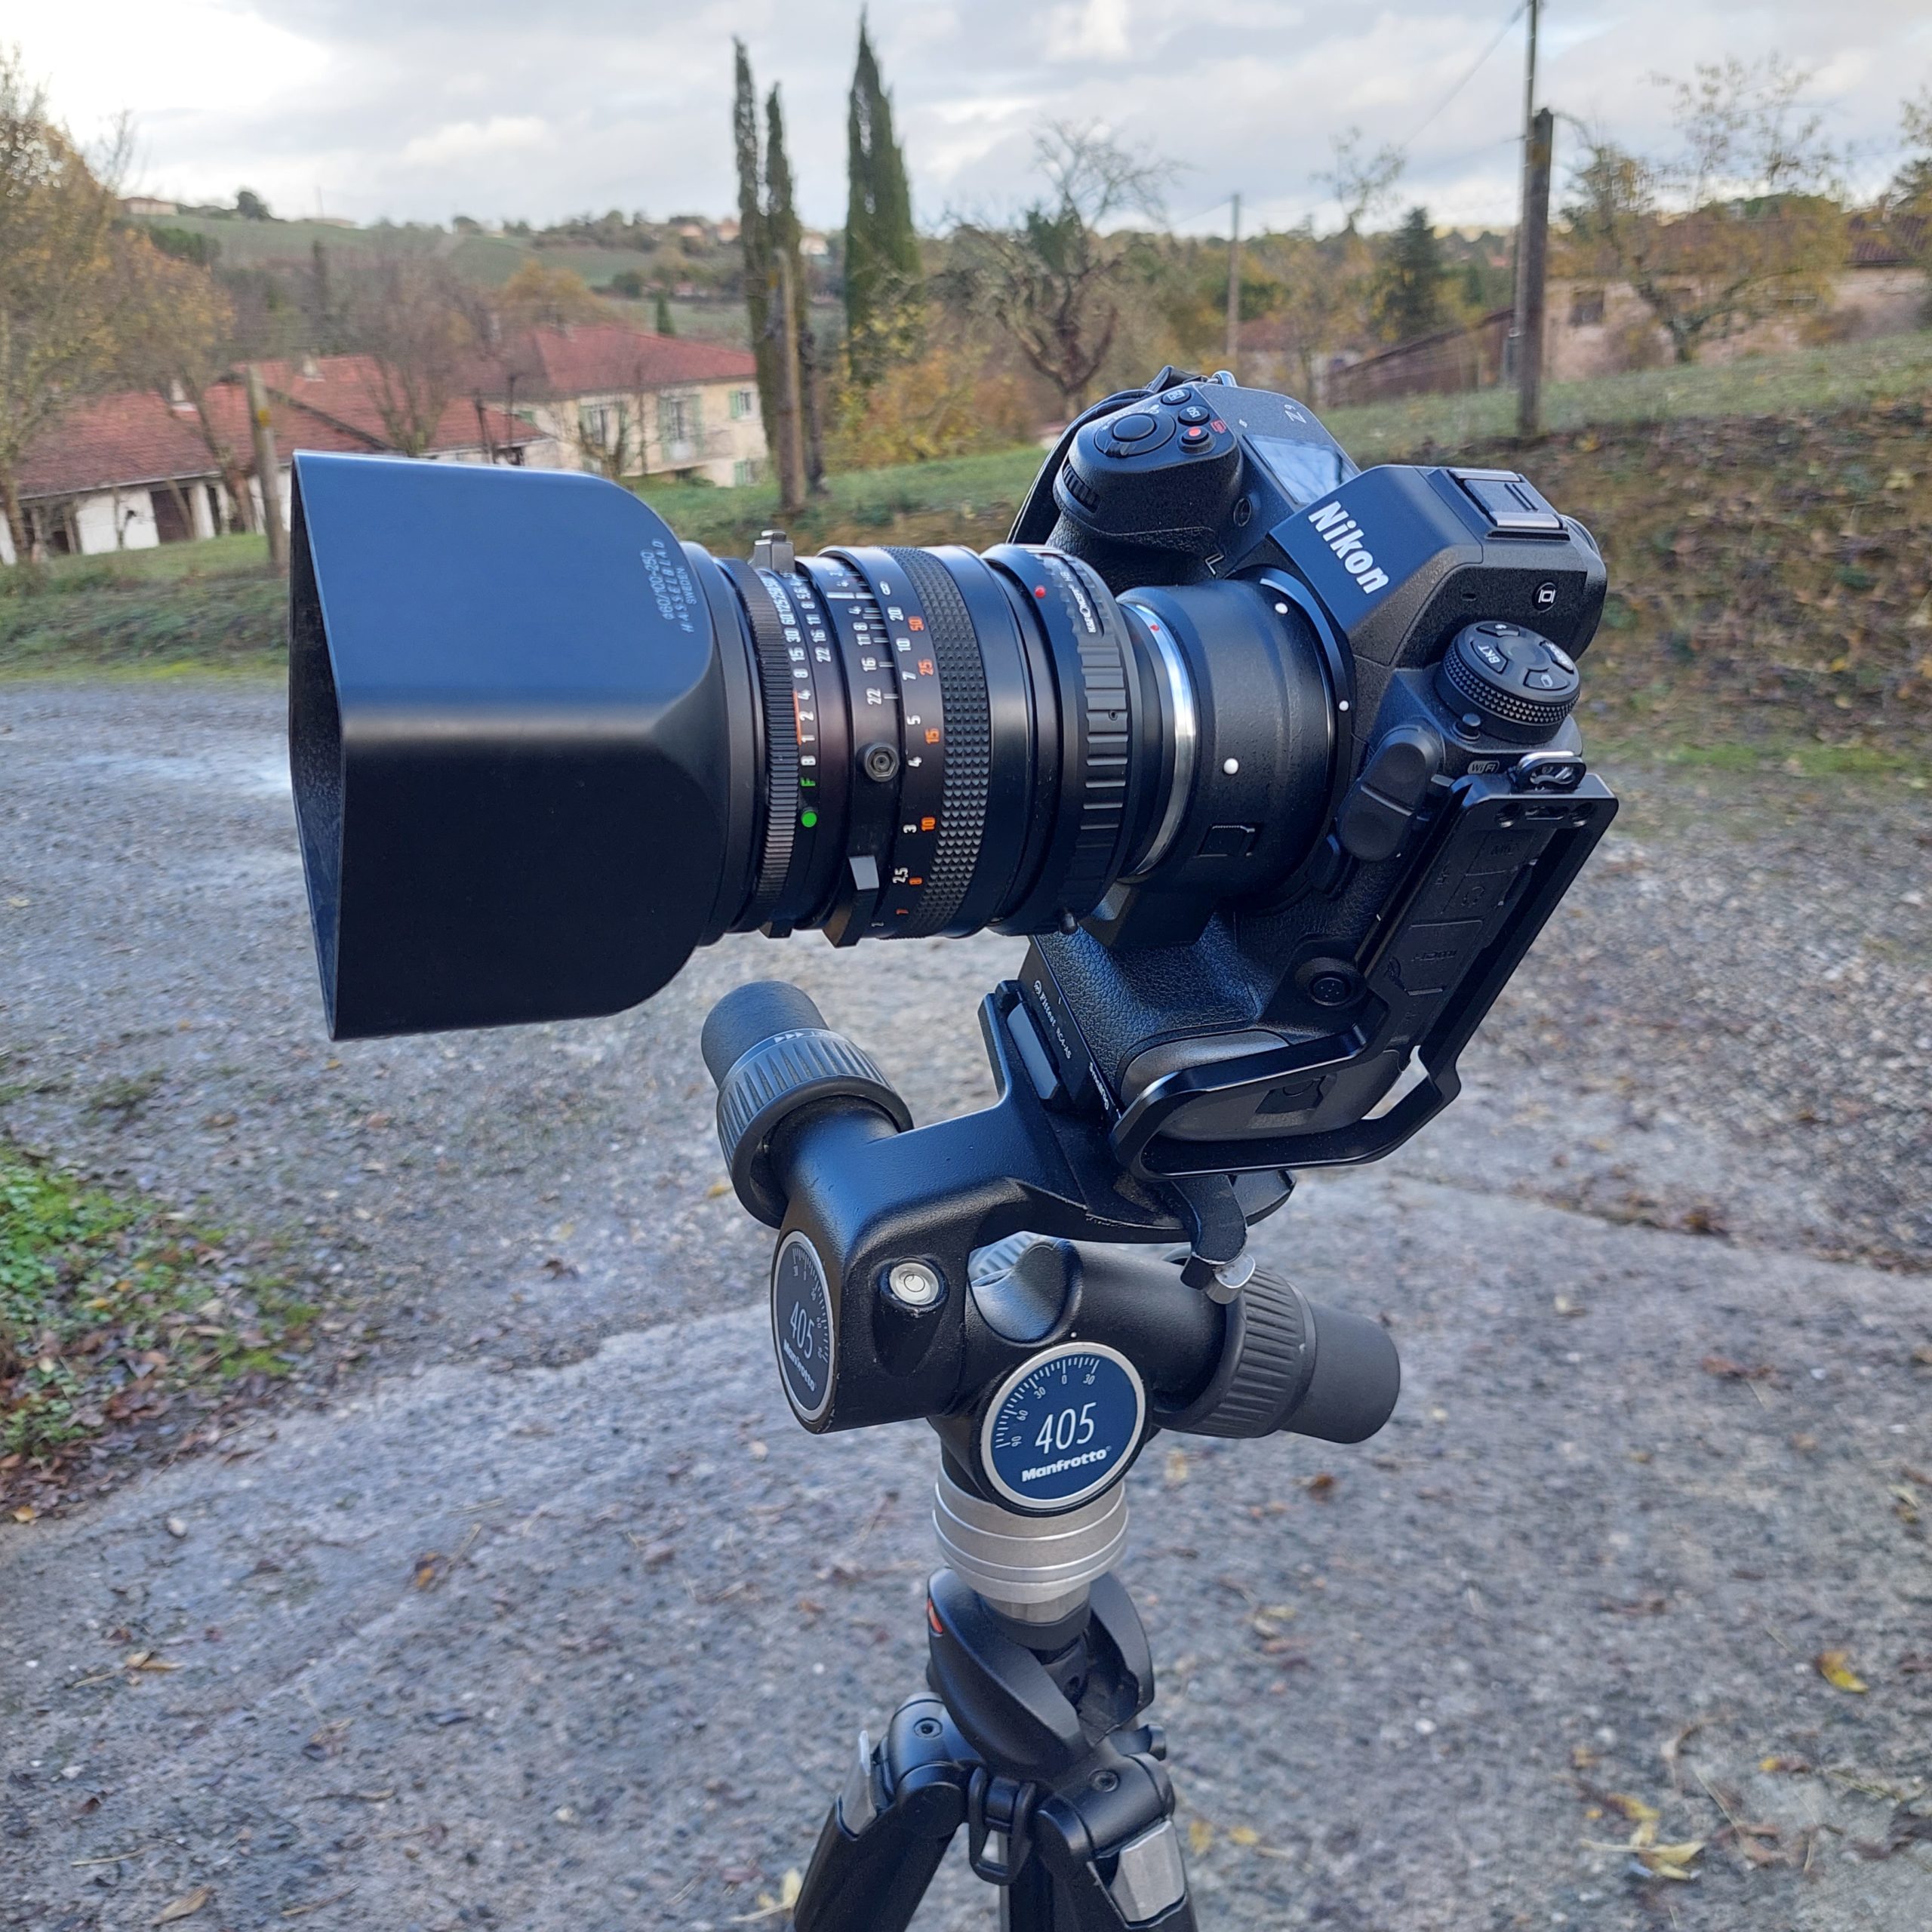
I’ve just received an adapteur which will allow me to use my ZEISS lenses from the Hasselblad, on the Z series NIKON cameras.
ZEISS 100mm PLANAR f/3.5 on the K&F Adapteur, FTZ, NIKON Z9
This isn’t really going backwards, even though the lens itself was announced in 1982 and is now discontinued, this was a lens that really lived up to it’s ZEISS name ‘PLANAR’ as it was astonishing ‘flat’ and sharp. The 100mm focal length was almost a ‘standard’ lens for medium format, for which it was designed, but mounted on a 24×36 camera it will be the equivalent to a 55mm lens – the format is roughly 2.5 times larger than 24×36 after all! (The crop factor is .55)
My 150mm ZEISS is equivalent to a 82mm lens on 35mm, and my 40mm ZEISS wide angle will be the equivalent to a 22mm – which suits me as I LOVE wide angle lenses….
Sadly, the ‘festive’ season is soon to be upon us – ‘festive’ with a small ‘f’ this year as with fuel and basically everything costing many times more than it did last year, there’s not really a lot to be festive about.
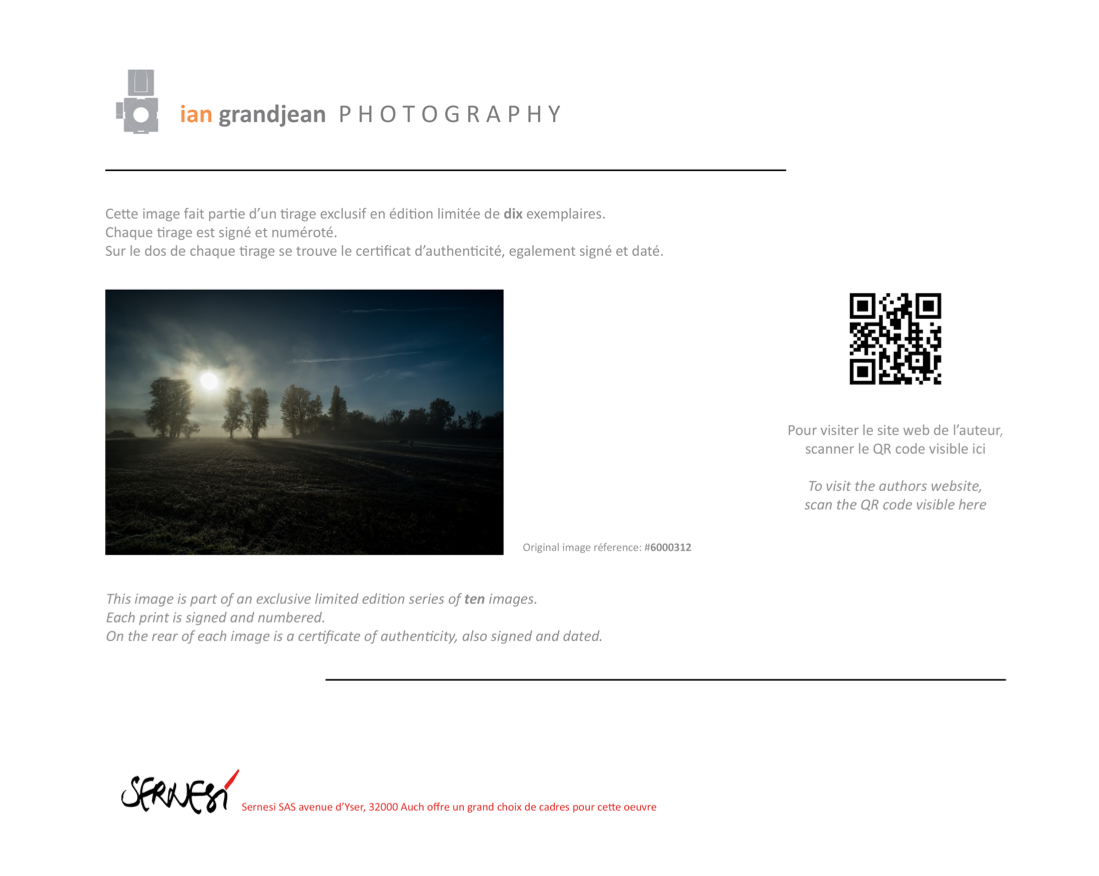
So I had a thought – I’ve produced a limited series of colour prints, sold with a matte board signed and numbered, ready for whacking into a nice frame to offer to someone as a Christmas present. This has been done in conjunction with a local arts and crafts shop which will also handle the mounting, if desired. They have a large selection of different frames at very reasonable prices – I use them and I’ve never been disappointed.
A limited series of 10 prints, each signed and numbered – click to enlargeThe rear of the package – click to enlarge
The matte board is 20x30cm, the print slightly smaller – looks pretty good in my view.
There are 10 images in the series, with each limited to 10 numbered prints…
So what are you waiting for ???
(You’ll have to visit the shop here in Auch to see the other nine images, of course…..)
This is basically a rant about how NIKON can make stunning cameras and lenses, but seem to have their collective heads up someones a***e when it comes to designing the accessories…
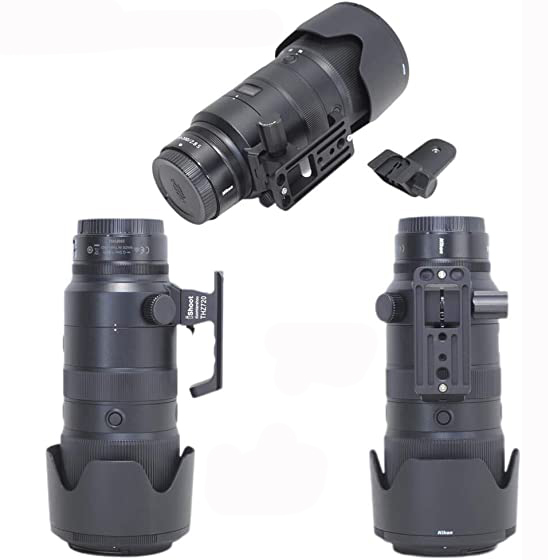
Exhibit 1 – Original NIKON tripod collar foot for the 70-200 f/2.8 S lens
The black thing you see above is the thing that bolts onto the lens (in this case, the 70-200 f/2.8 S zoom lens) and lets you mount said lens (and logically, any camera attached to it) on a tripod. Only you can’t – without bolting on another adapter (for the most part of the tripods available today)
NIKON 70-200 f/2.8 S
Still with me?
There is, however, a fundamental flaw with the original NIKON design. Are you sitting comfortably? Then I’ll begin.
I shall quote from Wikipedia (‘cos they do it better than I) « Swiss camera equipment maker Arca-Swiss Phototechnik AG developed a quick-release mounting system for their tripod heads. The system is based on 38 mm wide mounting plates with a 45° dovetail rail on the sides…Since 1990 many other manufacturers now utilize this system. »
For ‘many’ read ‘almost everyone’ – so here we are with a host of tripod manufacturers producing tripod heads designed to take the ‘Arca type‘ attachement plate – the now familiar 38mm wide dovetailed plate with a 1/4″ screw to attach the camera, or in this case, lens.
Fly in the ointment time – where’s NIKON in all of this? Somewhere in Japan, where news doesn’t travel fast it seems. In addition, if you were to ever lose this tripod collar foot, it would cost a significant amount of cash to replace from NIKON. So the long and the short of all this, is that you can’t just plonk your new lens onto ANY tripod head, ‘cos it won’t fit.
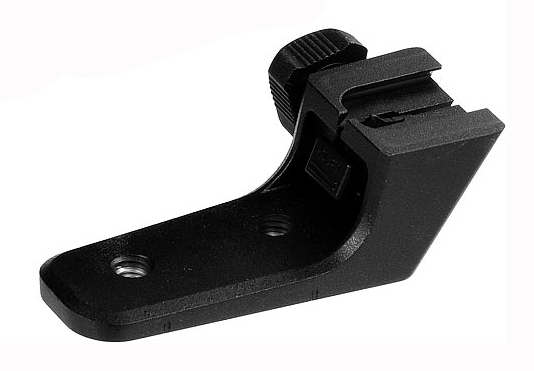
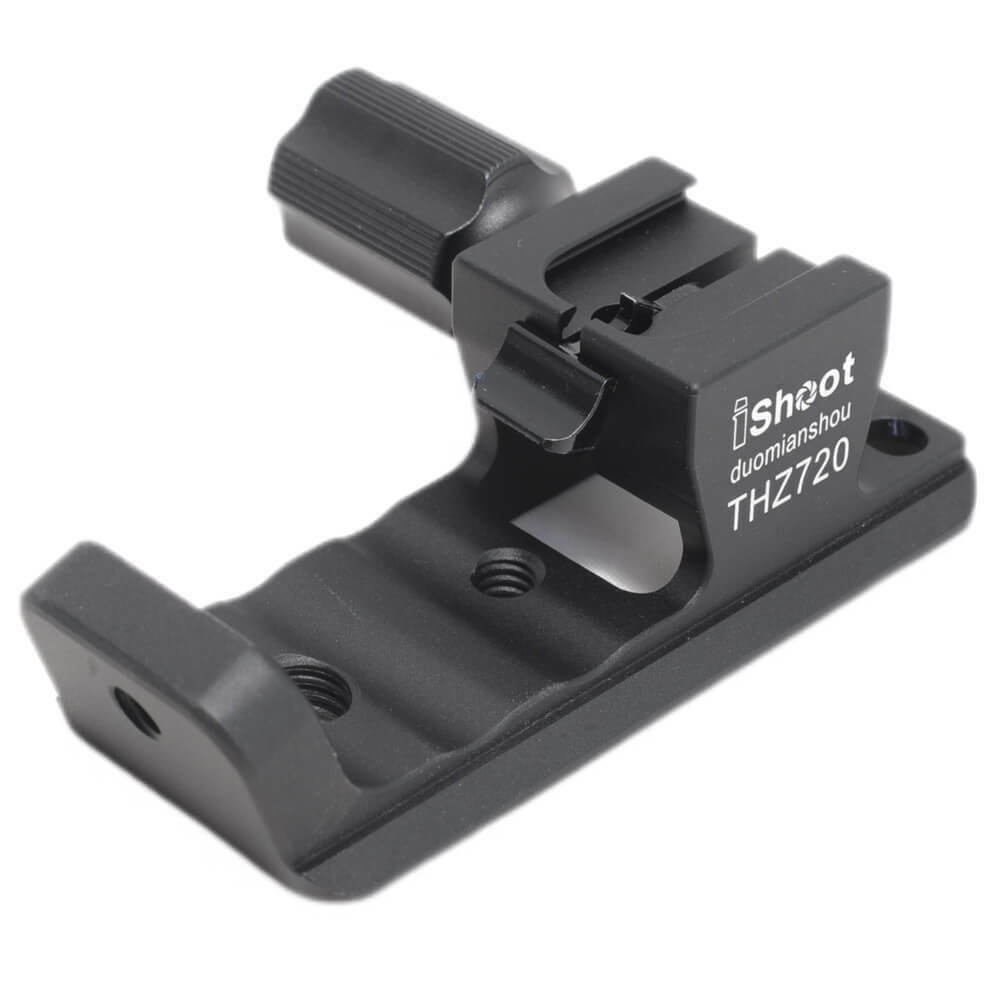
Exhibit 2 – iShoot tripod collar foot for the NIKON 70-200 f/2.8 S lens
Thanks to computer technology (3D scanning principally) and a keen sense of marketing, a number of Chinese companies make extremely affordable, and very well made ‘equivalents’ for a large number of camera accessories, which very often go above and beyond original accessory specifications.
Exhibit 2 is a perfect example. It’s made from forged/machined aluminium, has three different threaded holes for fixed accessory mounting (1/4″ and 3/8″) AND (and this is the best bit) has the Arca type 38mm dovetail plate, so you can use it on pretty much any modern tripod/ball head. The last fact, that this costs the eye watering sum of 30€ shipped from China, seems somehow insignificant…
Incidentally, this model actually fits the 100-400 f/4-f/5.6 zoom too…
To tie up this rant, NIKON have done this a staggering number of times – the original NIKON battery pack for the Z6ll / Z7ll series costs nearly 400€ so some bright spark in China started churning out cheaper (fully functioning) versions which can be found between 50€ and 100€ is another example…go figure…
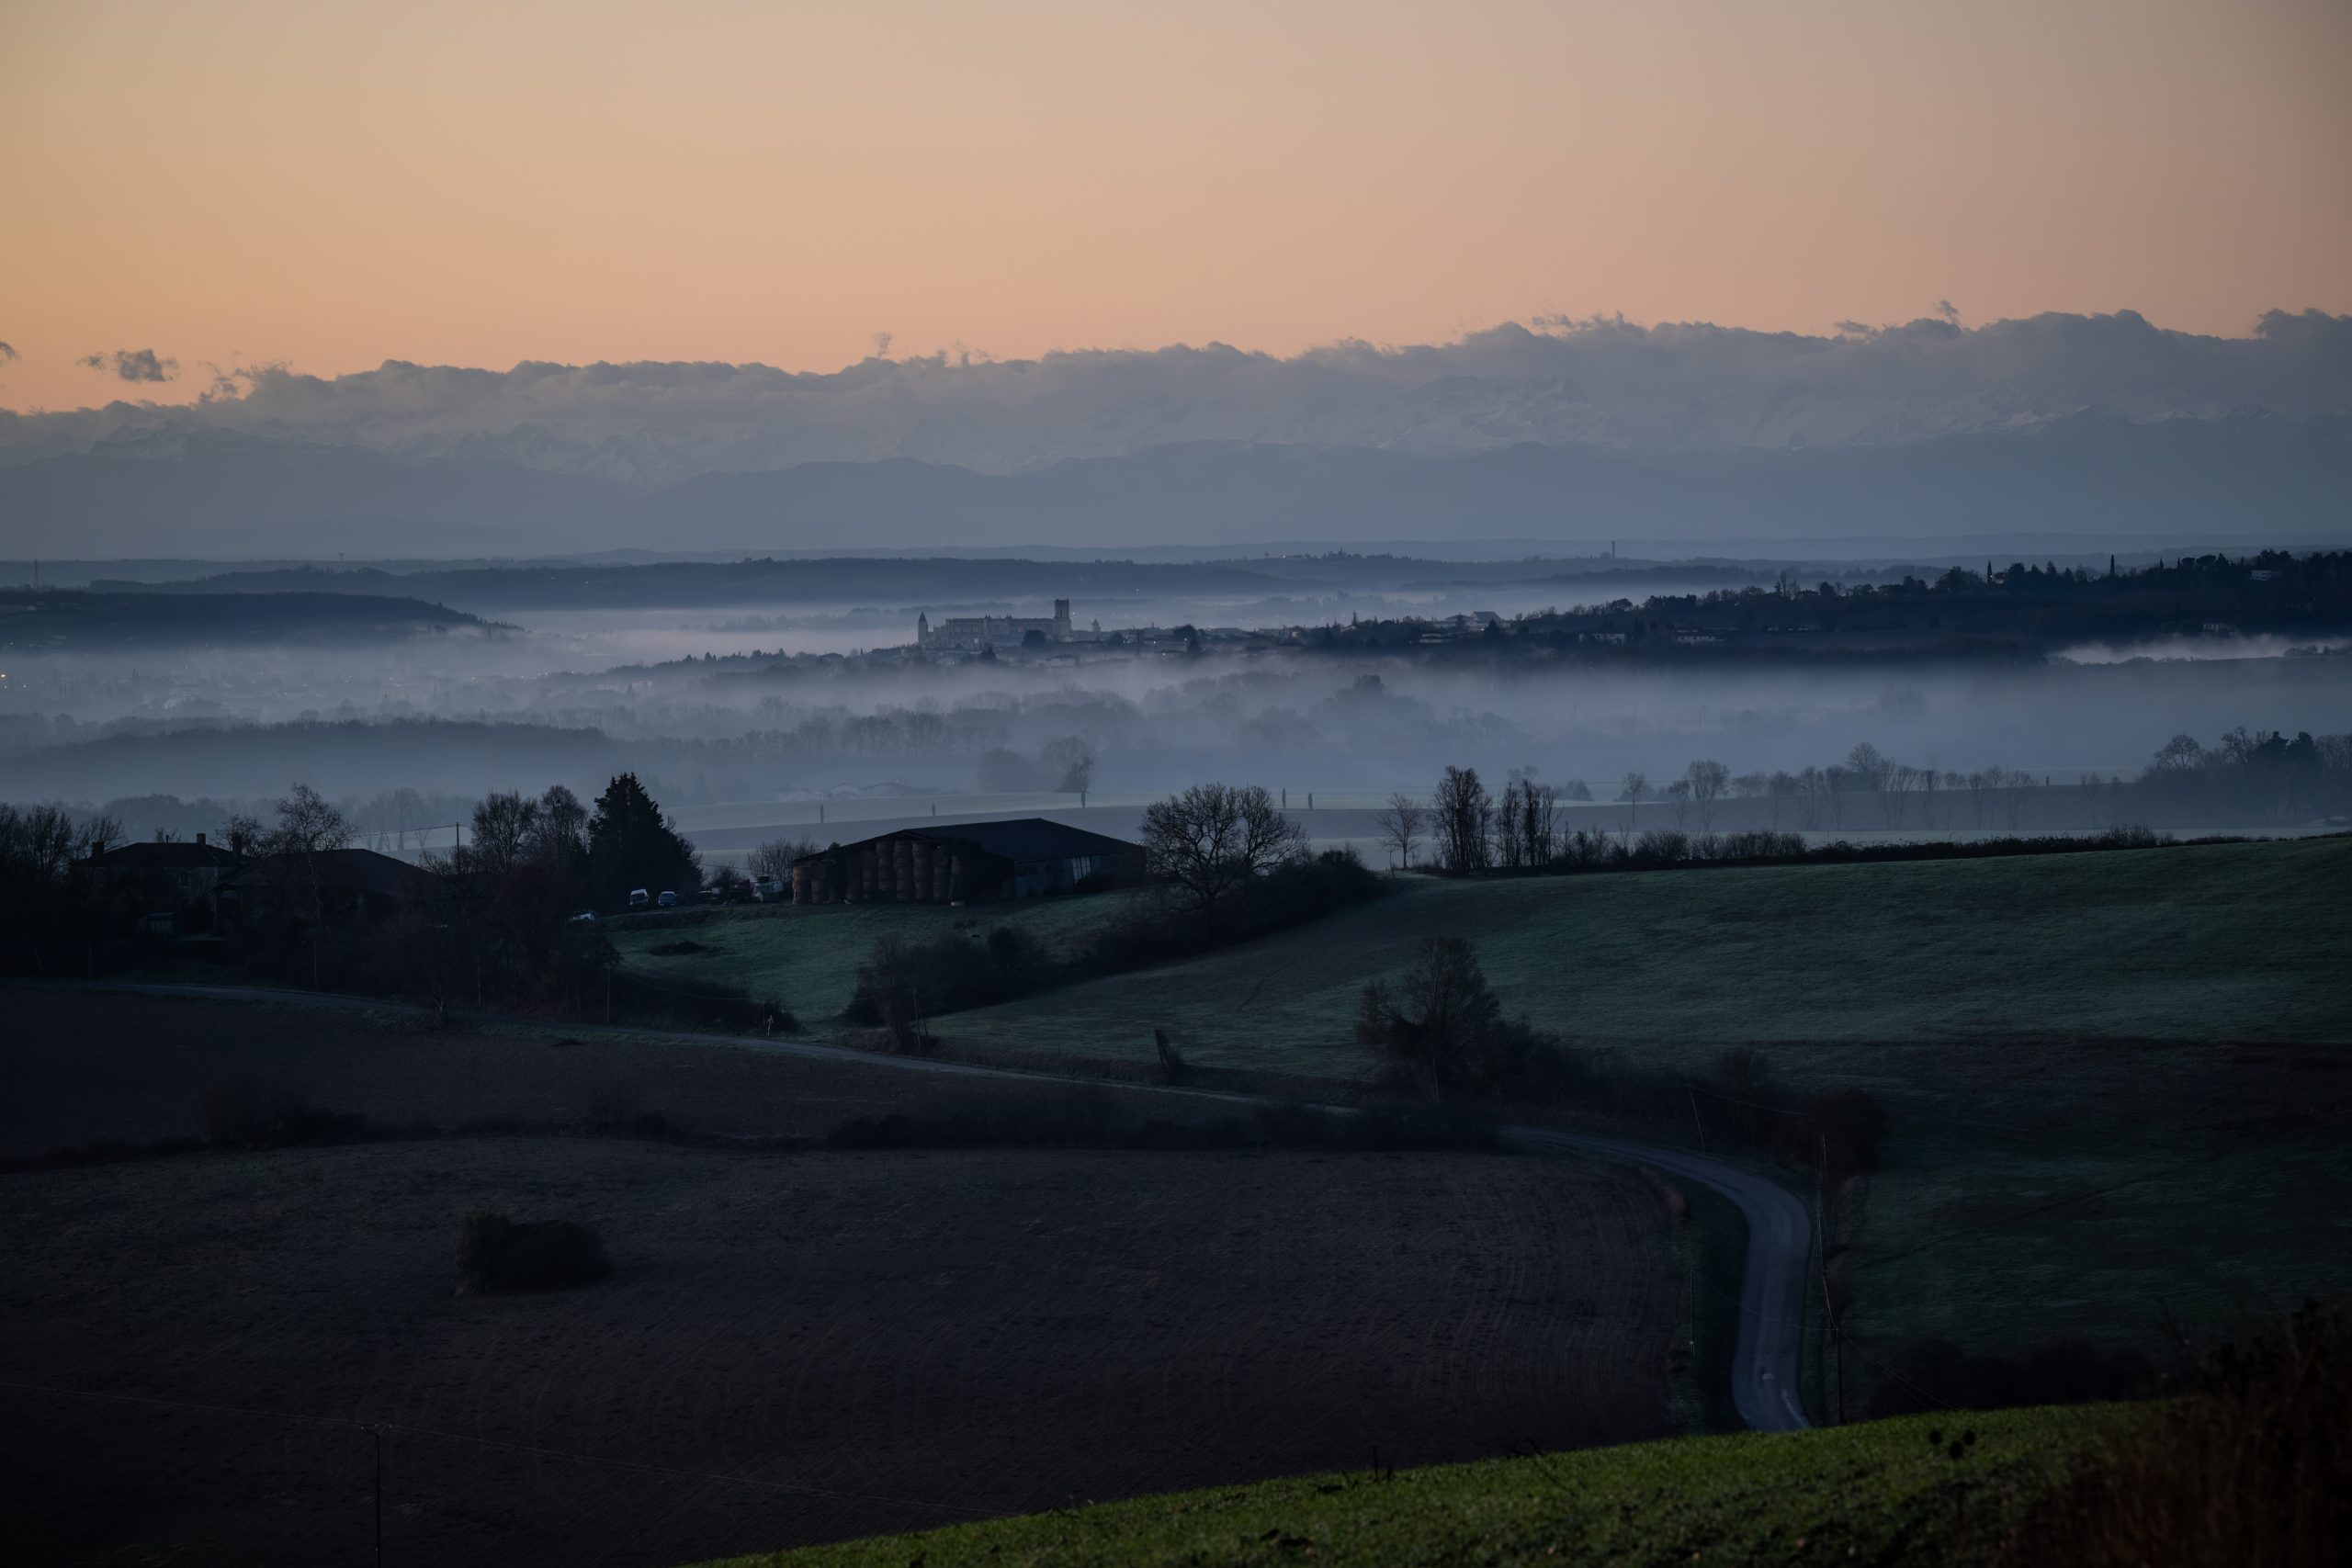
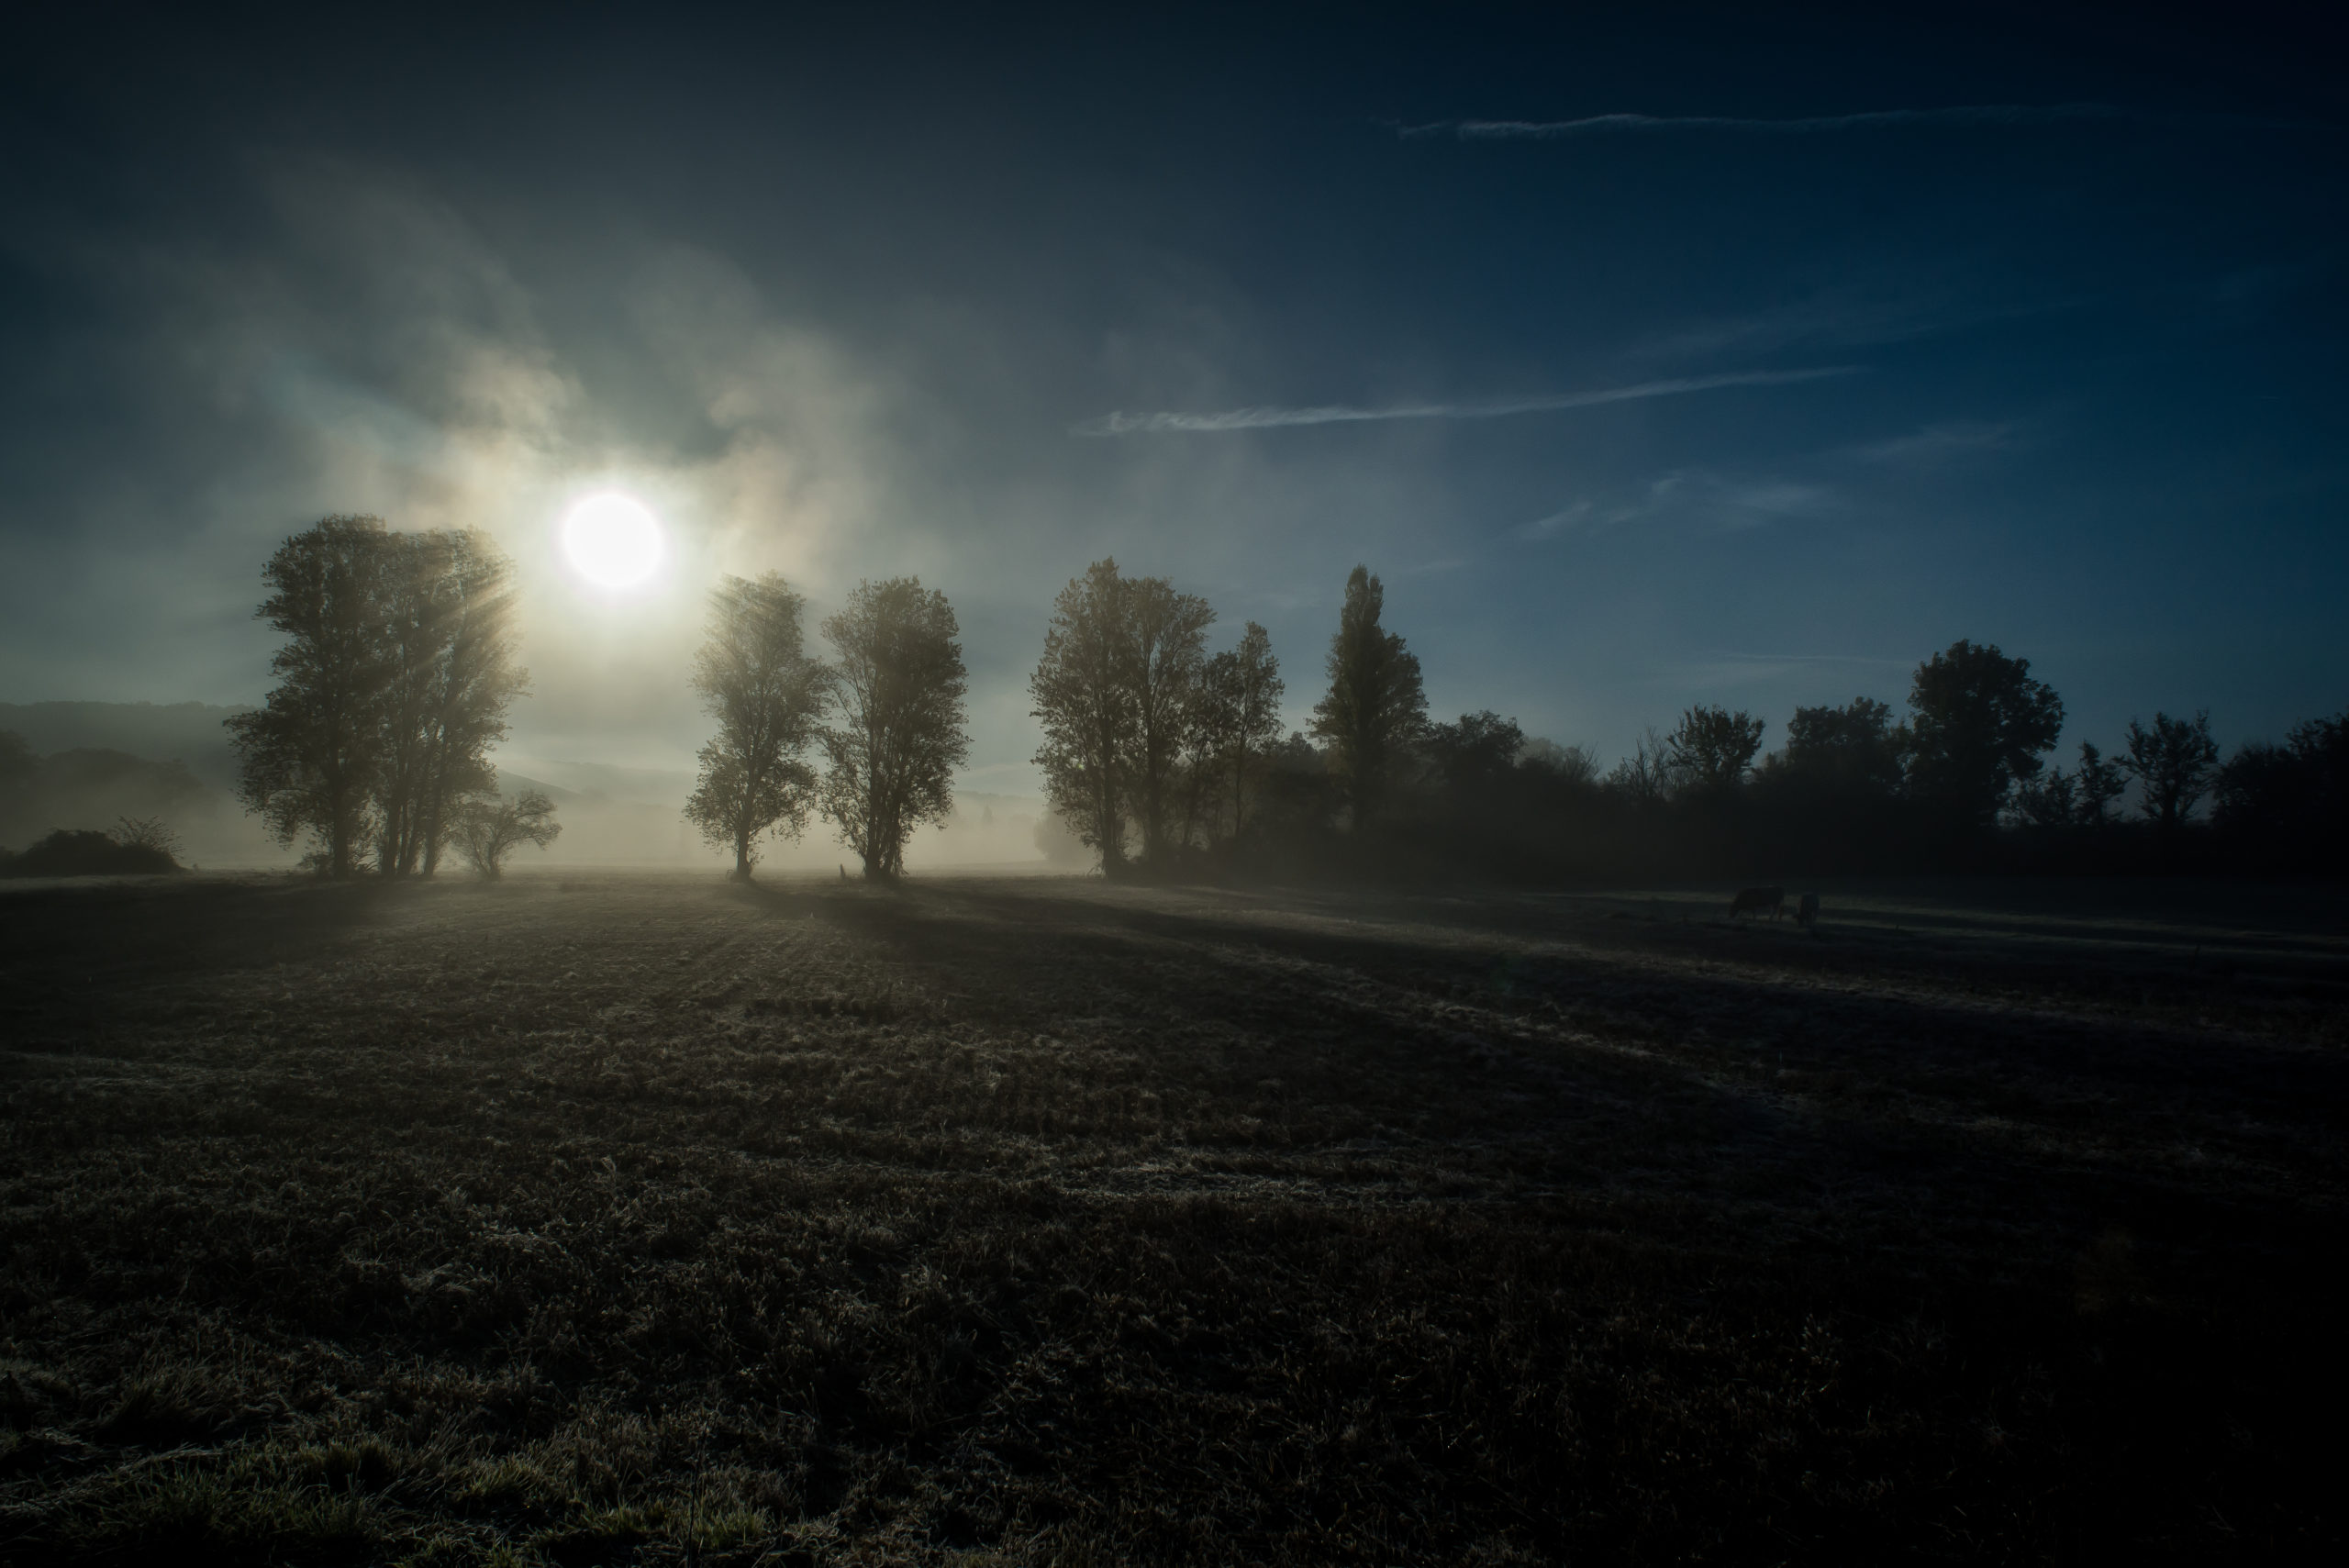
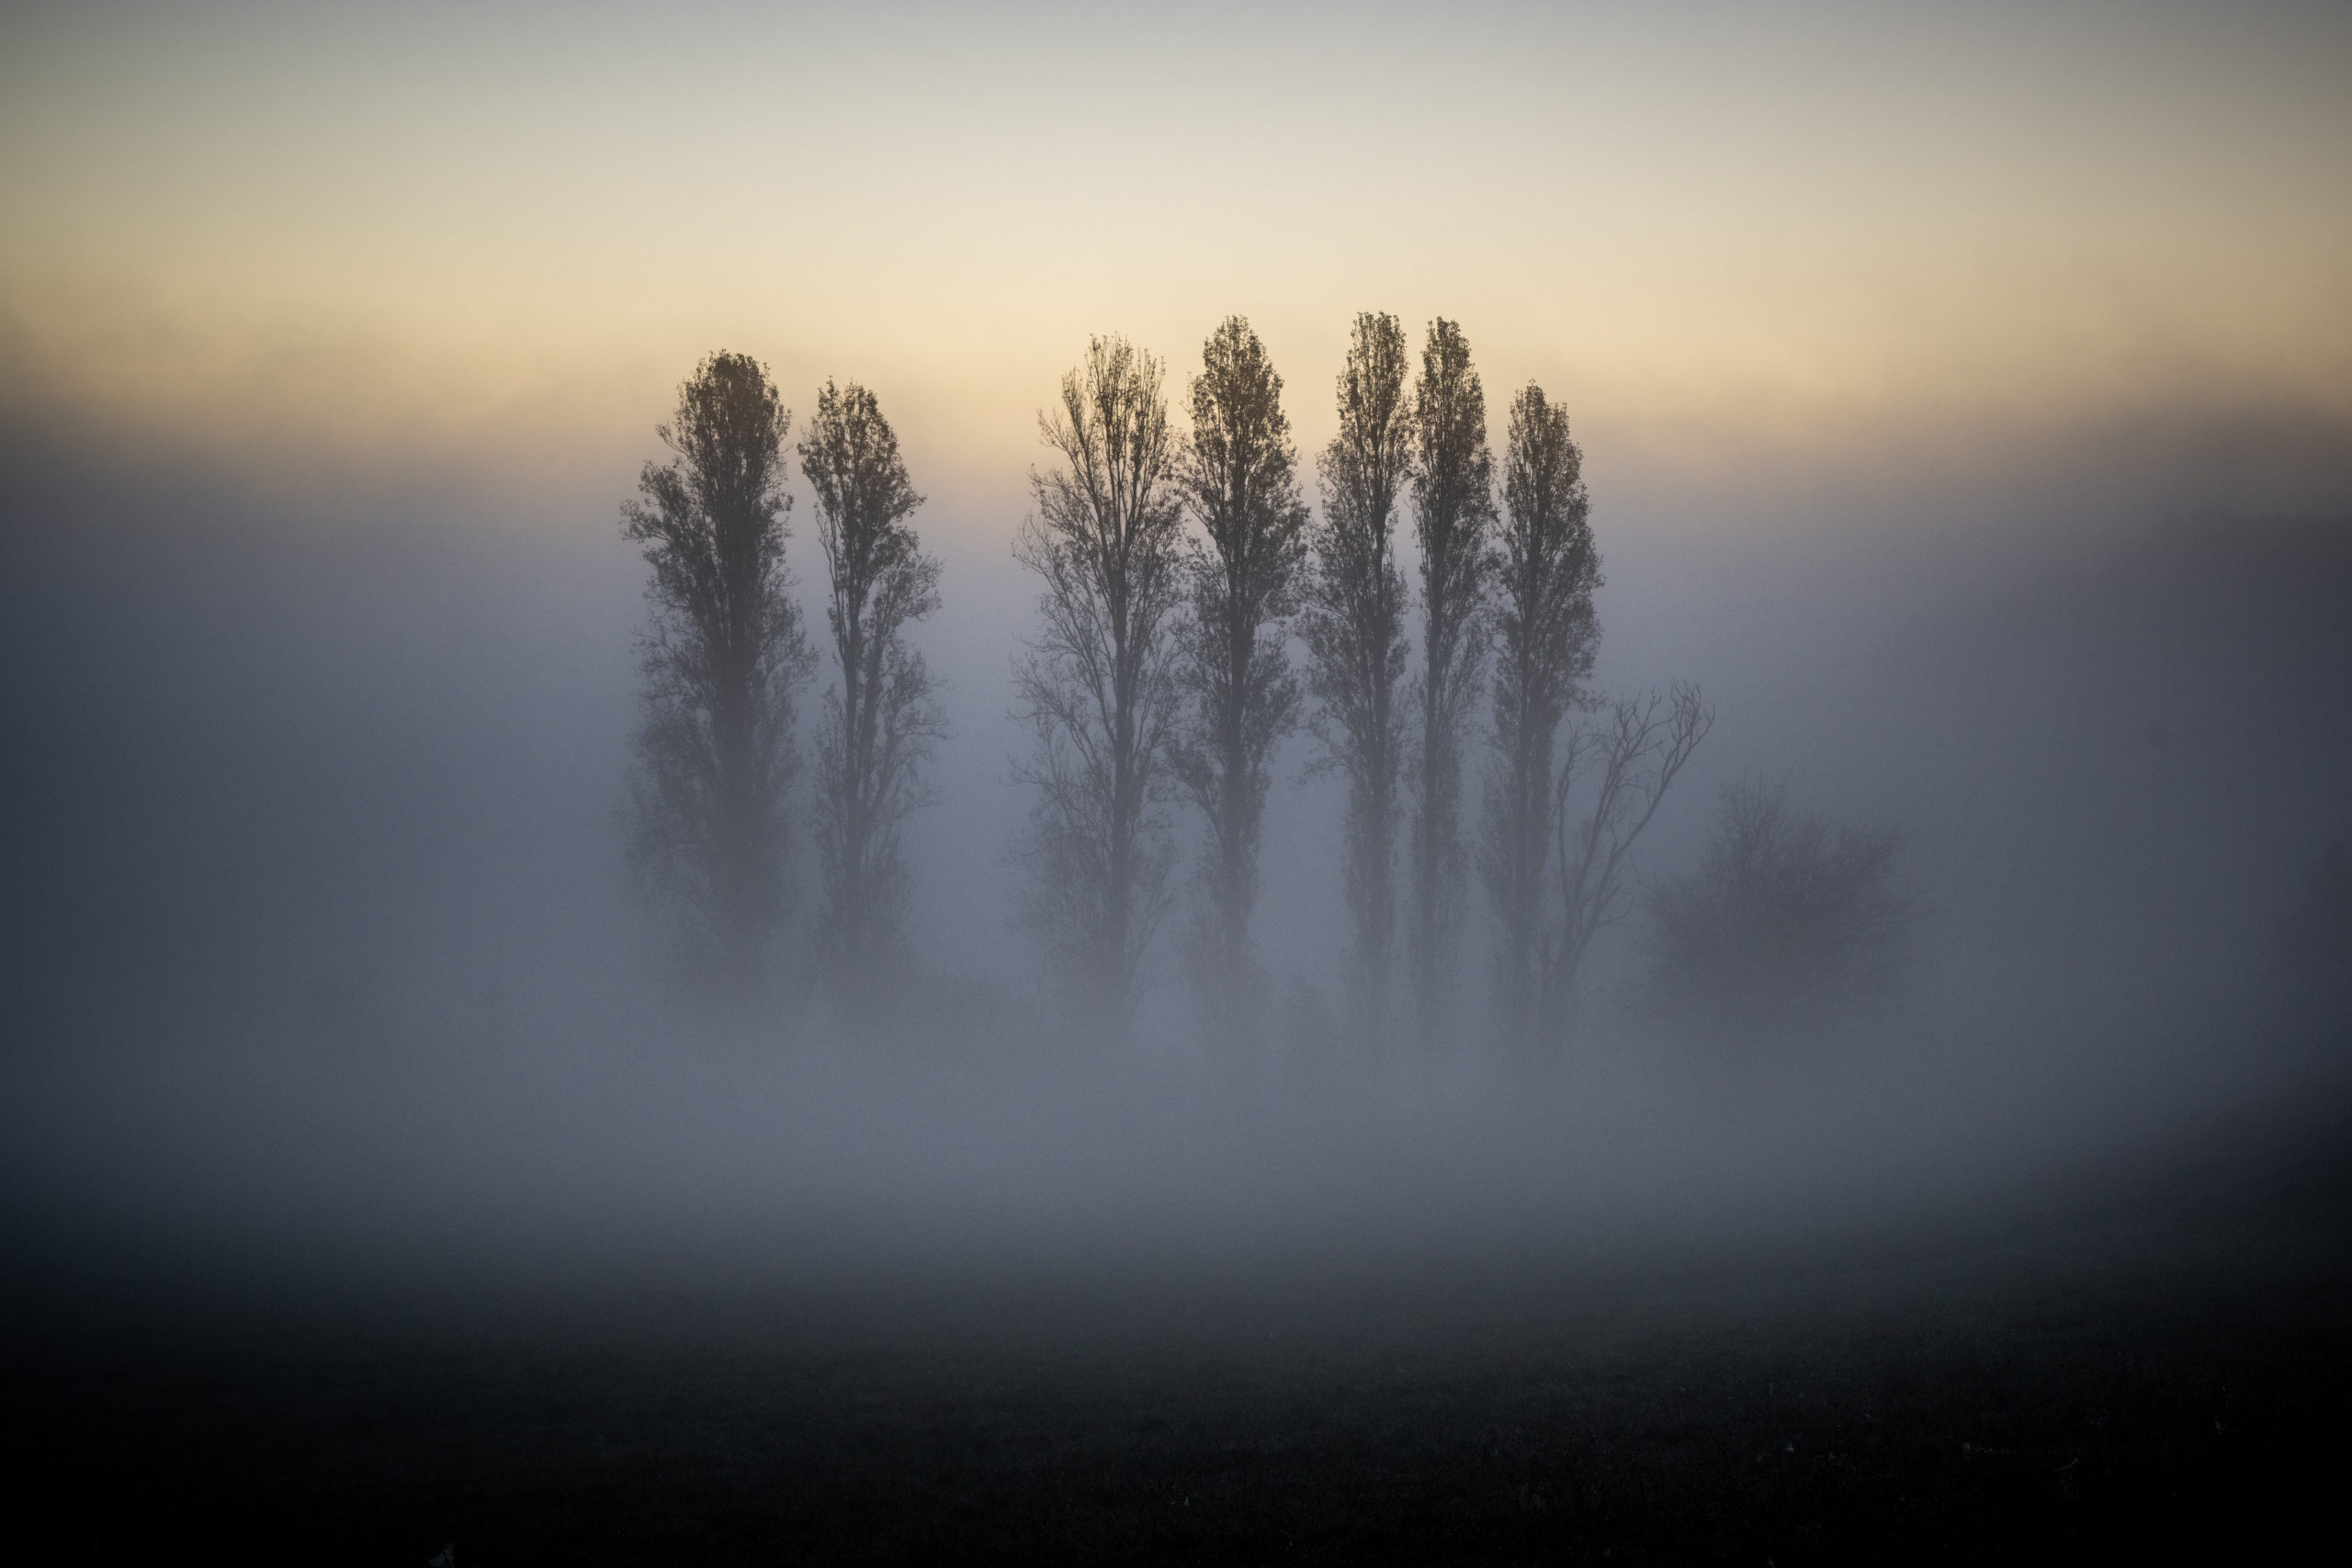
Sadly not taken with the 14-24, this shot ‘needed’ the 24-70 but I’m hapy with the result – going up much closer just to benefit from the wider angle would have ruined the perspective.
This group of majestic trees is not far from home, and just calls out to be photographed – something I have done with monotonous regularity 🙂
The field slopes down from the road, and there’s a 70 or 80 metre walk before you get low enough for the trees to have a bit of sky behind them. As the sun comes up (this was actually at sunrise, but the thick mist managed to mask that extremely well) it hovers over the upper third of the tree tops and is well worth the wait.
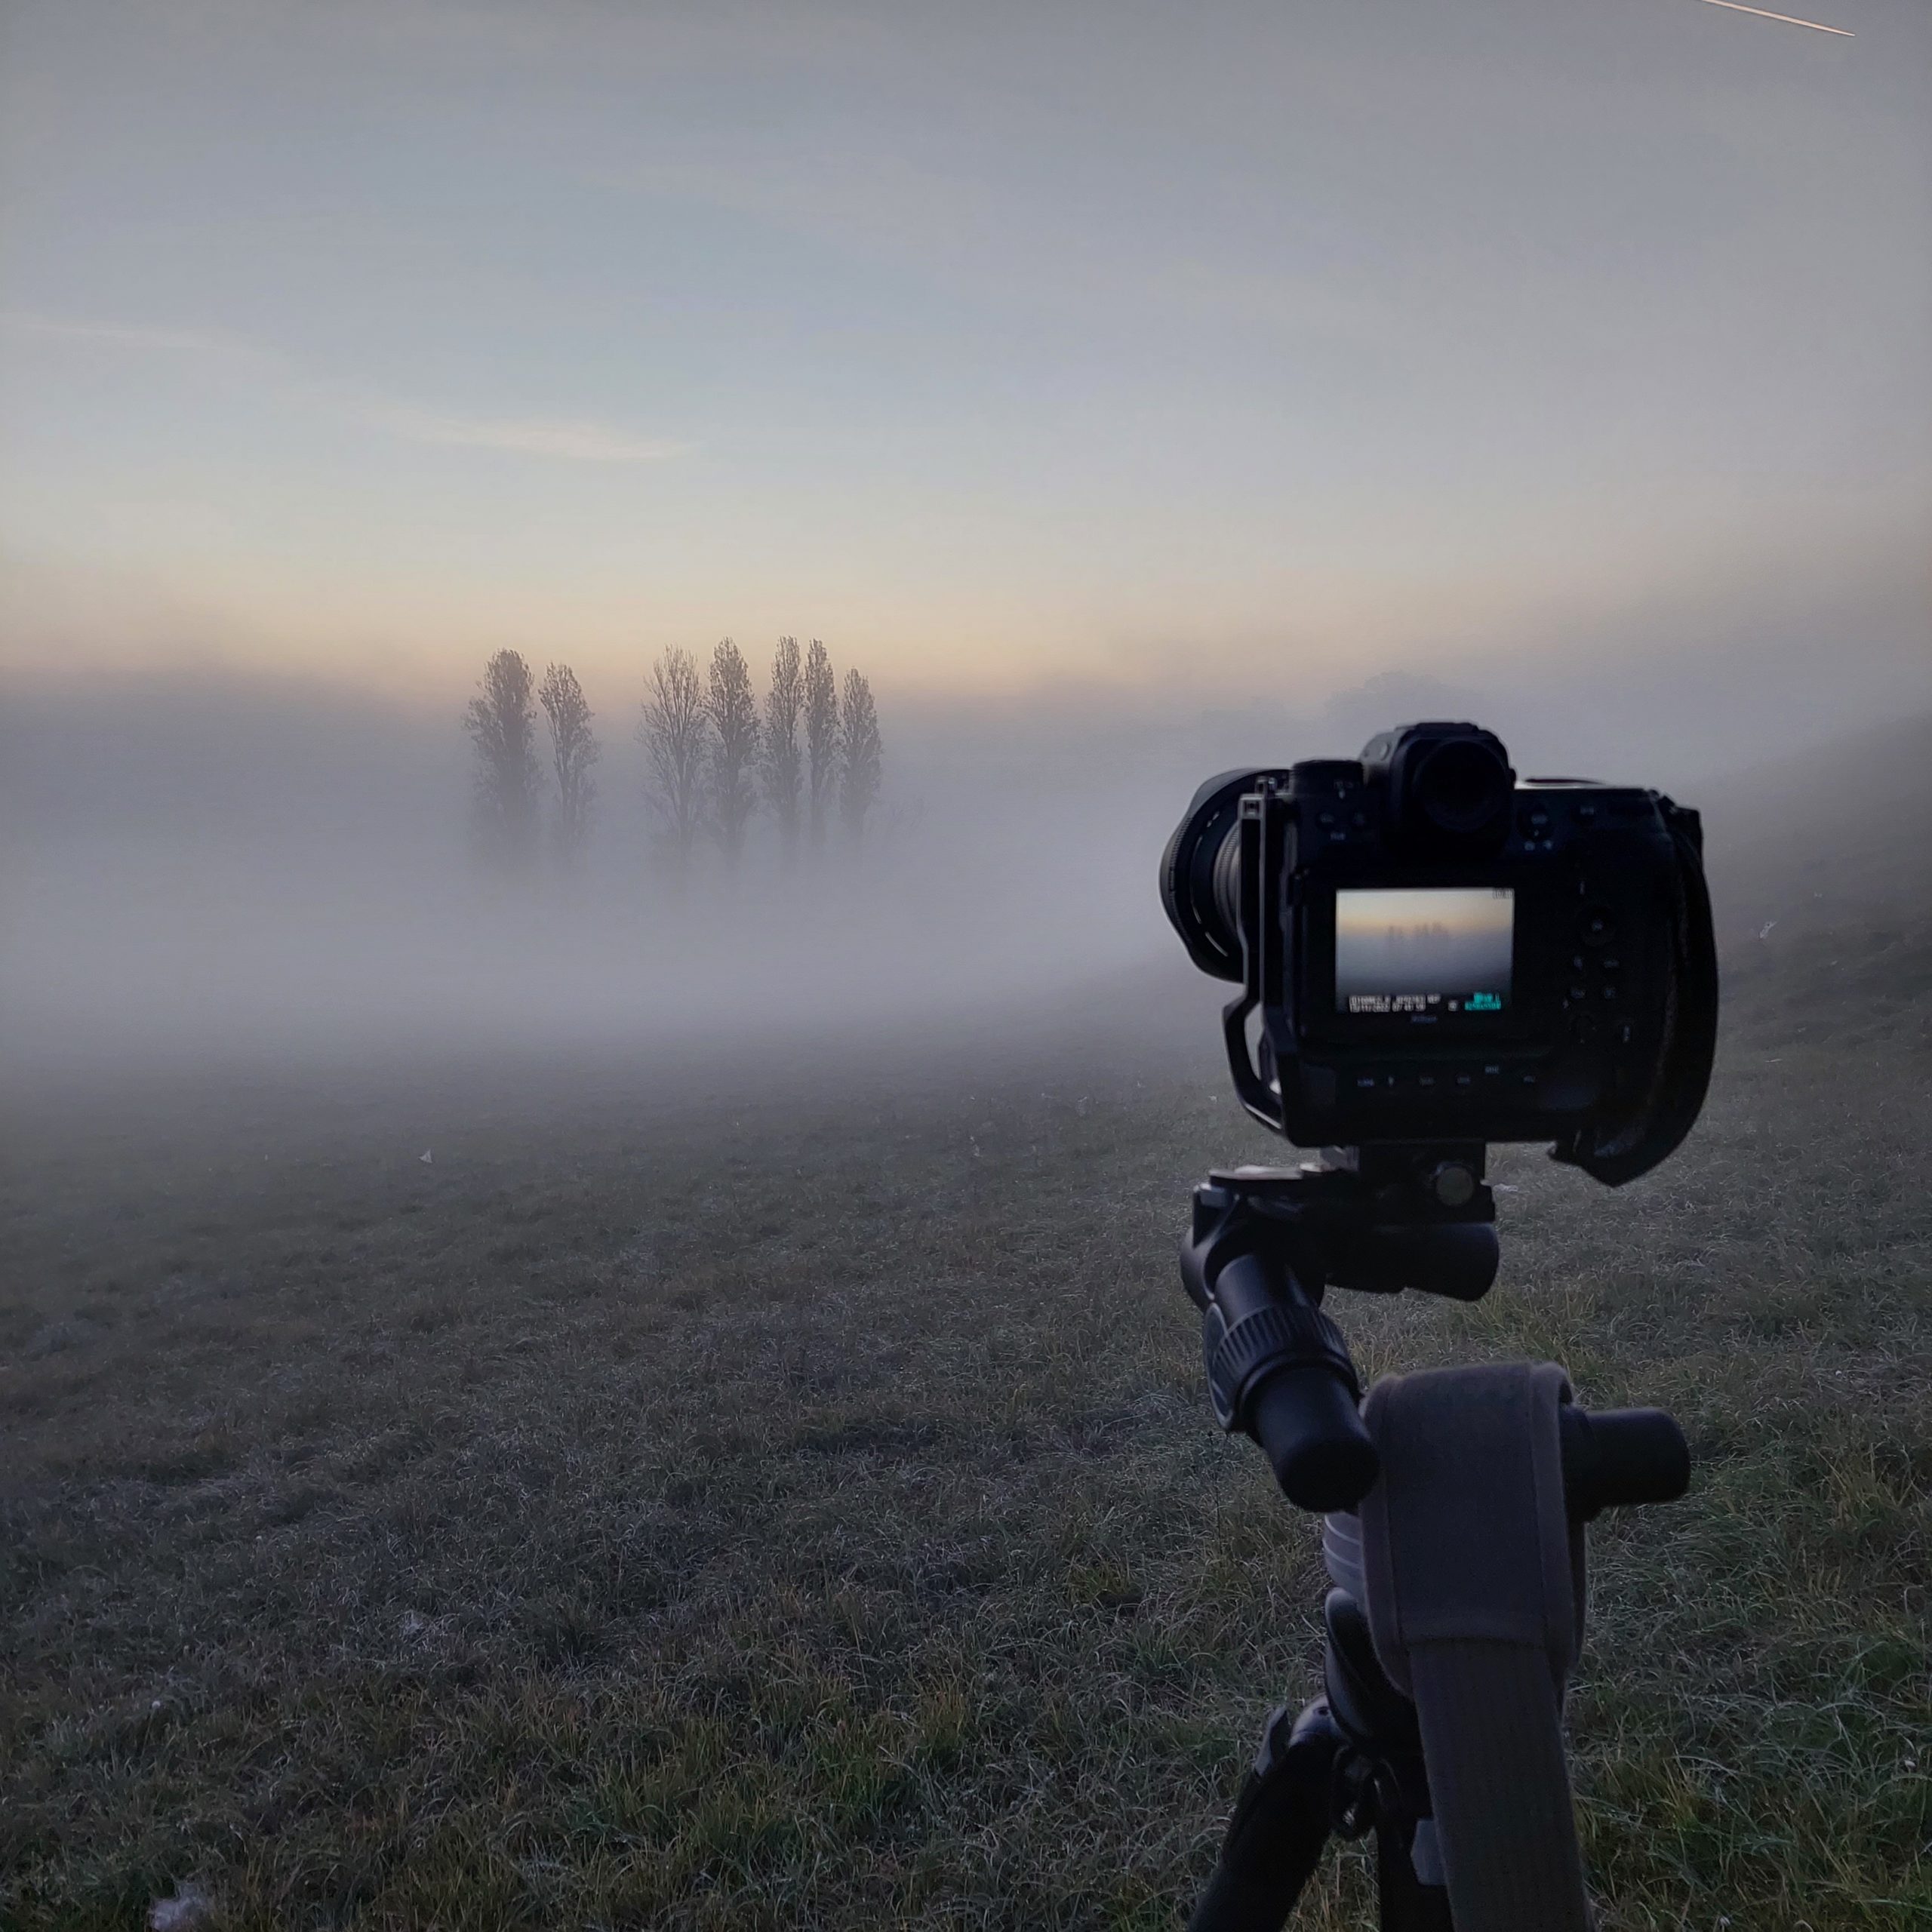
This is what it actually looked like that morning.
It wasn’t as misty as I’d hoped, but here’s the first shot using the new 14-24 f/2.8 S
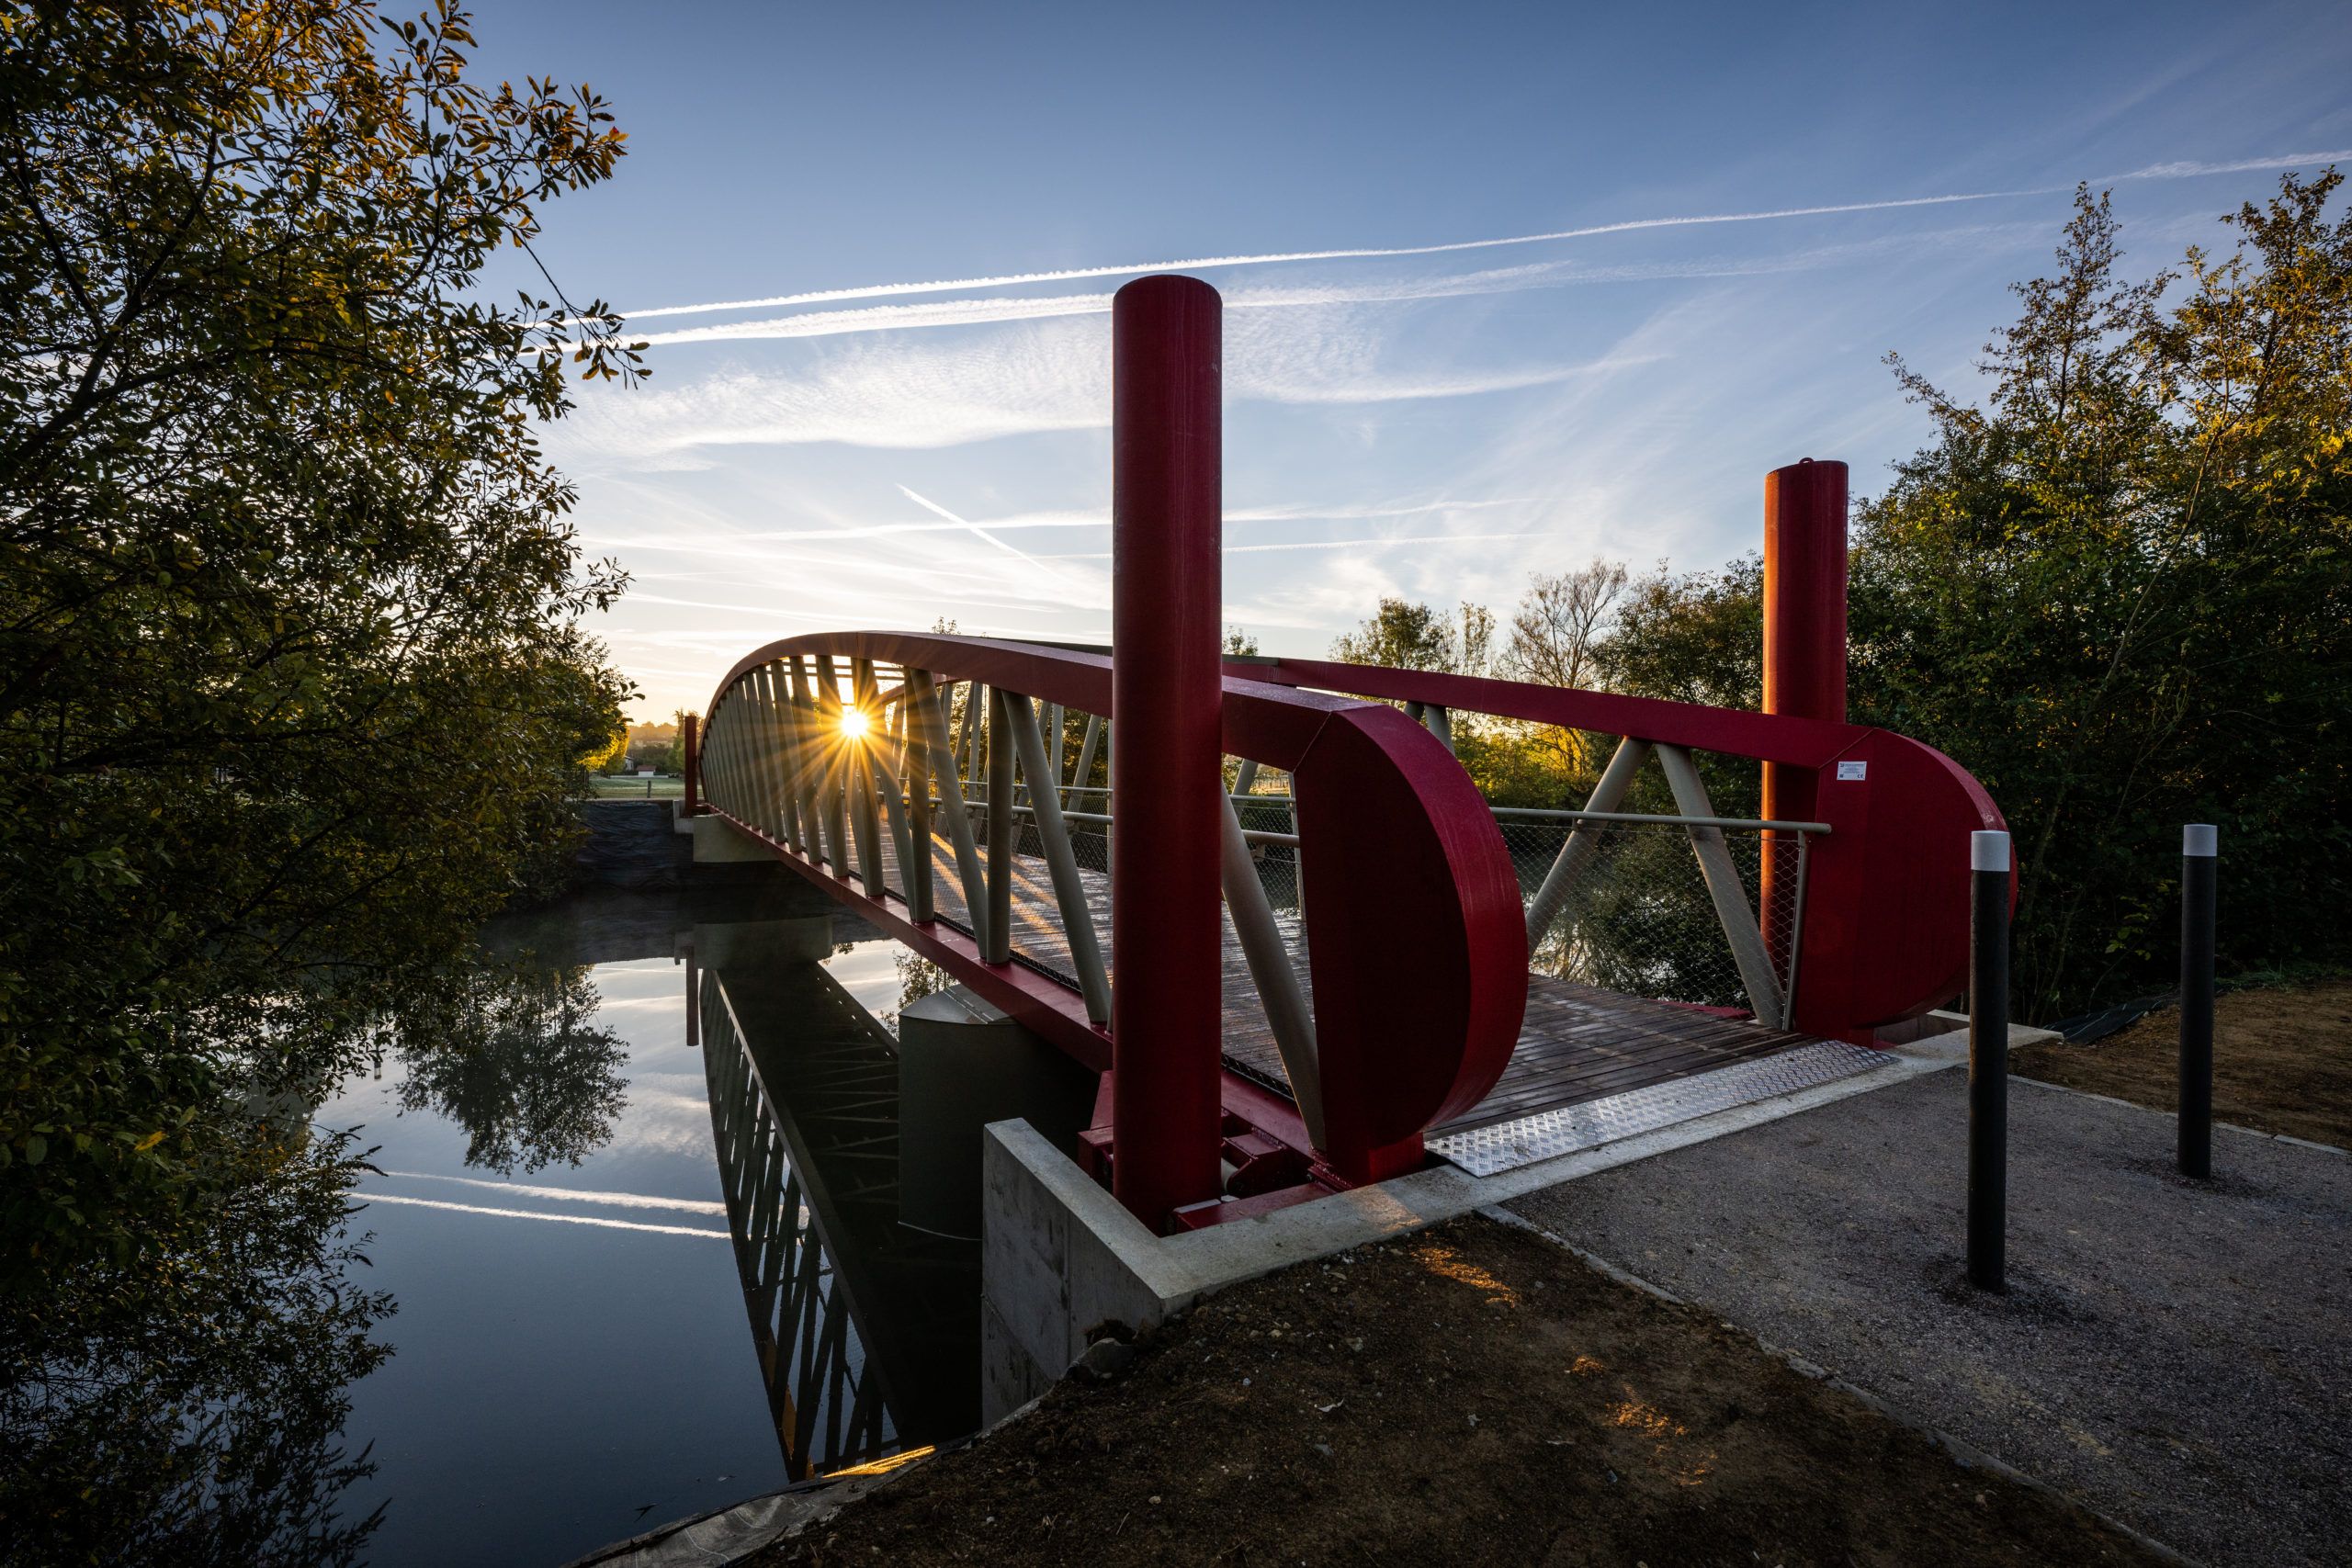
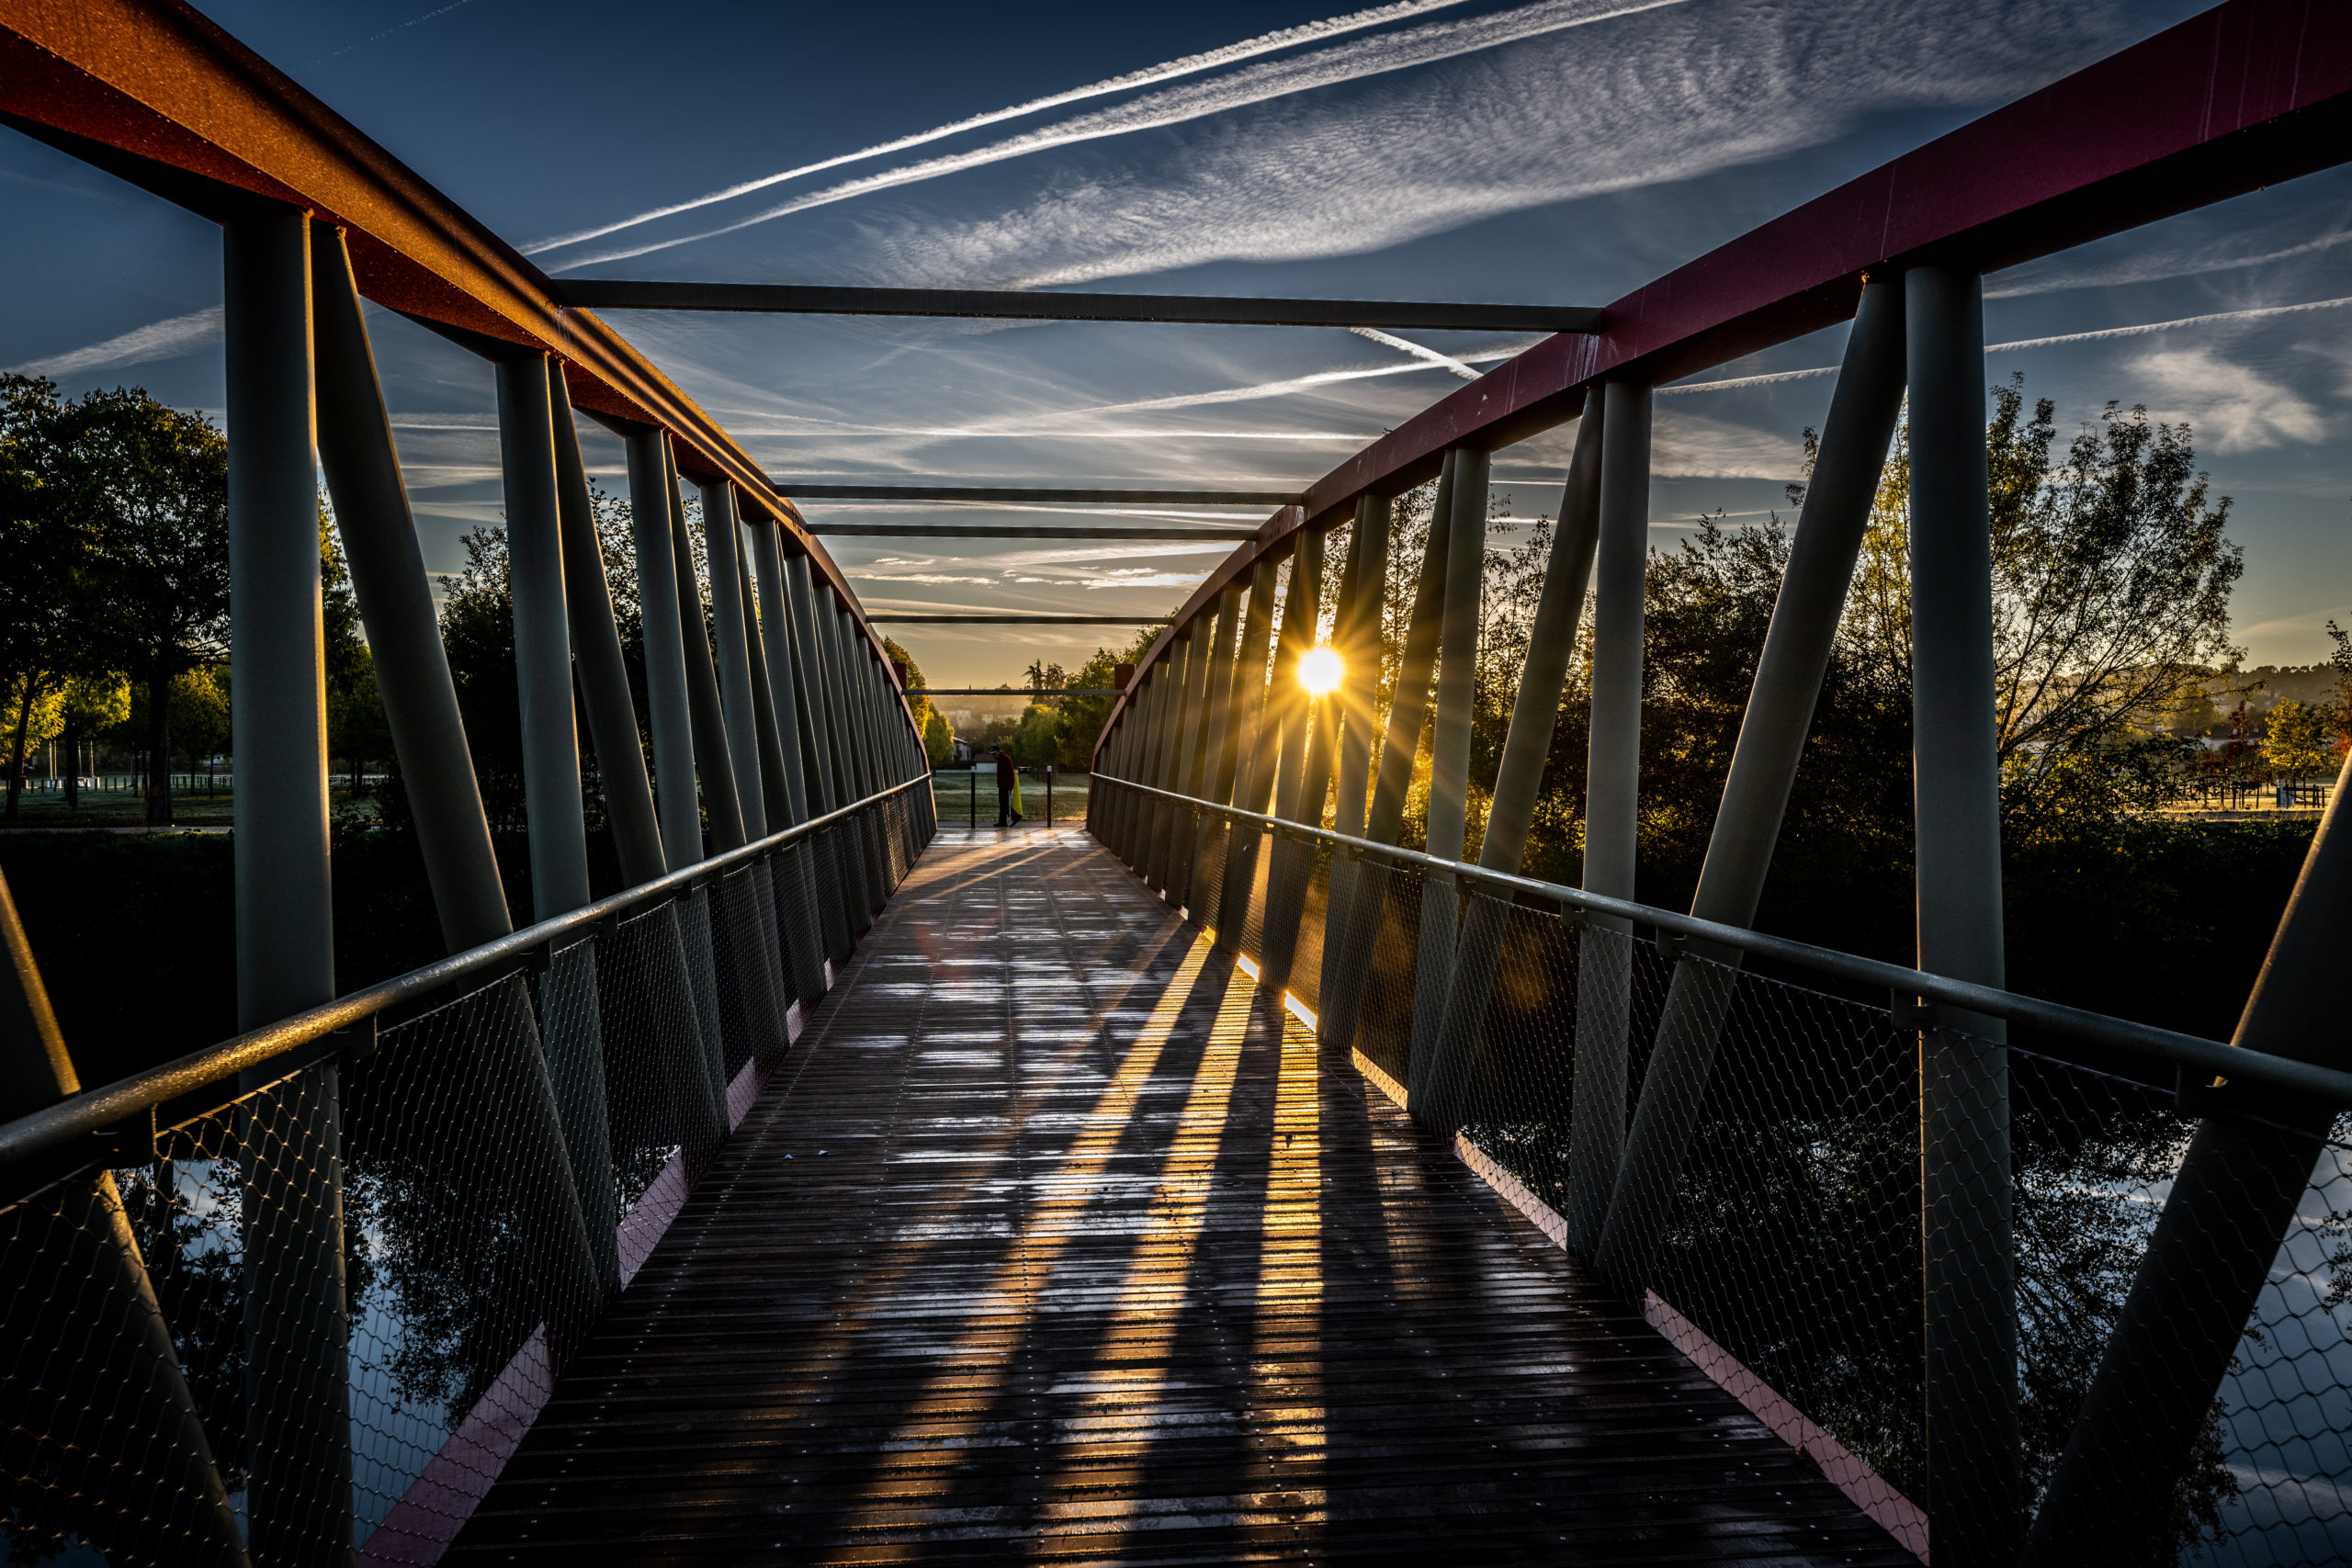
The new bridge (passerelle) over the Gers was inaugurated two days before so I thought that this was a good subject for an early-bird, mist rising photo – sans le mist sadly….
Aside from the reduction in weight compared to the AF-S version, there’s not much to say about this lens – it performs extremely well and is relatively compact. It’s supplied with a monster lens cap similar to it’s older sibling, but this fits the lens hood adapted to take filters – I decided to do what I’ve always done with the older version as it wasn’t possible to mount filters natively, and use the smaller, two petal lens hood with an almost conventional lens cap to protect from muck. This range of focal lengths makes this lens almost my ‘standard’ lens as aside from my work at CiRCa, it’s the lens most generally mounted on my camera.
Nikon 14-24 f/2.8 S – 24mm 250/s f/8 Z9
Here’s the bridge from another viewpoint – and I couldn’t resist playing with the sliders in Lightroom to create a pseudo HDR effect 🙂