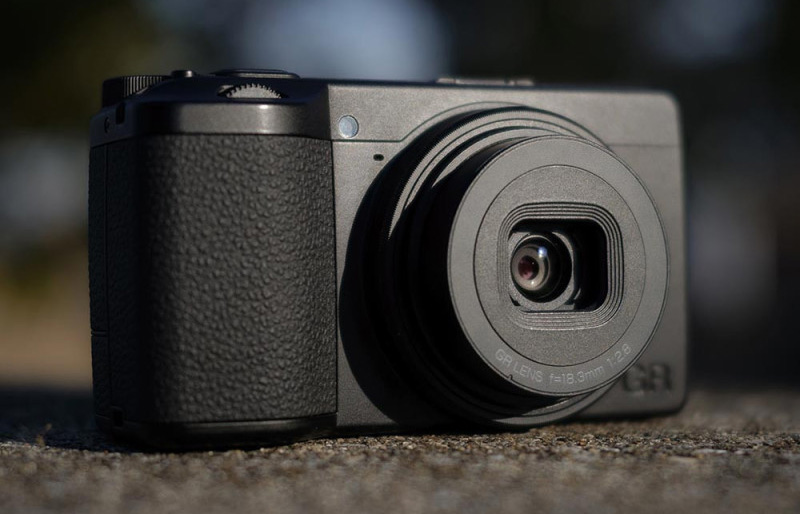
The Ricoh GR-IV has finally arrived in my hot sweaty hands!

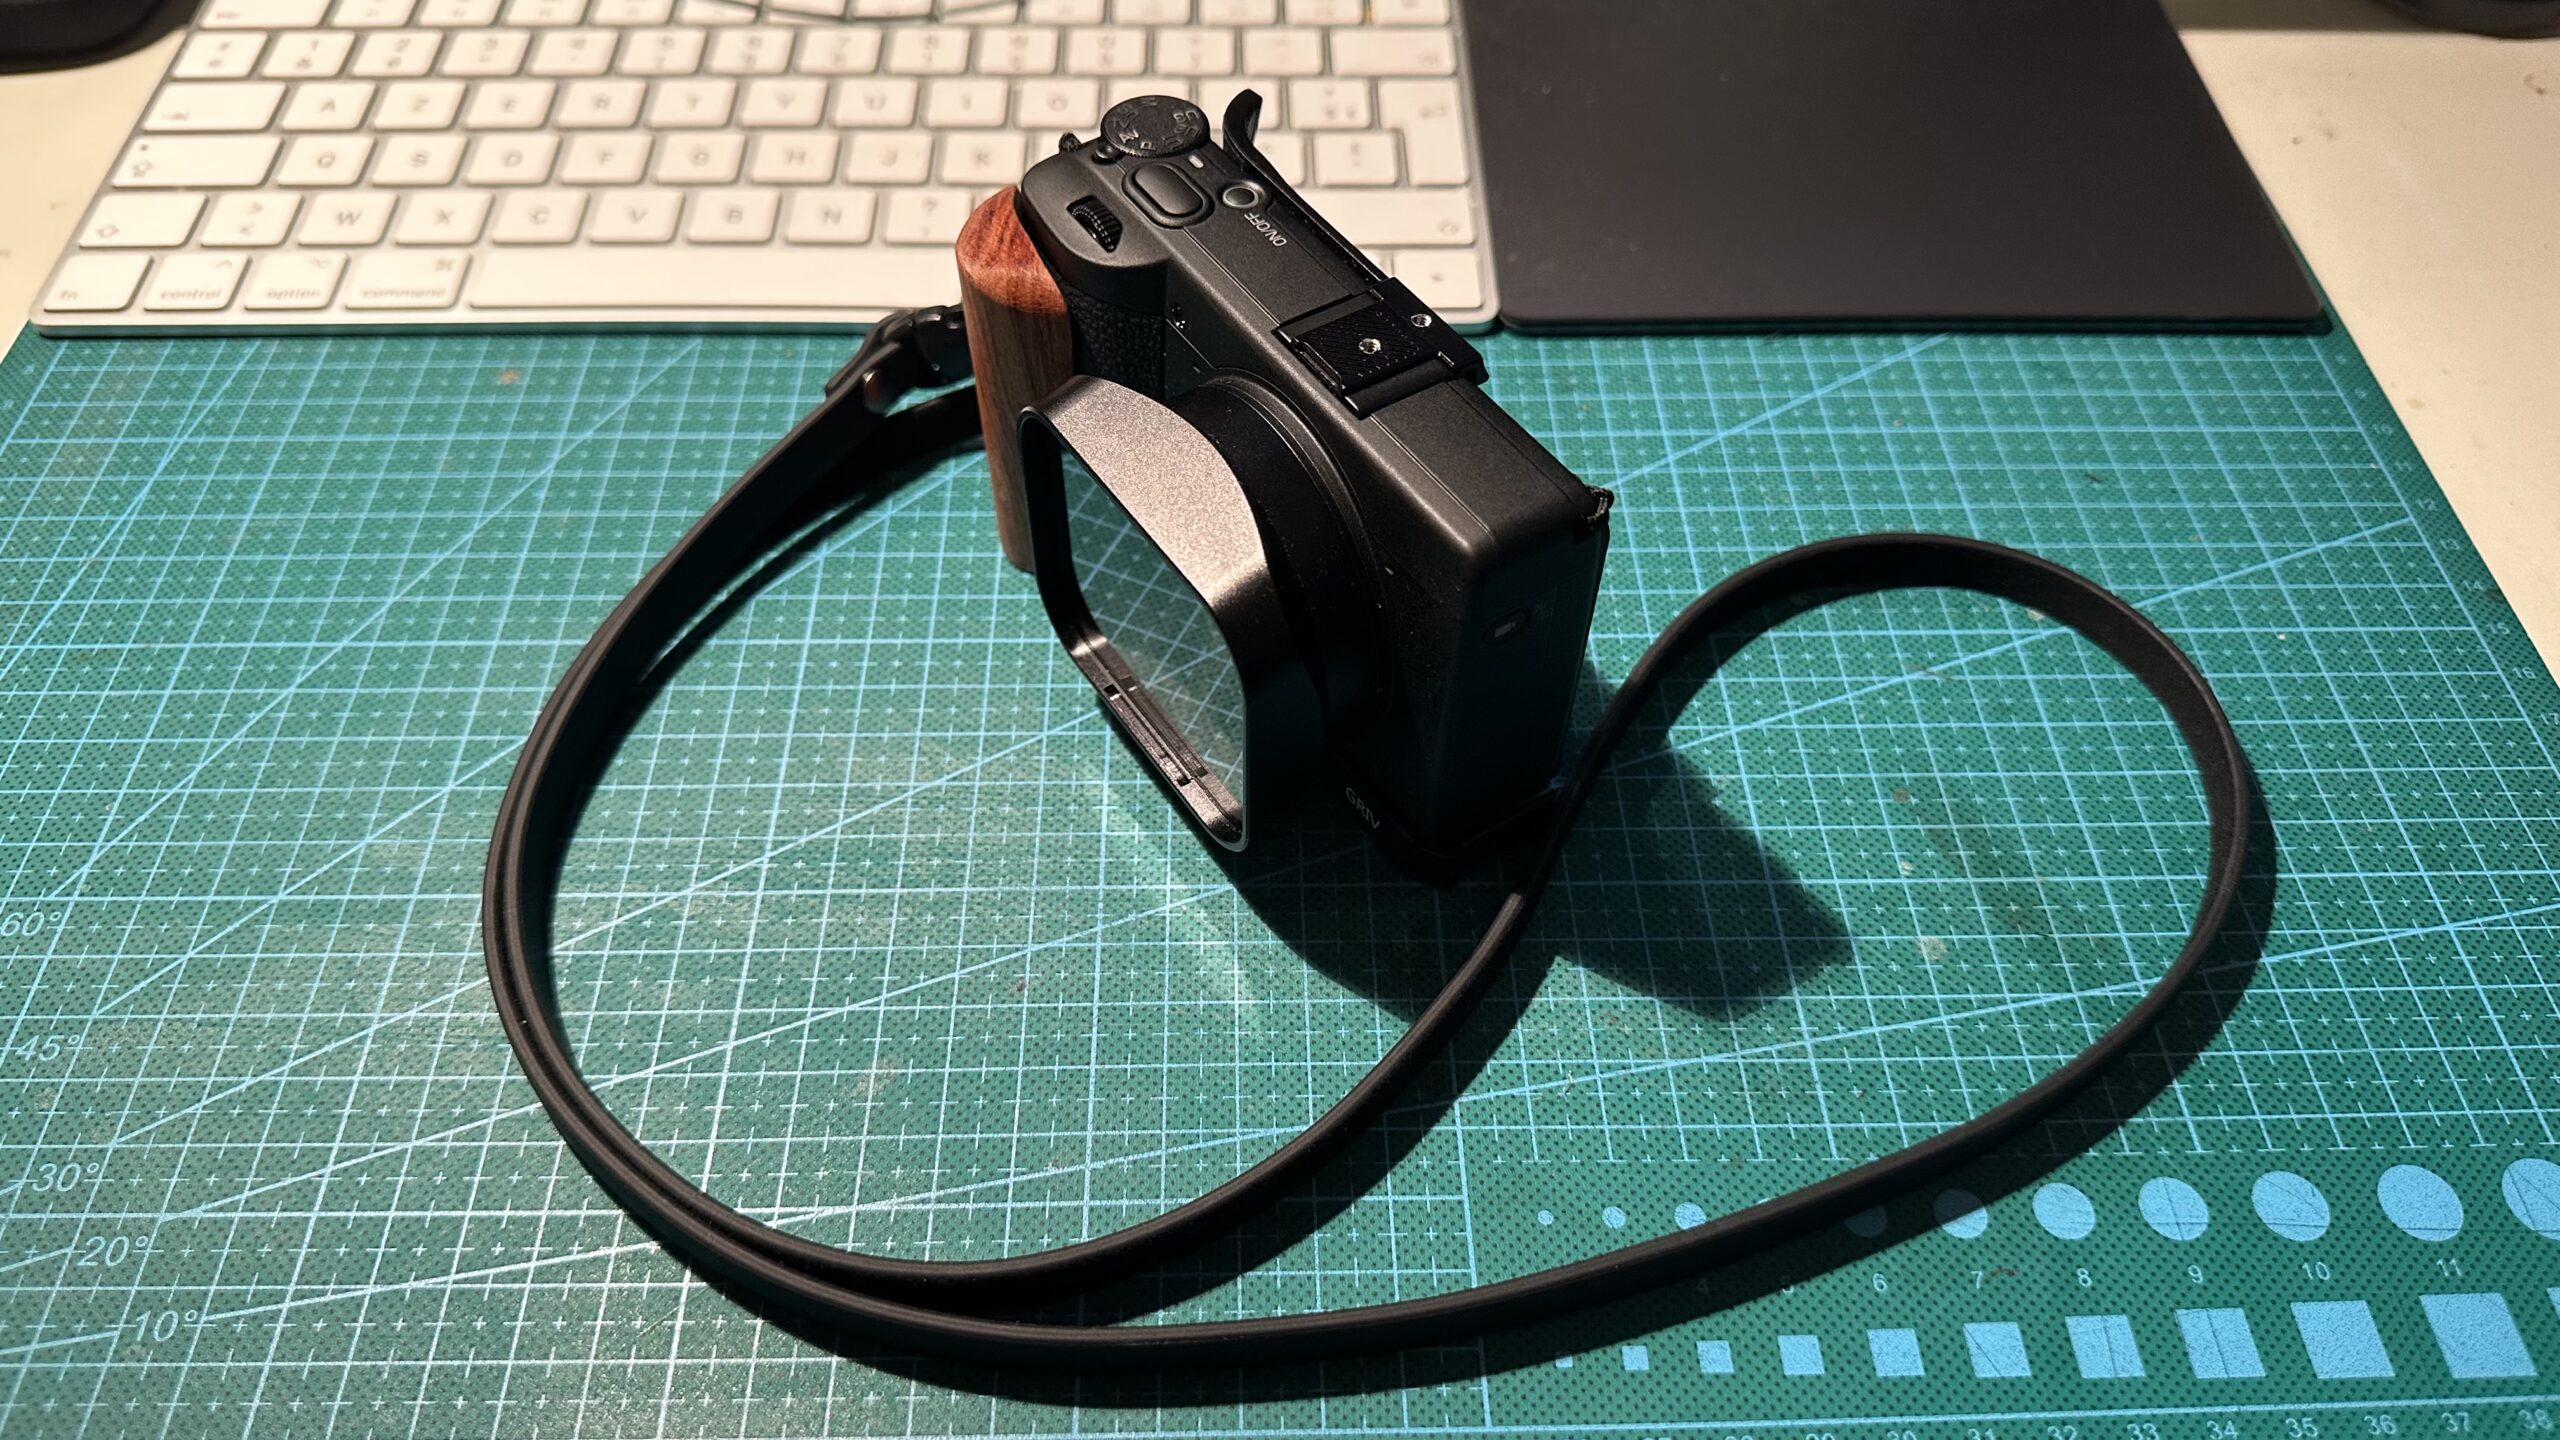
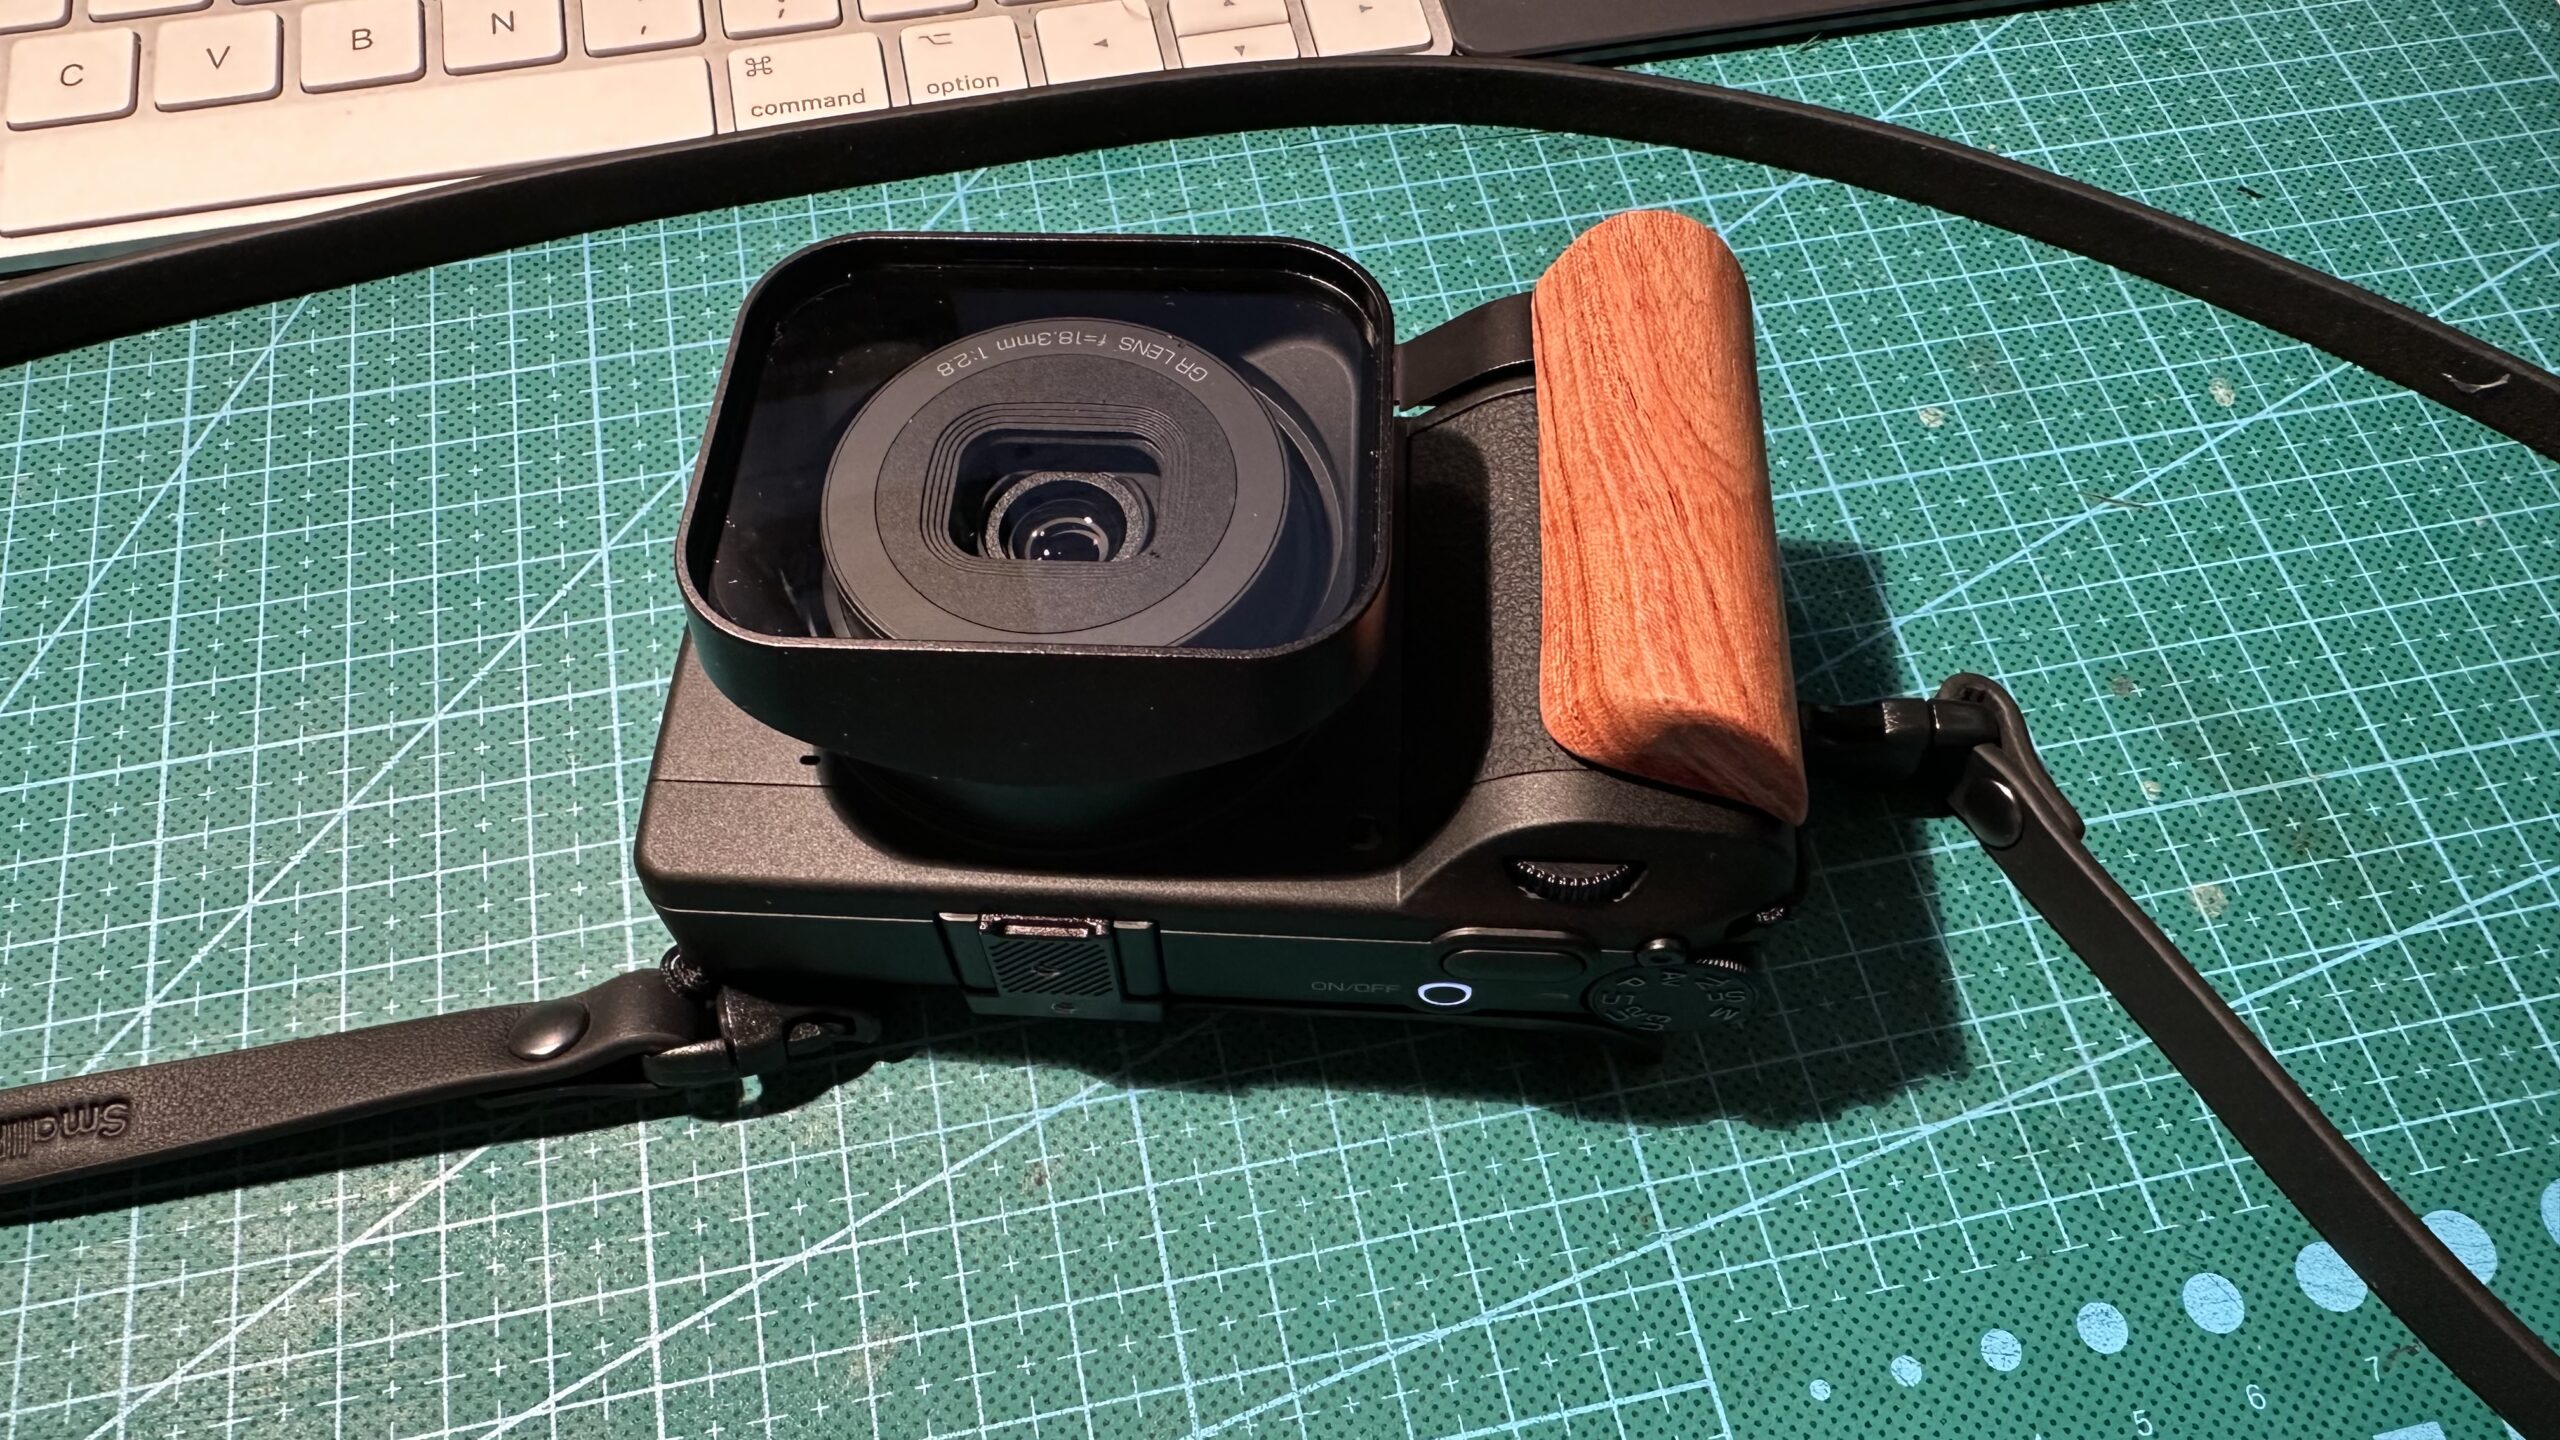
It’s actually extremely small – my ‘bear’ hands envelope it, and it’s almost pocketable – I’ve added a ‘Squarehood‘ lens hood (and filter) which protects the lens but makes it much deeper (so you’ll need huge pockets!)
In terms of controls and functions, there’s everything I need (and more) – quite franly I doubt I’ll ever make a B&W movie, but it IS possible with this beasty. Aside from that, there’s auto ISO, recording in both RAW (DNG) and .jpg, anti vibration, etc.etc.
The files are stored on a microSD card which is fine in terms of capacity, but a fiddle to remove from the camera – it’s under the same cover as the battery – best to remove that first otherwise it’s a bit of a pain to get the card out.
The lens ‘pops out’ when the camera is turned on, and the experts (GR-IV, and GR-III users) suggest using a Swedish made ‘Squarehood‘ which has a built in glass filter – this prevents dust getting into the mechanism (and obviously acts as a lens hood too) so I ‘invested’ in one. The only downside to this is the fact that it makes the camera a little more bulky as it sticks out quite a bit. Small price to pay for the protection, in my view. This hood is an excellent design, with a clear glass to protect the lens (also available as a UV/haze filter which I din’t choose) – there’s a lens cap too, which clips into recesses in the inside top and bottom edges – very neat.
I’ve chosen to add a small grip which really does help my fingers hold this minute body! The grip has an ARCA plate on the bottom if ever I felt the need to mount this on a tripod. I also added a slip-in thumb rest which in conjunction with the grip, really does enhance the grip. This slips into the flash shoe on the camera top plate.
The controls and functions are pretty much what we find on all modern digital cameras – condensed into a microscopic body! RAW data is output as DNG files, which most post processing software handles perfectly easily.
The ‘monochrom‘ aspect of this camera creates an interesting problem in terms of exposure latitude – there isn’t very much at all. The ‘smoothing’ effect of multiple pixels being summed together (and then treated seperateley in post) simply doesn’t exist, and as such, getting a ‘correct’ exposure is much more important as there is less chance of correcting it in later.
As there is no Bayer or anti aliasing filter – the 25.7 megapixel sensor outputs everything ‘undiluted’ or summed – the APS-C sensor measures 23,3 x 15,5 mm – and the results are very sharp – the 18mm f/2.8 lens (28mm equivalent in full frame) obviously helps here too. The dynamic range is very broad and the initial results I find very promising.
I tend to use the +/- exposure correction and this is easily accessible on the top right of the camera back. Also nearby is a button to turn on a red filter (on the ‘normal’ GR-IV this is a neutral density filter) This is useful to increase the contrast on sunny days with clouds etc. Anything red will be lightened, obviously, but for the B&W afficionados, this will probably be ‘on’ all the time!! I’ll be testing this too.
The screen brightness is initially set to ‘Auto’ which I find still dark for very bright lighting – this can be adjusted to various settings to compensate for bright sunny conditions.
The camera can also connect via Bluetooth and WiFi to a smartphone so downloading images wirelessly is simplified.
I must admit I would like to have a wireless remote control for this camera – sometimes long exposures can be helped by setting the camera off without physically touching it.
One really neat addition is the artificial horizon at the bottom of the screen – for someone totally incapable of holding their camera level, this is VERY welcome ! An orange line becomes green when the camera is held level.
With the camera turned off, the ‘play’ button reactivates the display of images – and another push turns it off again. This is slightly disturbing initially, as I couldn’t understand why the camera kept turning itself on…of course, I could have read the instructions I suppose…
I’ll be adding to this article as I get used to using the camera.
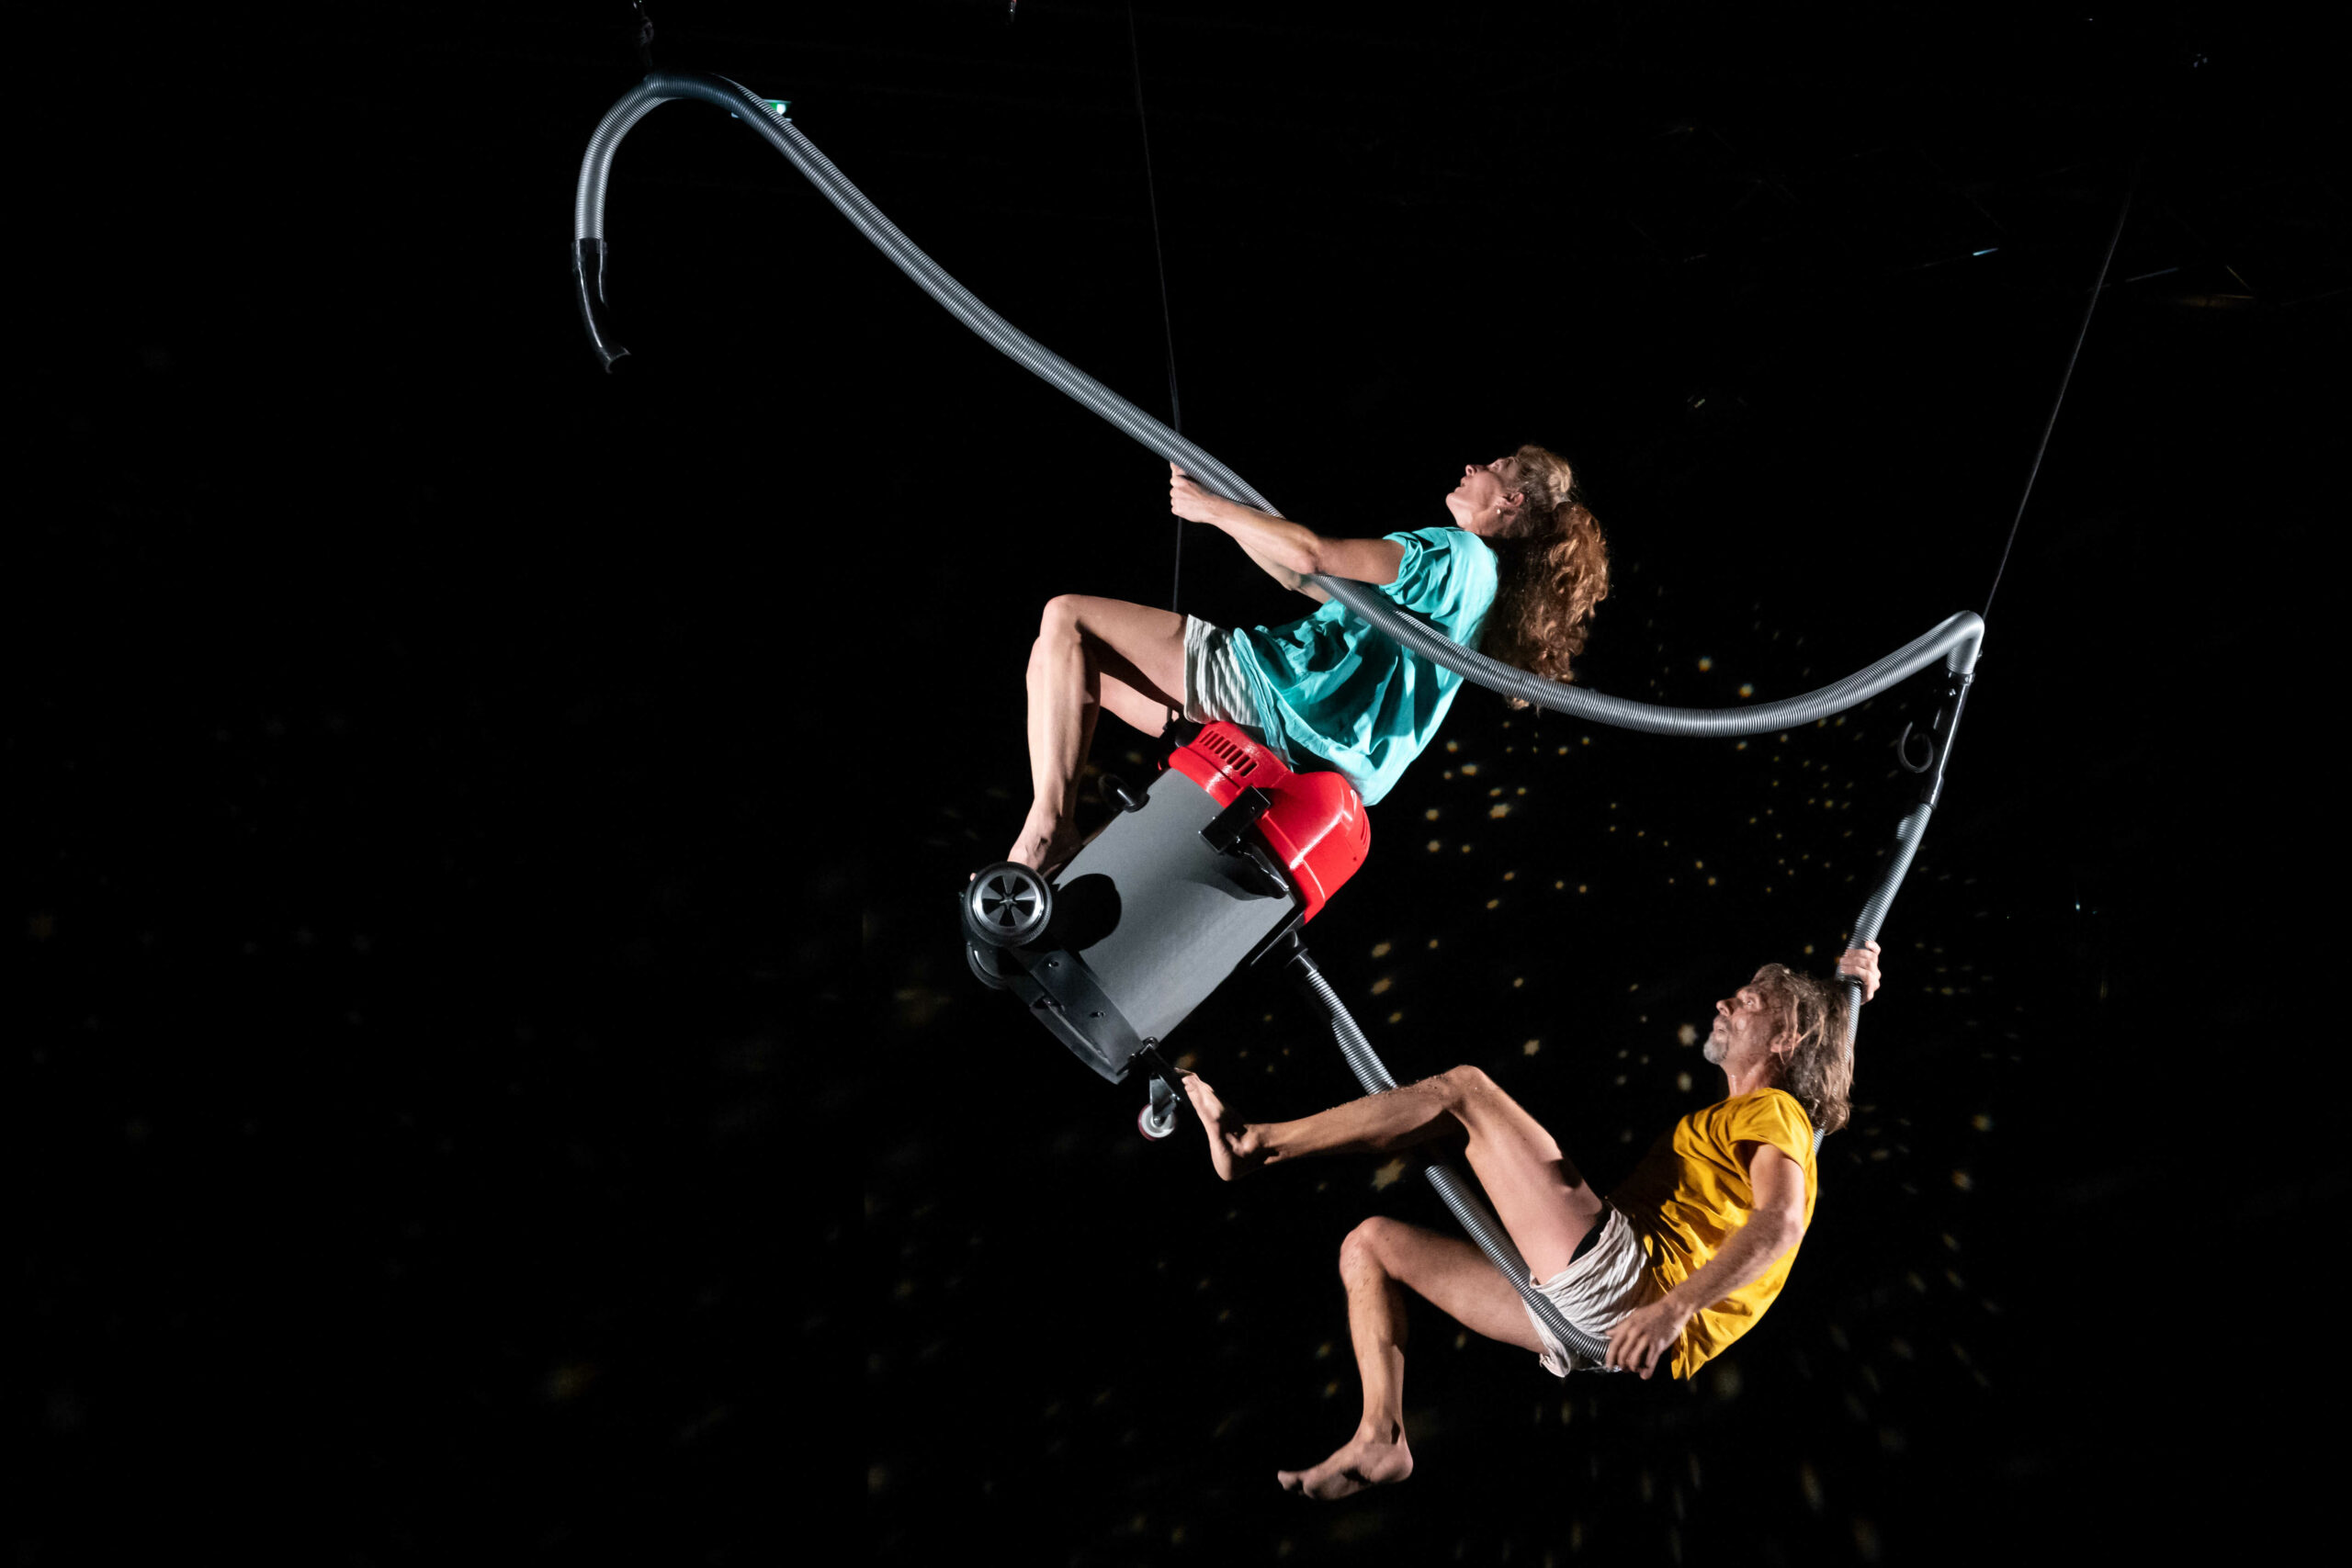
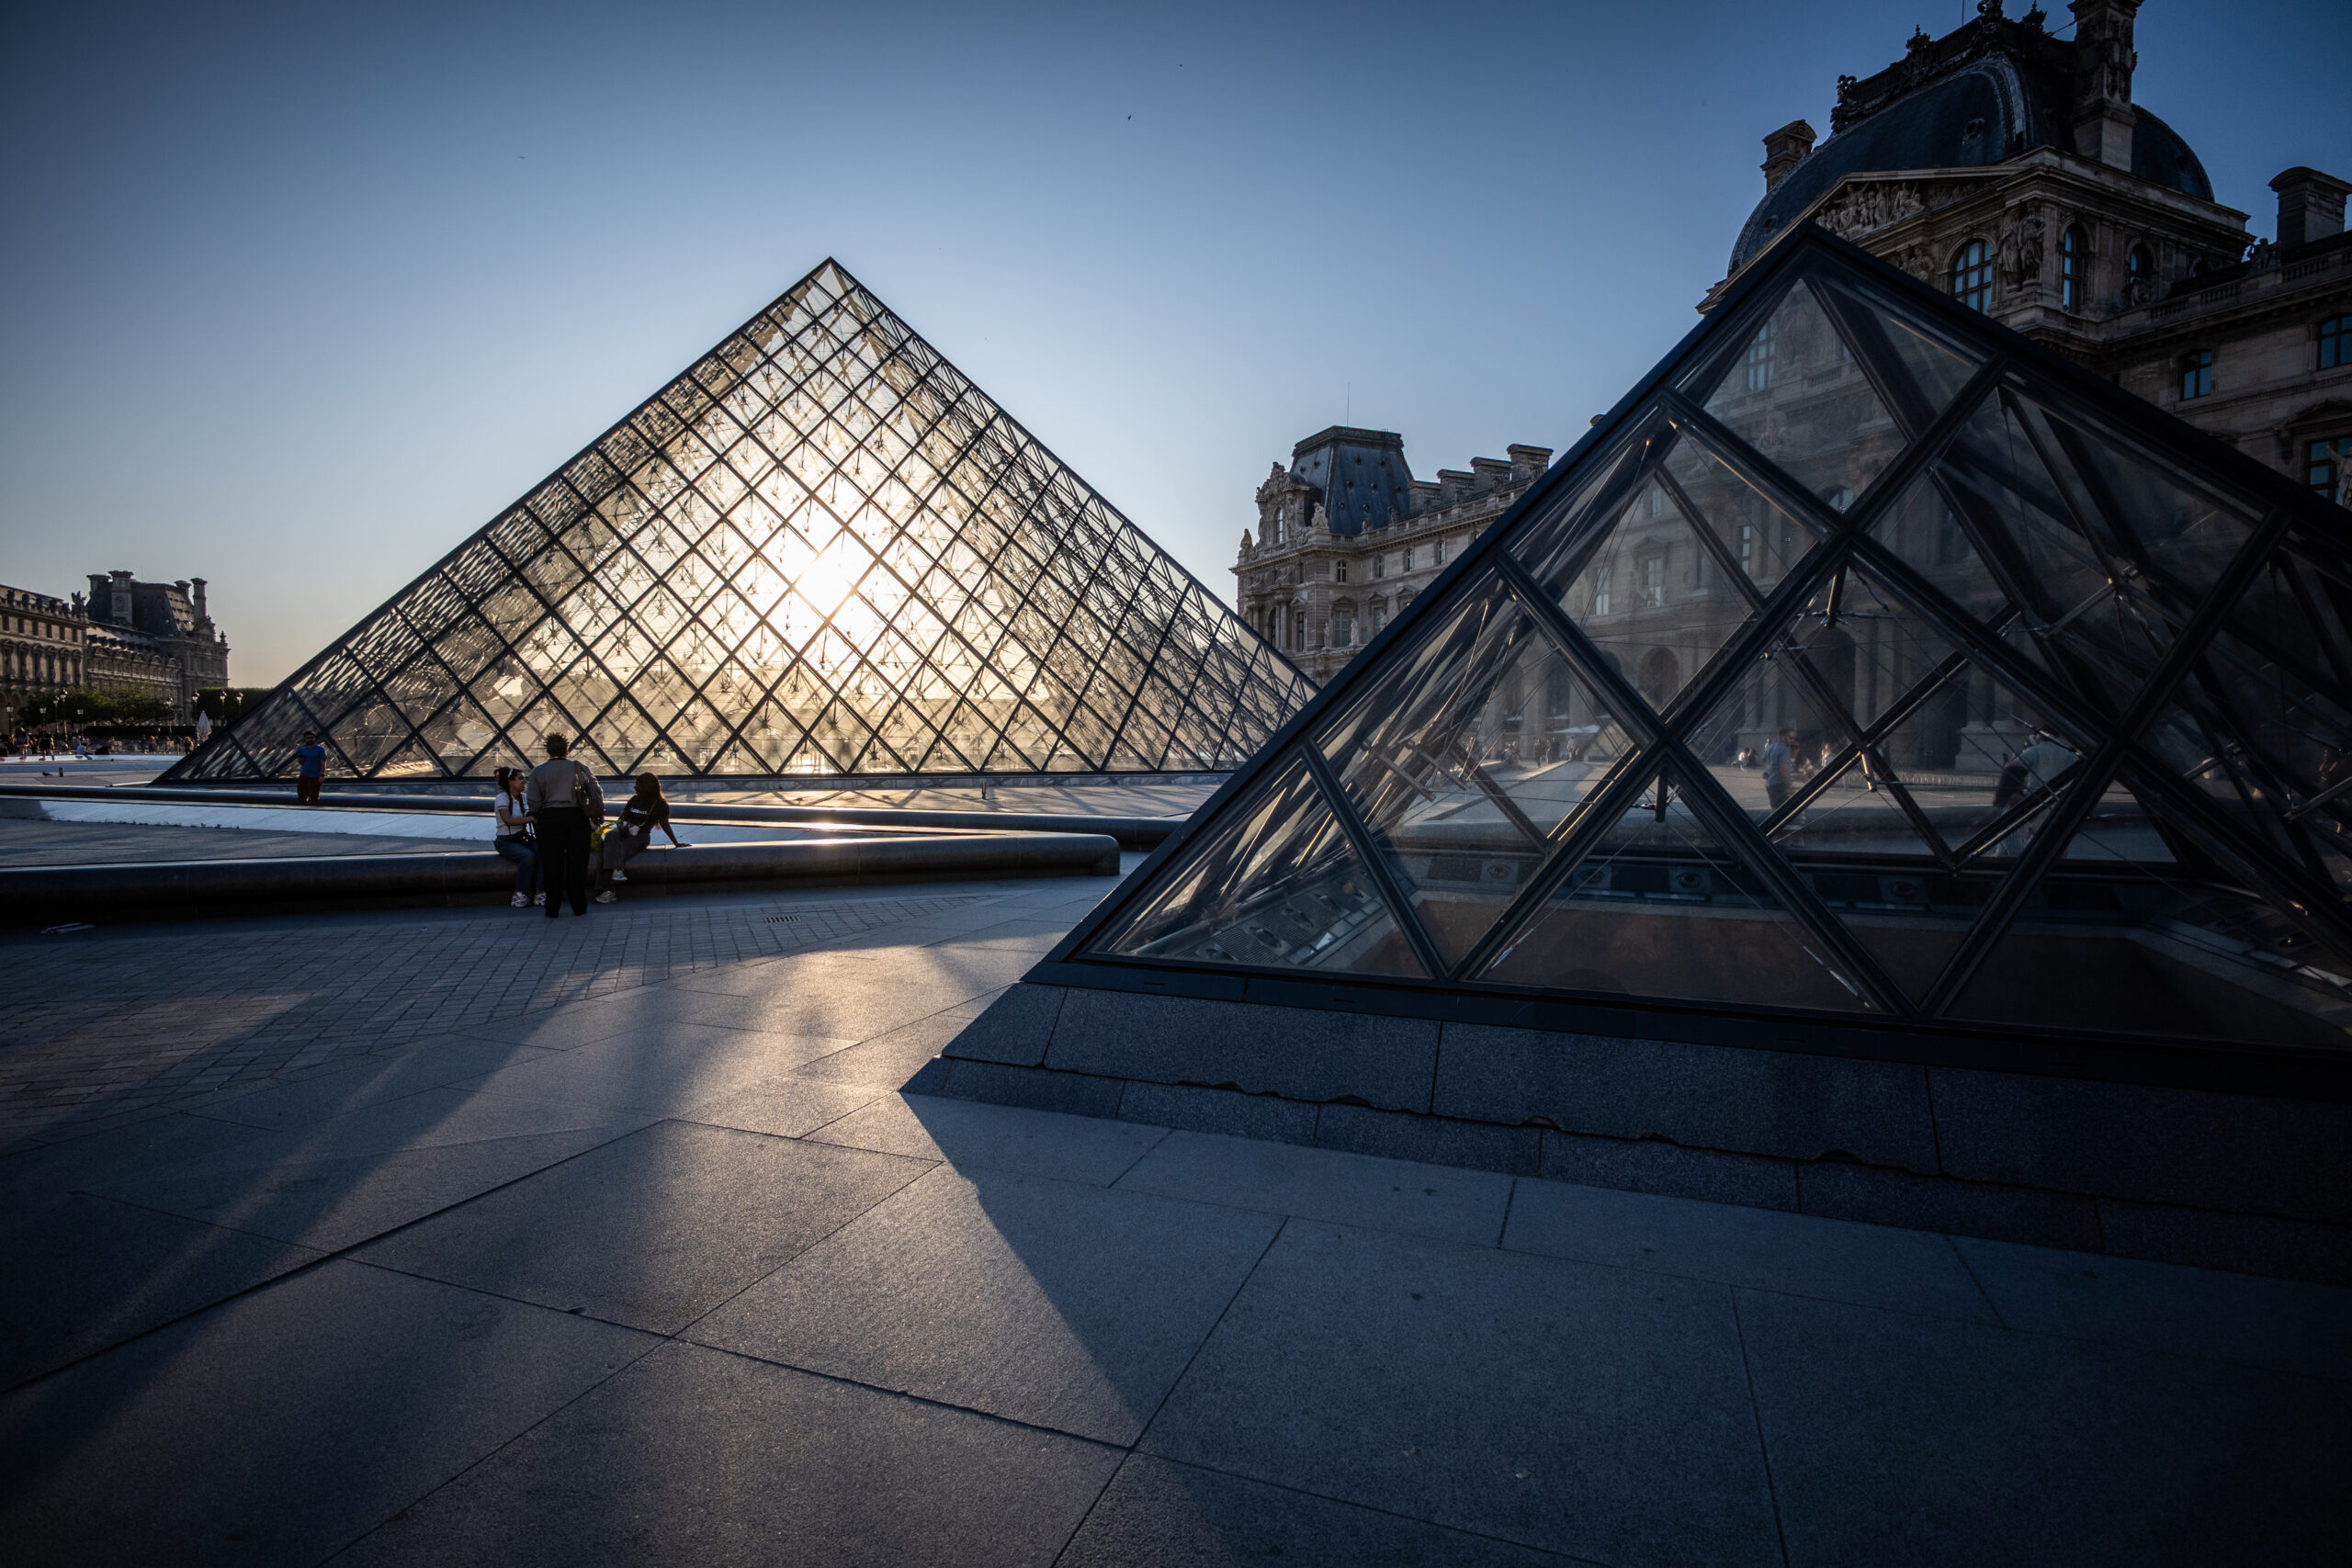
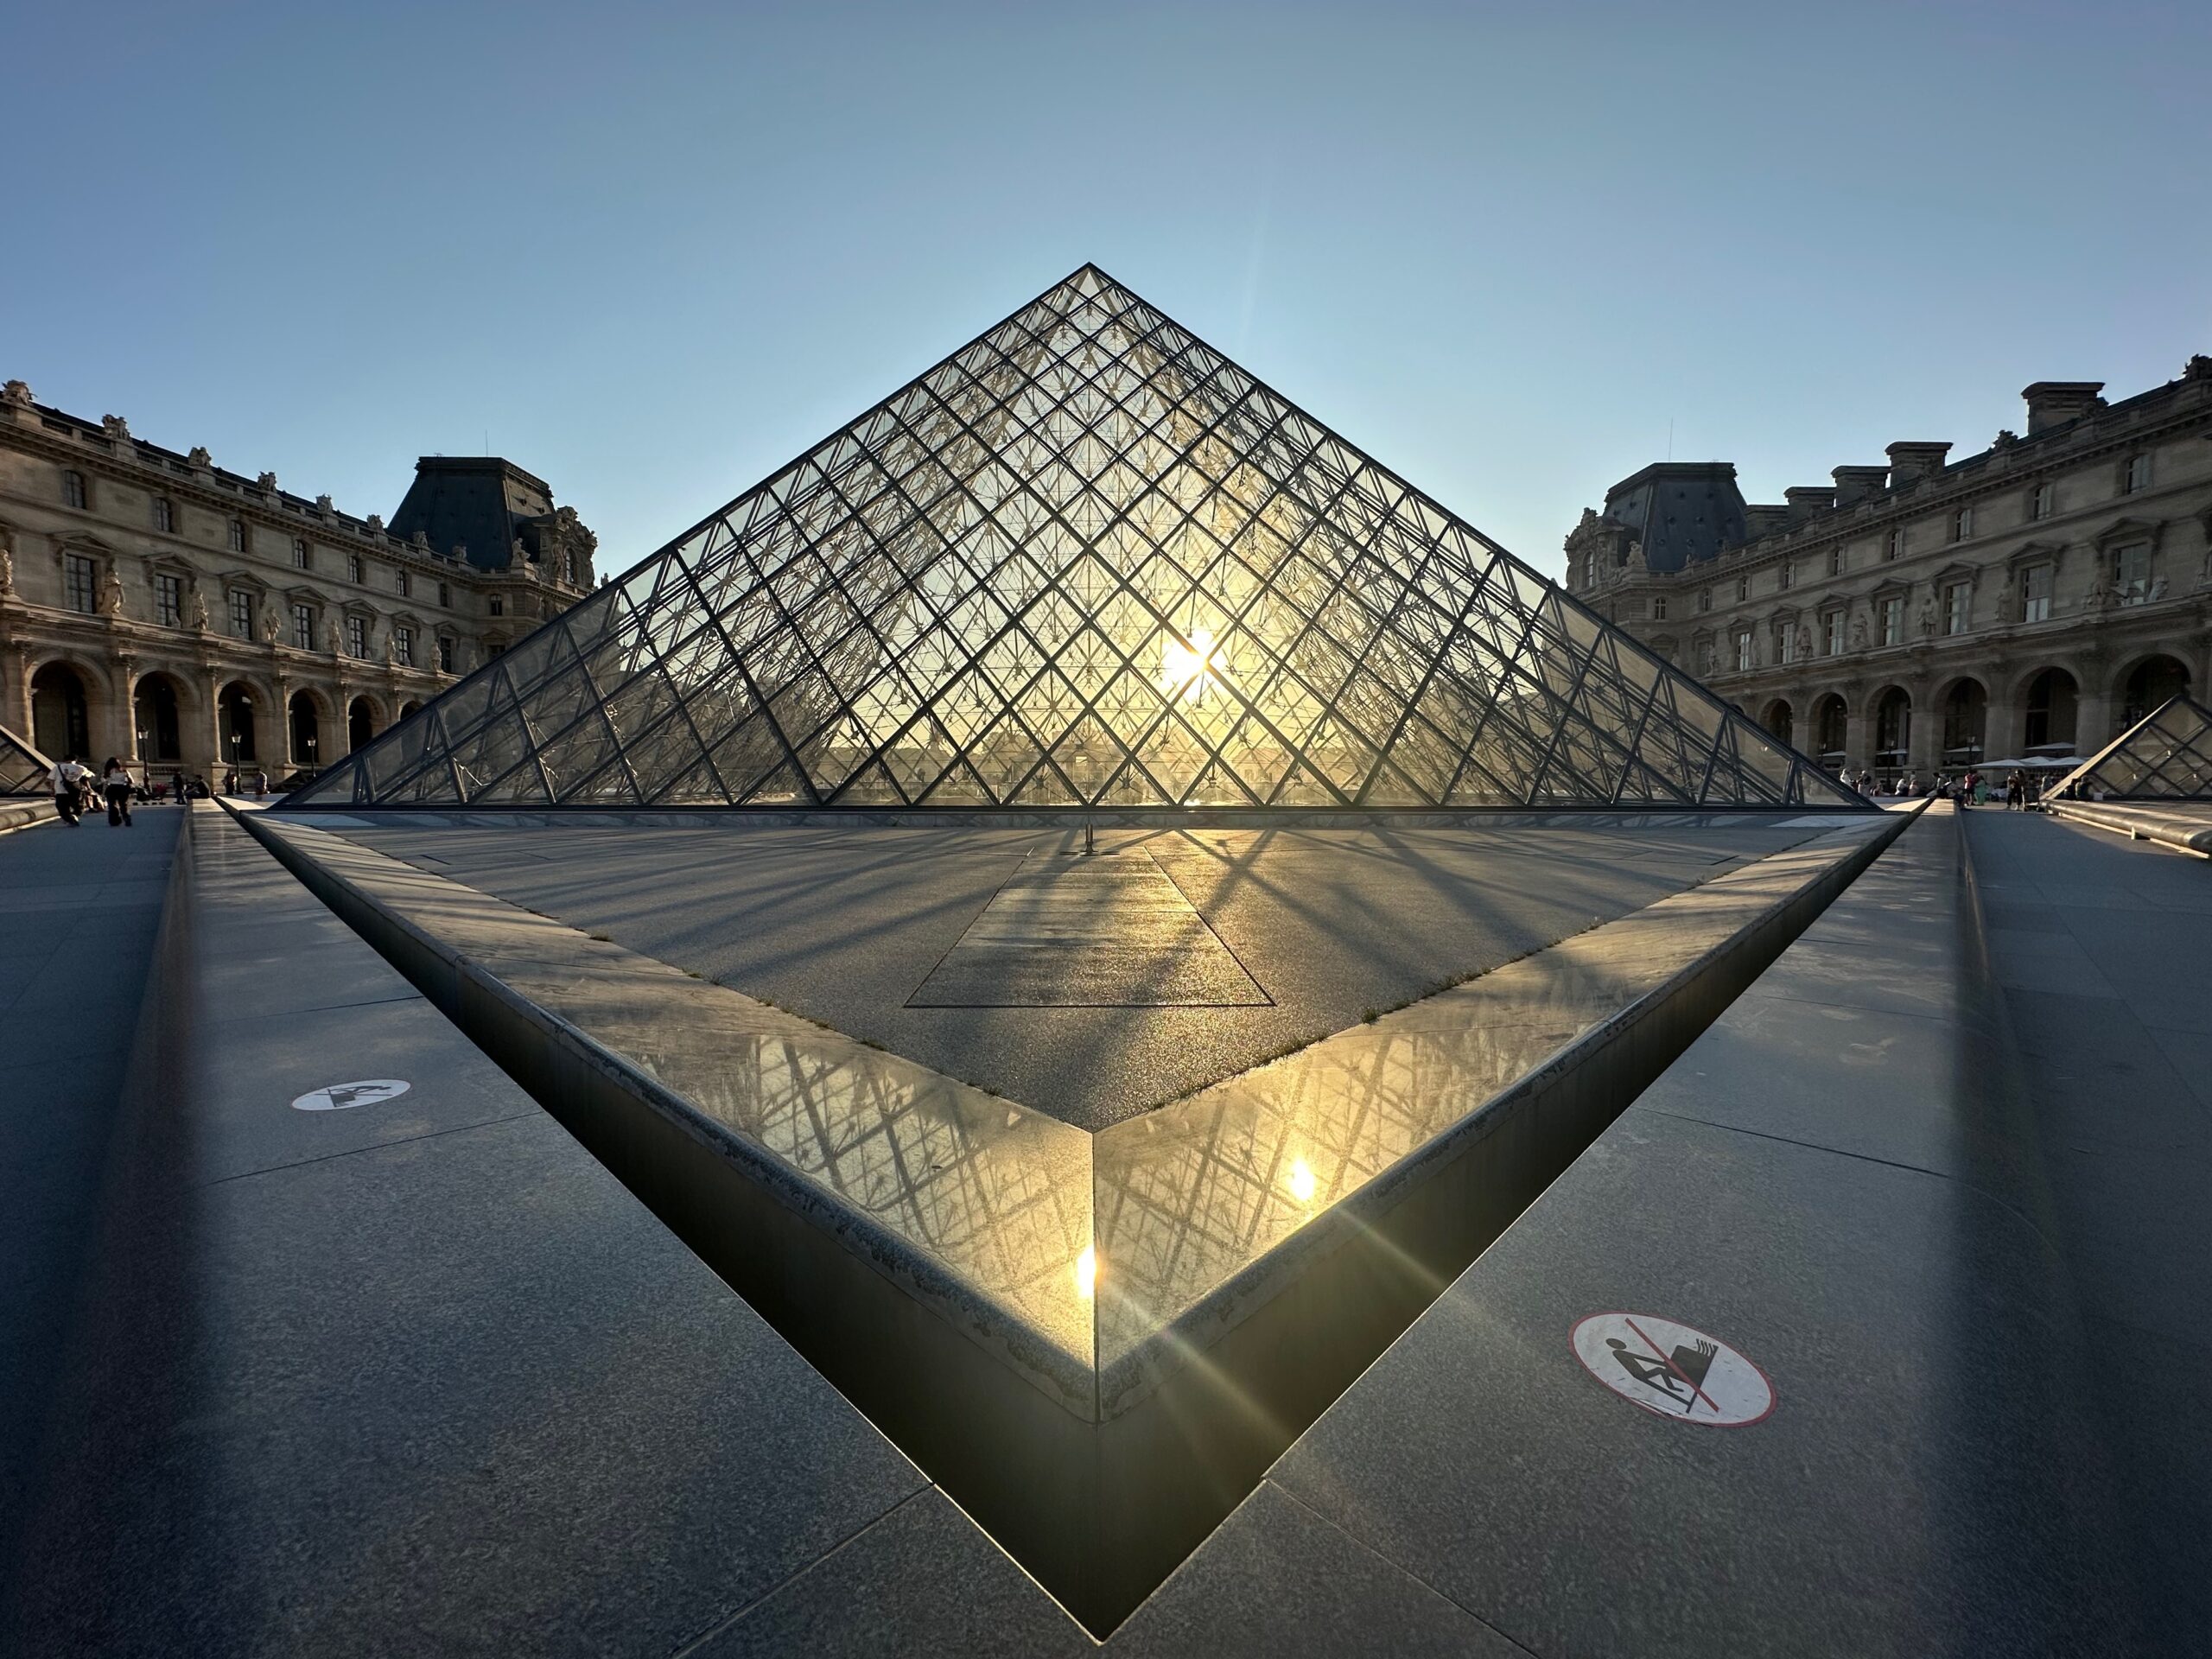
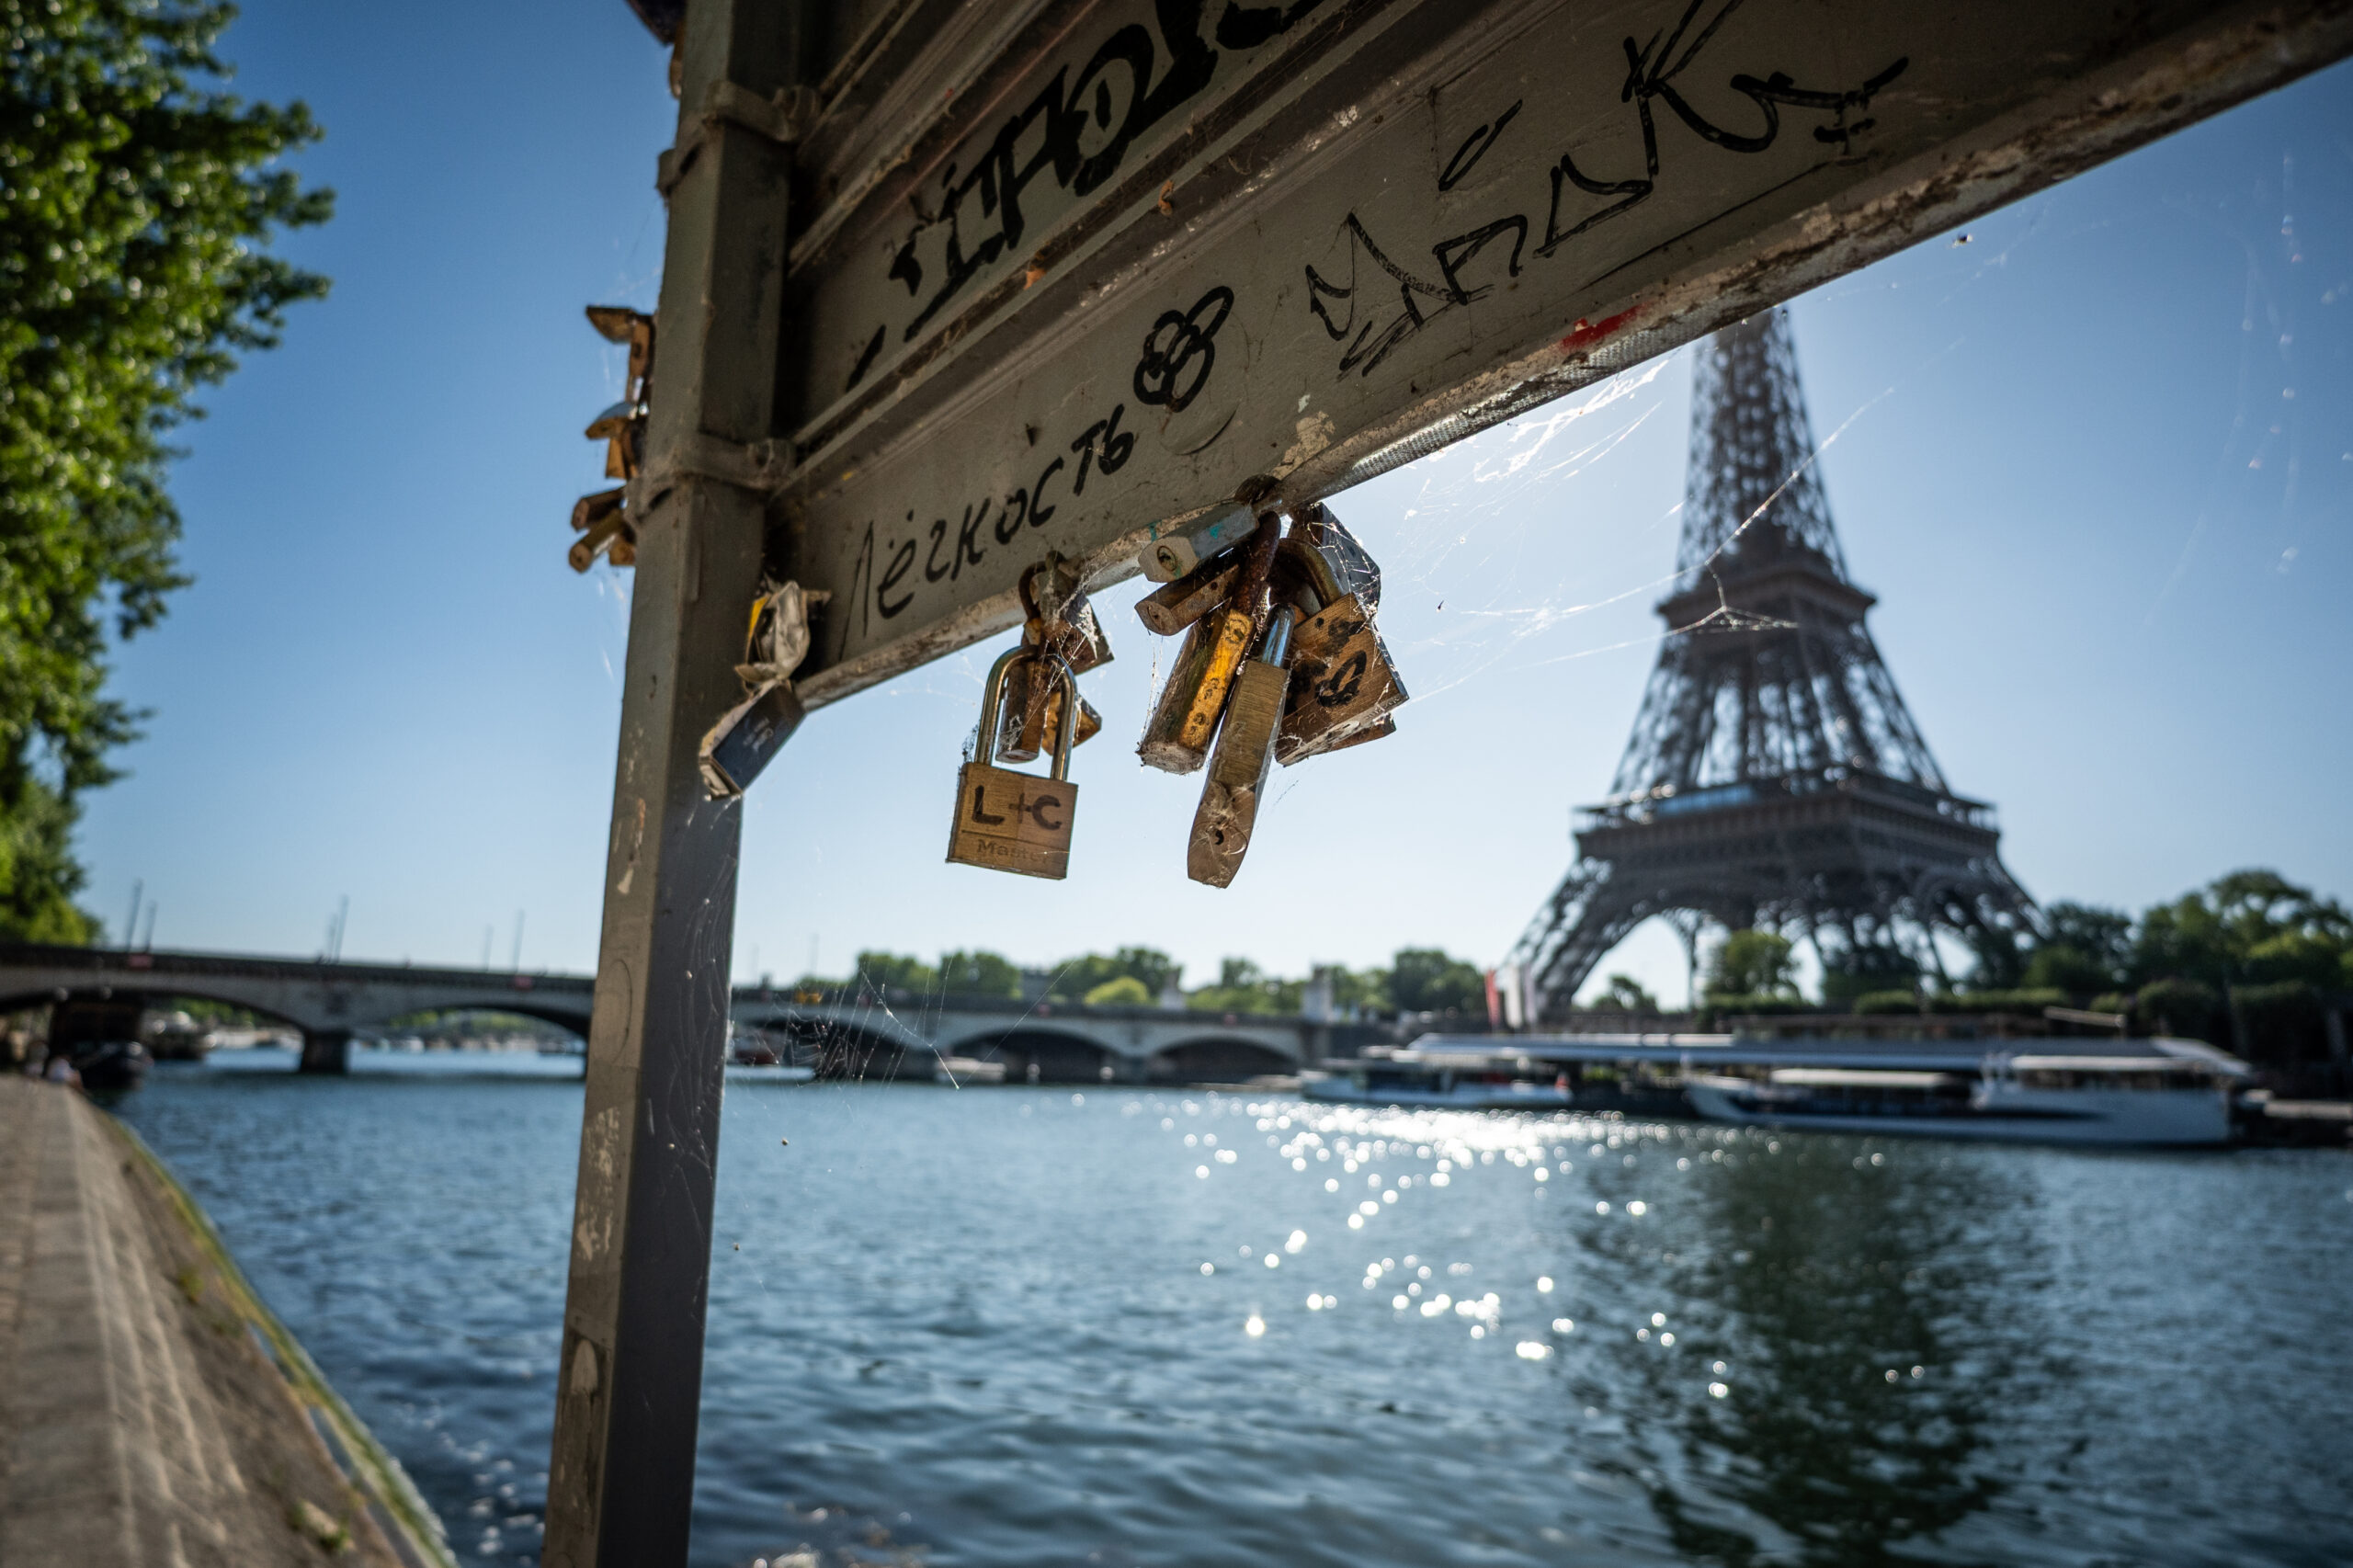
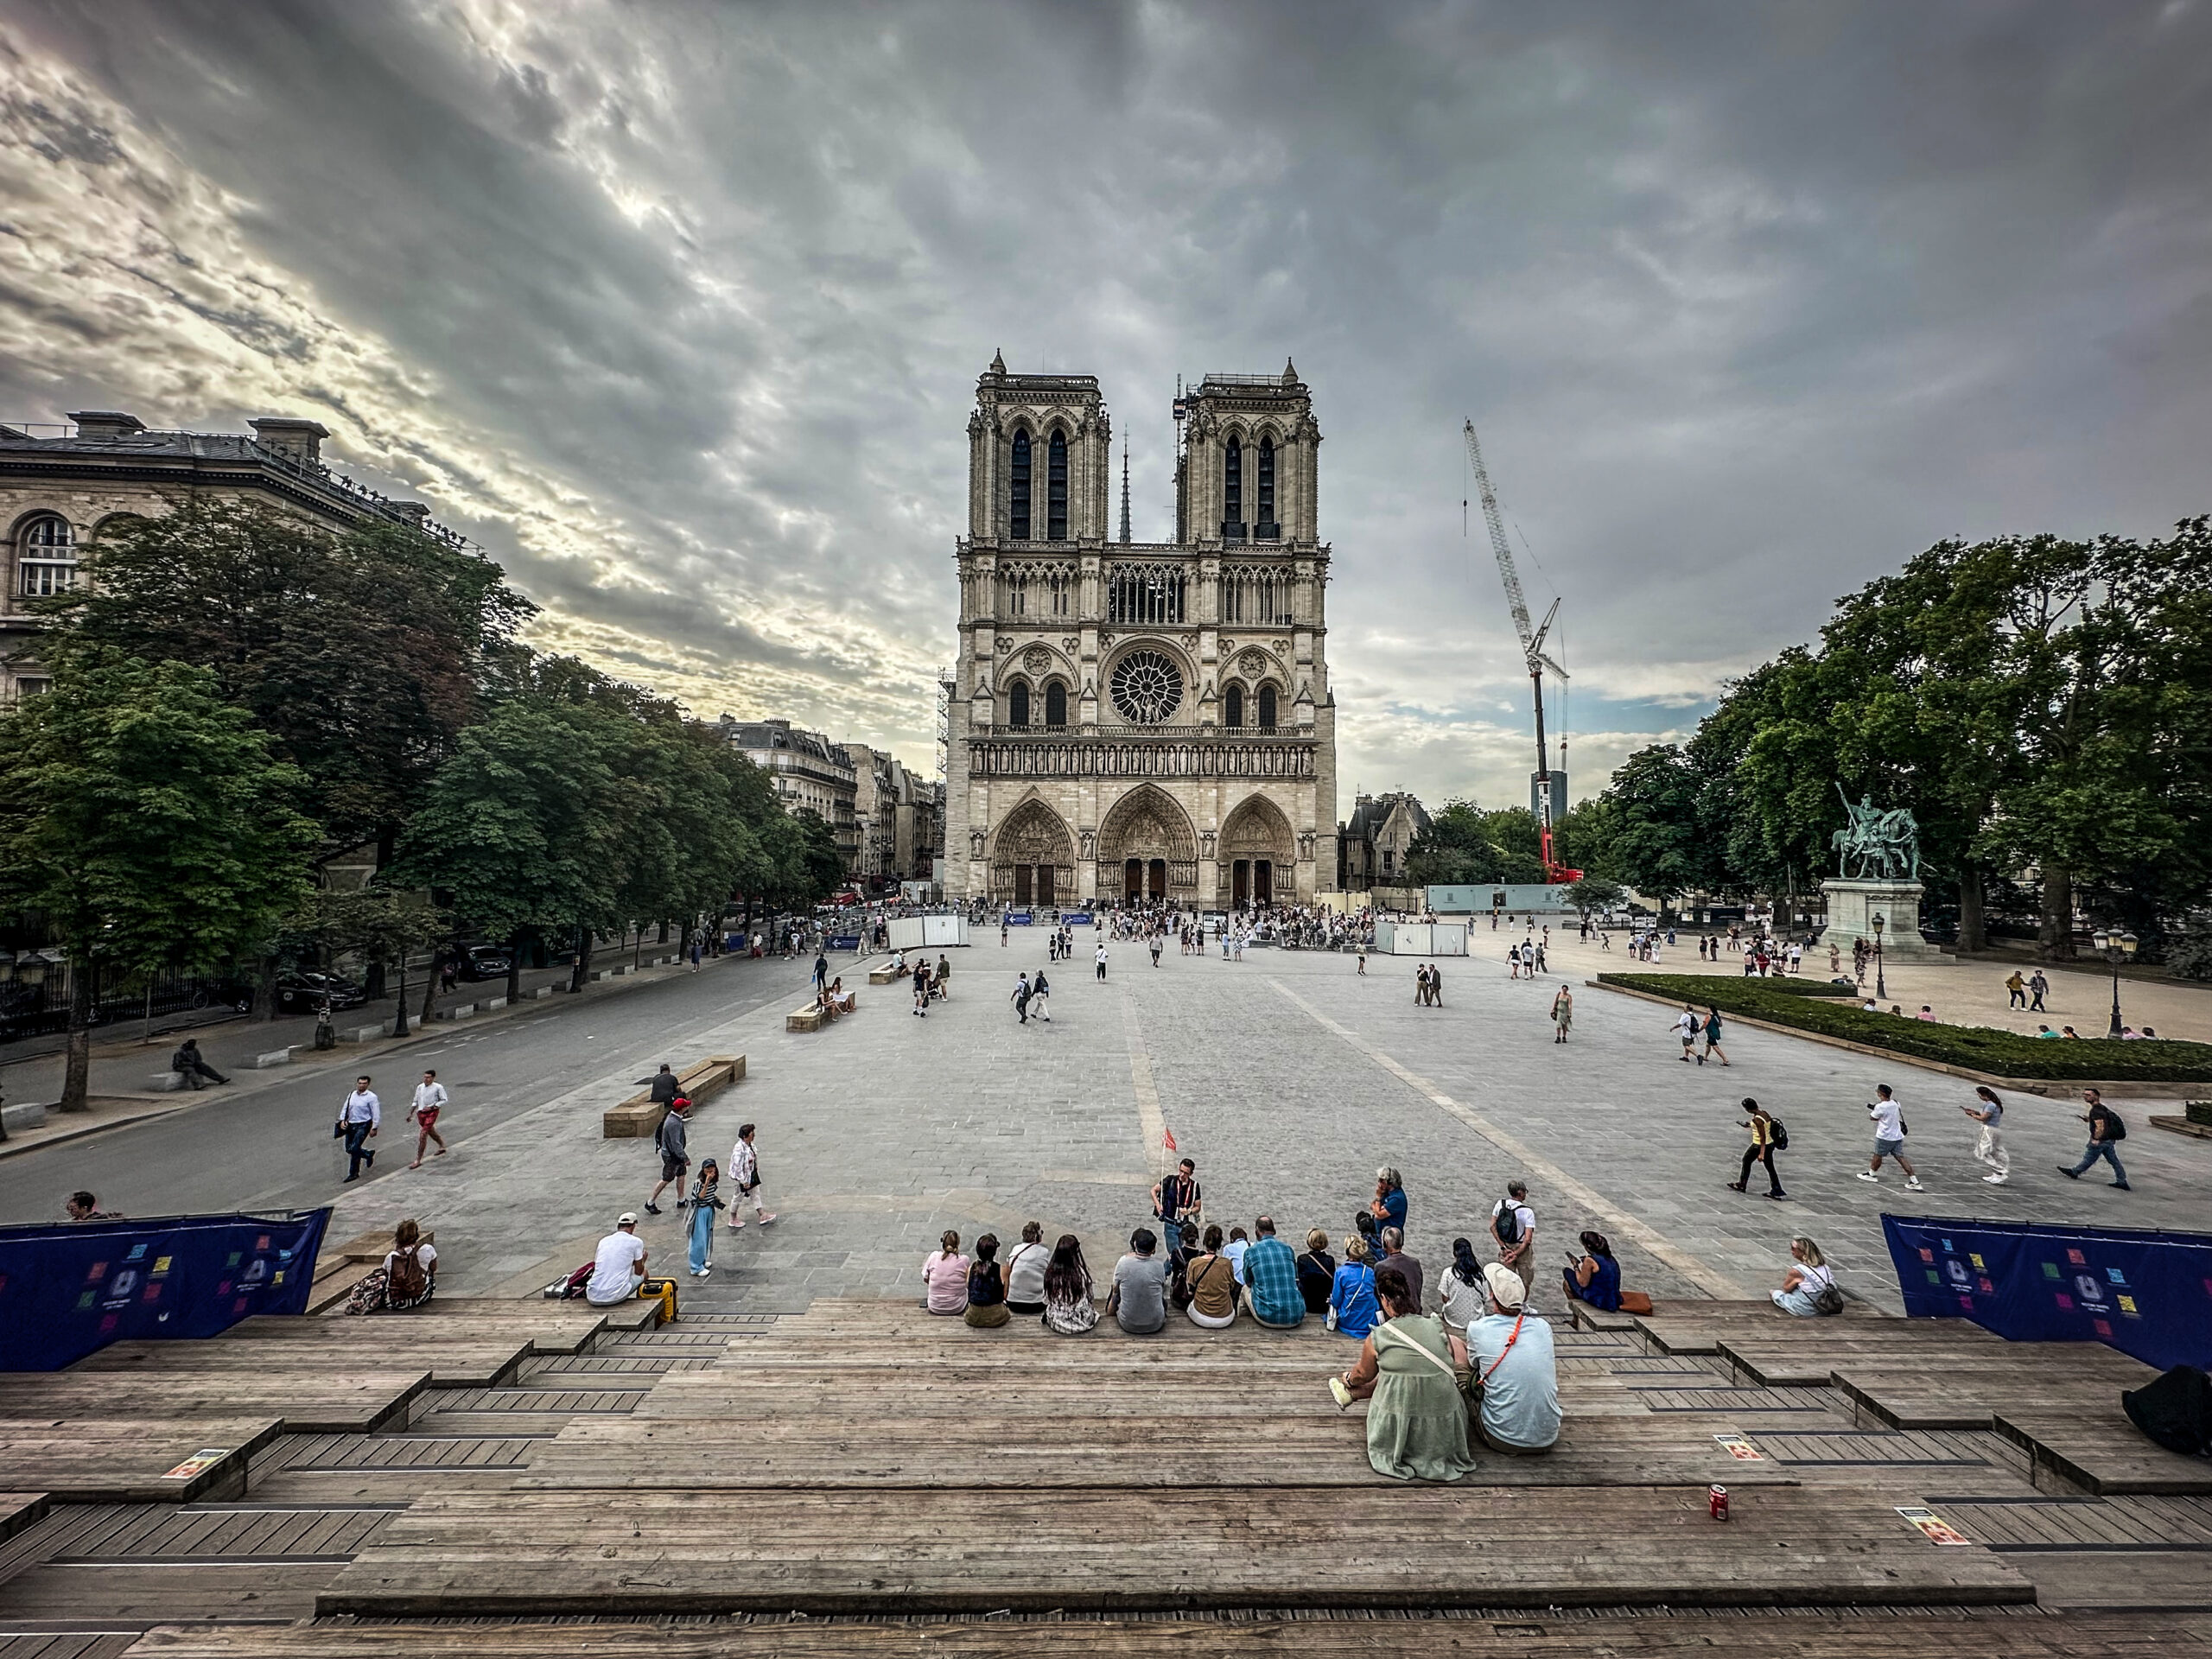
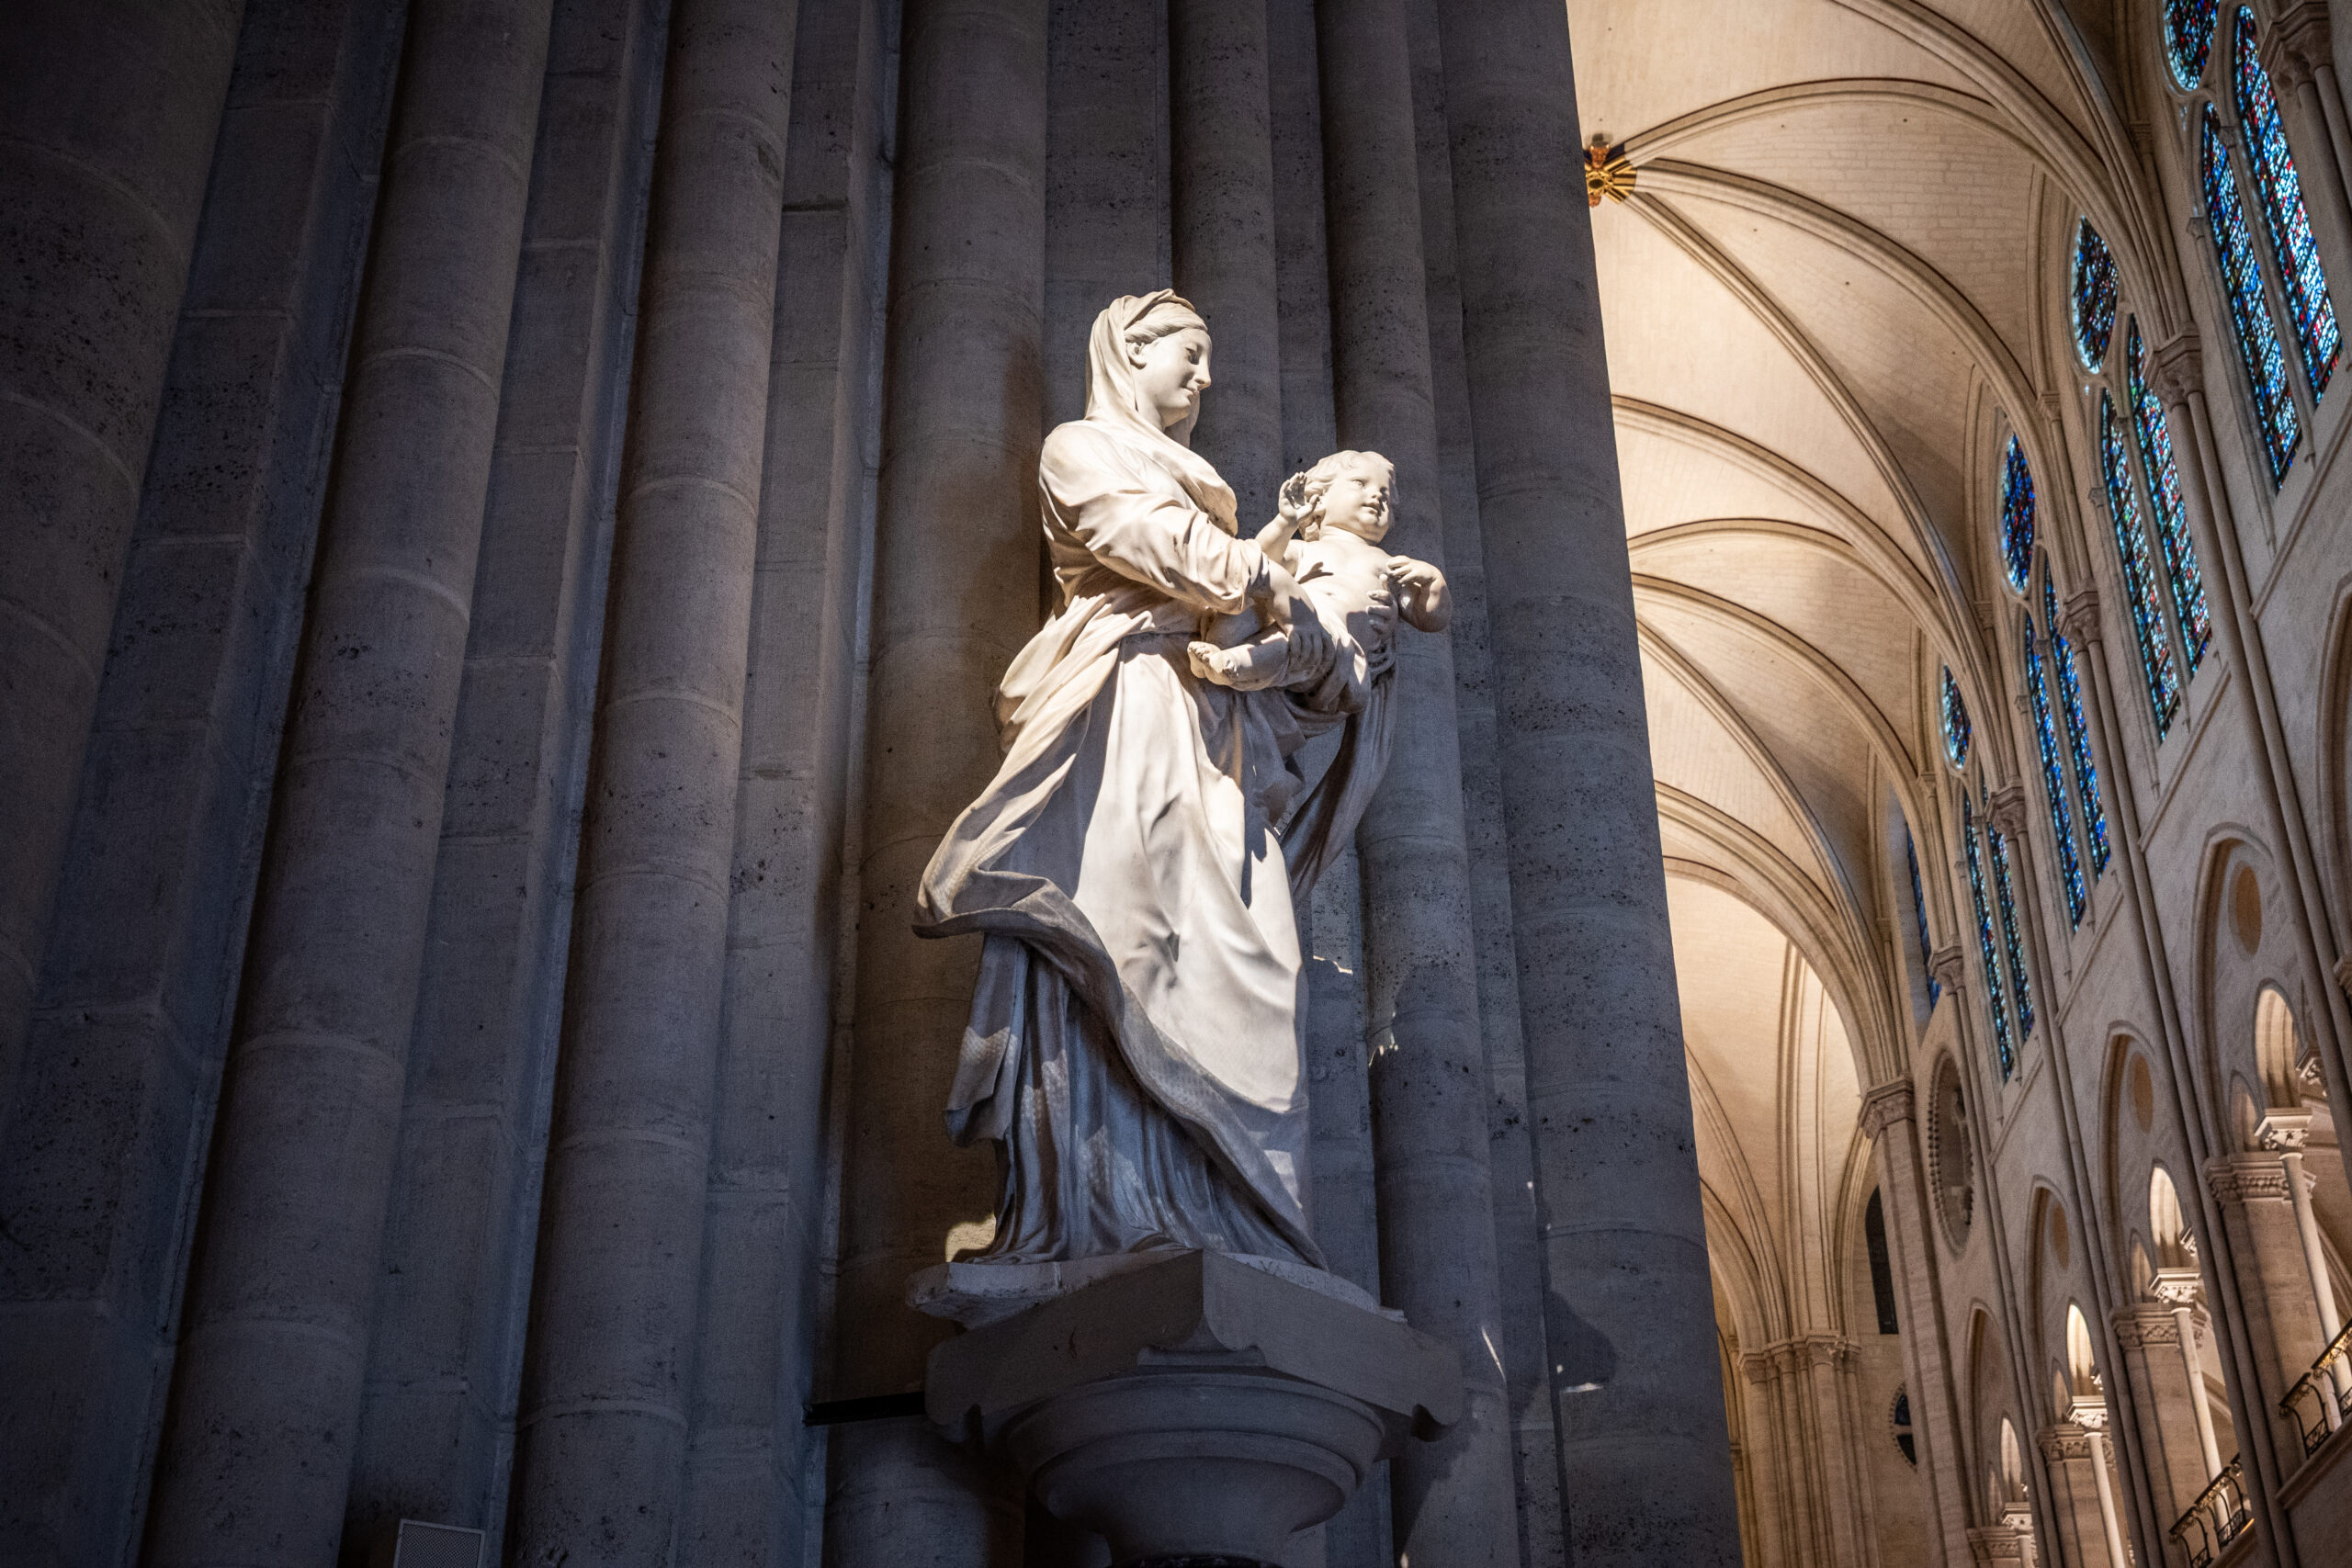
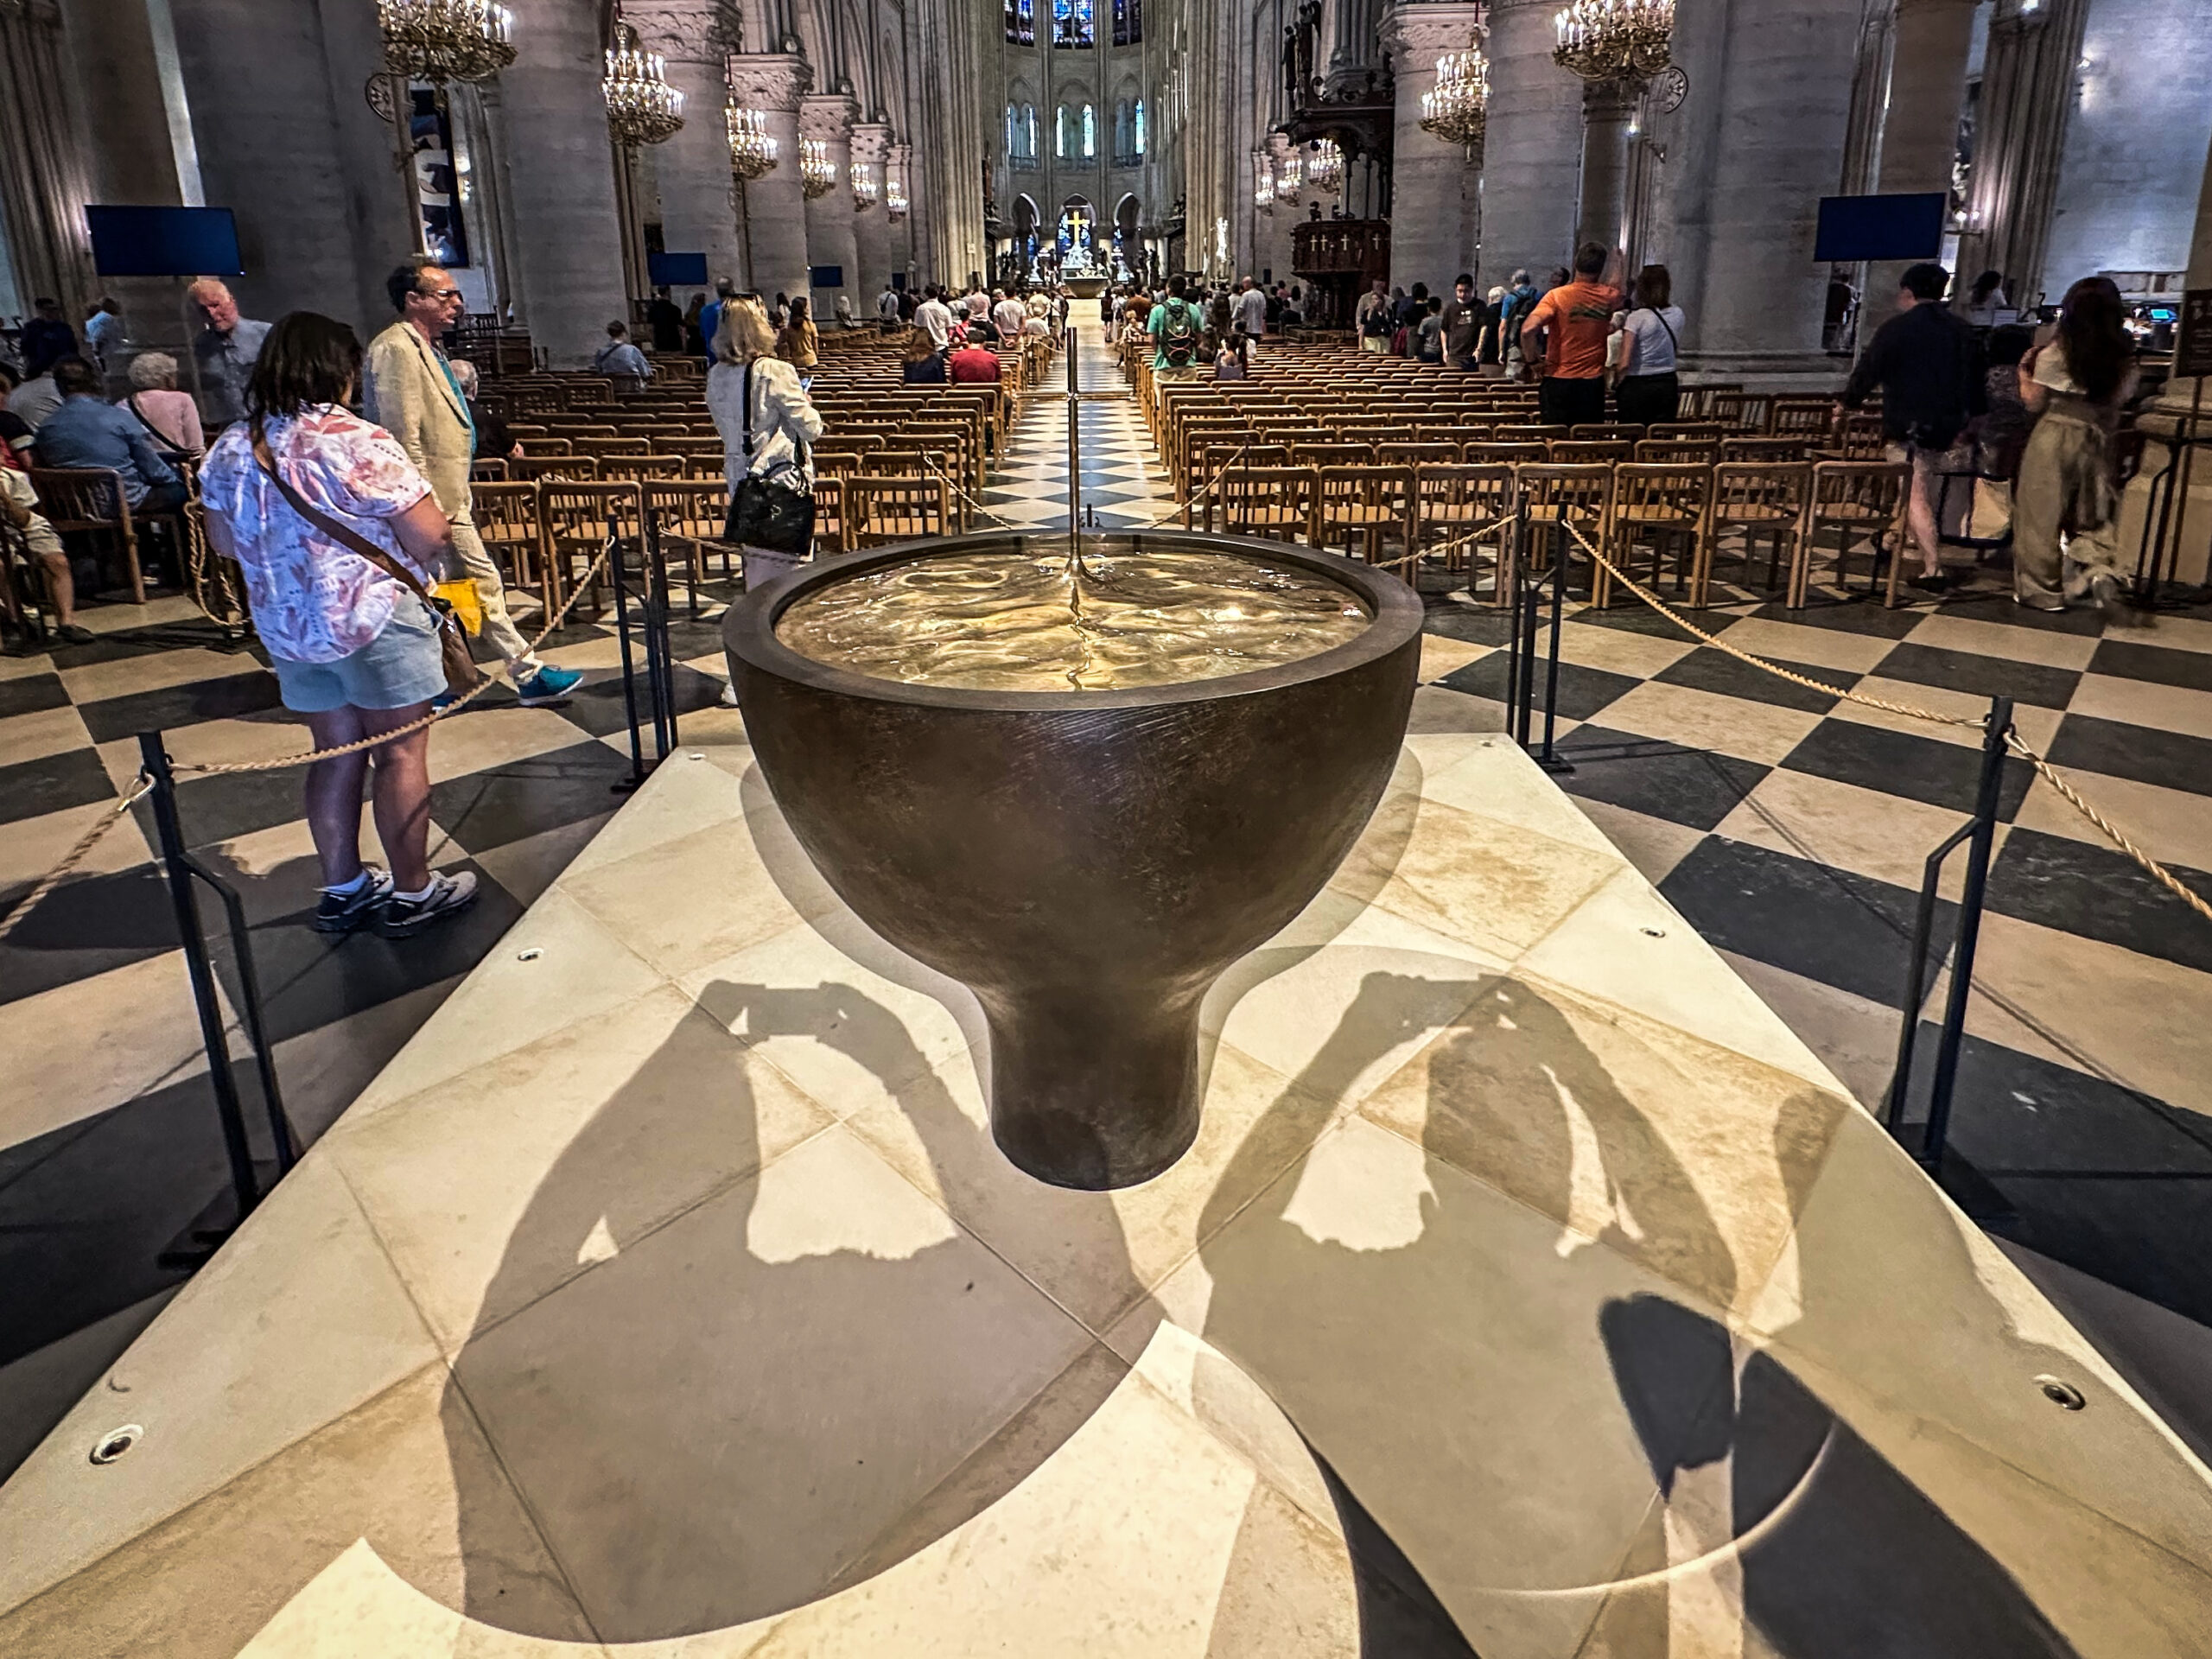
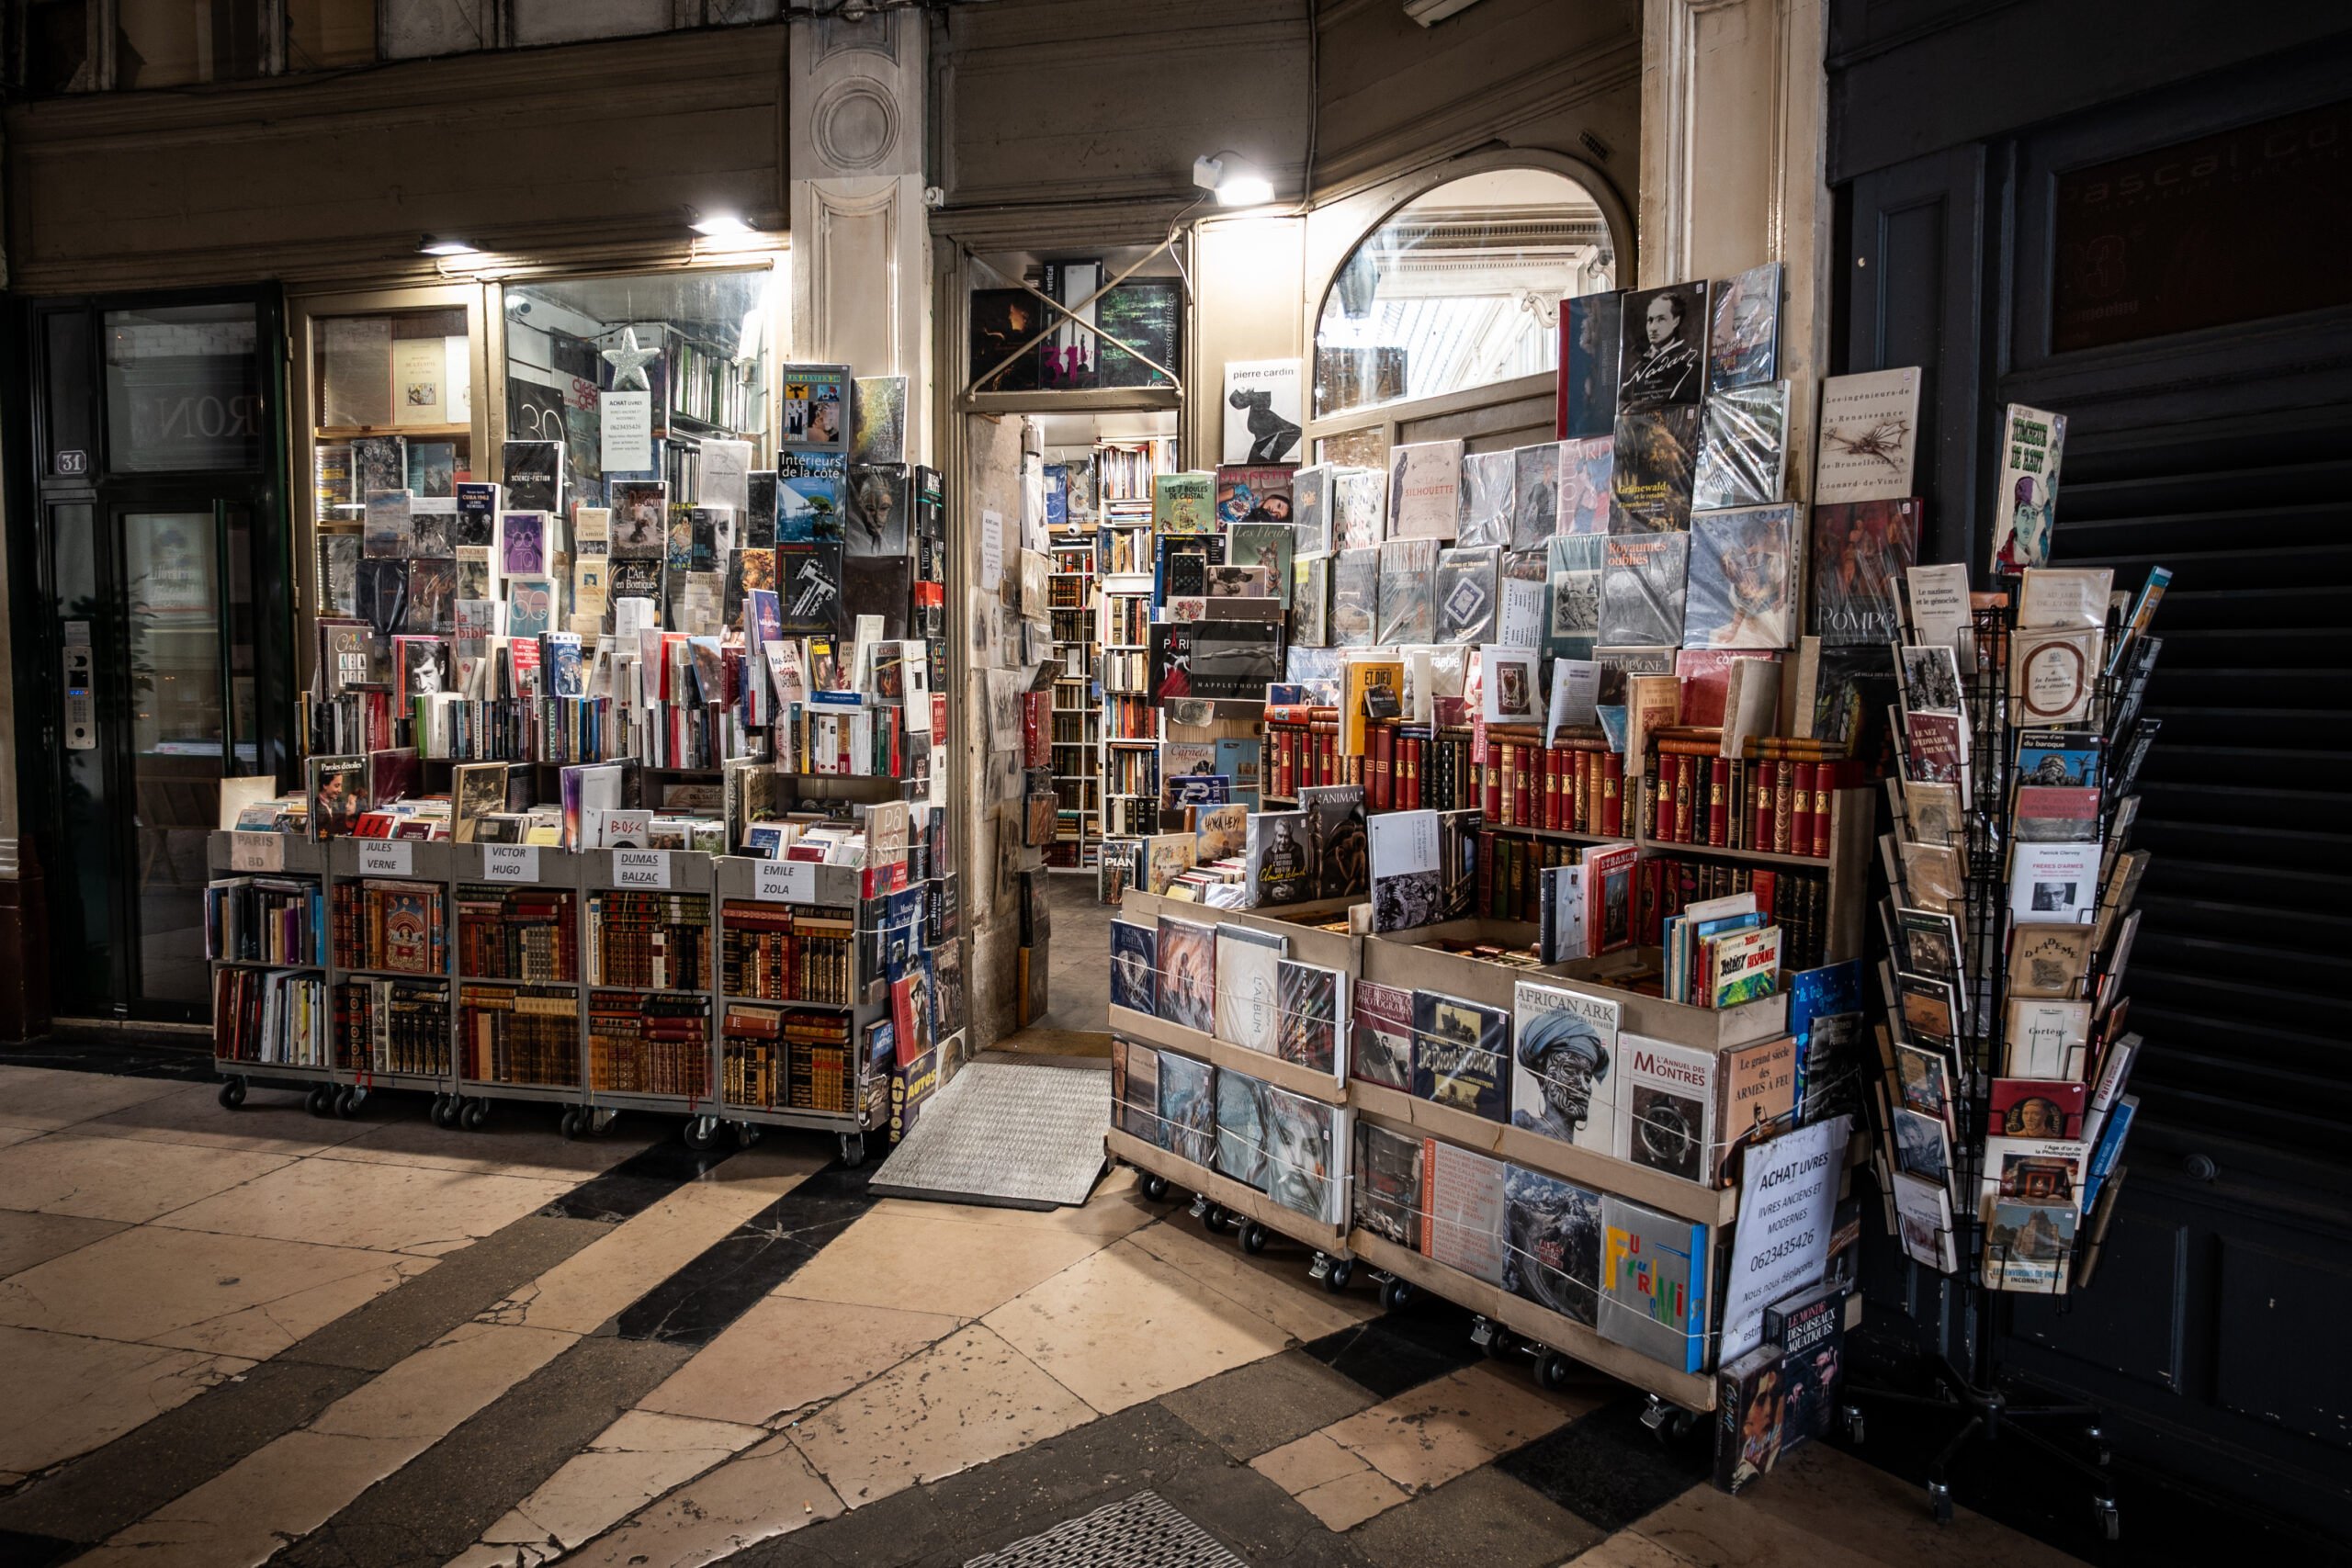
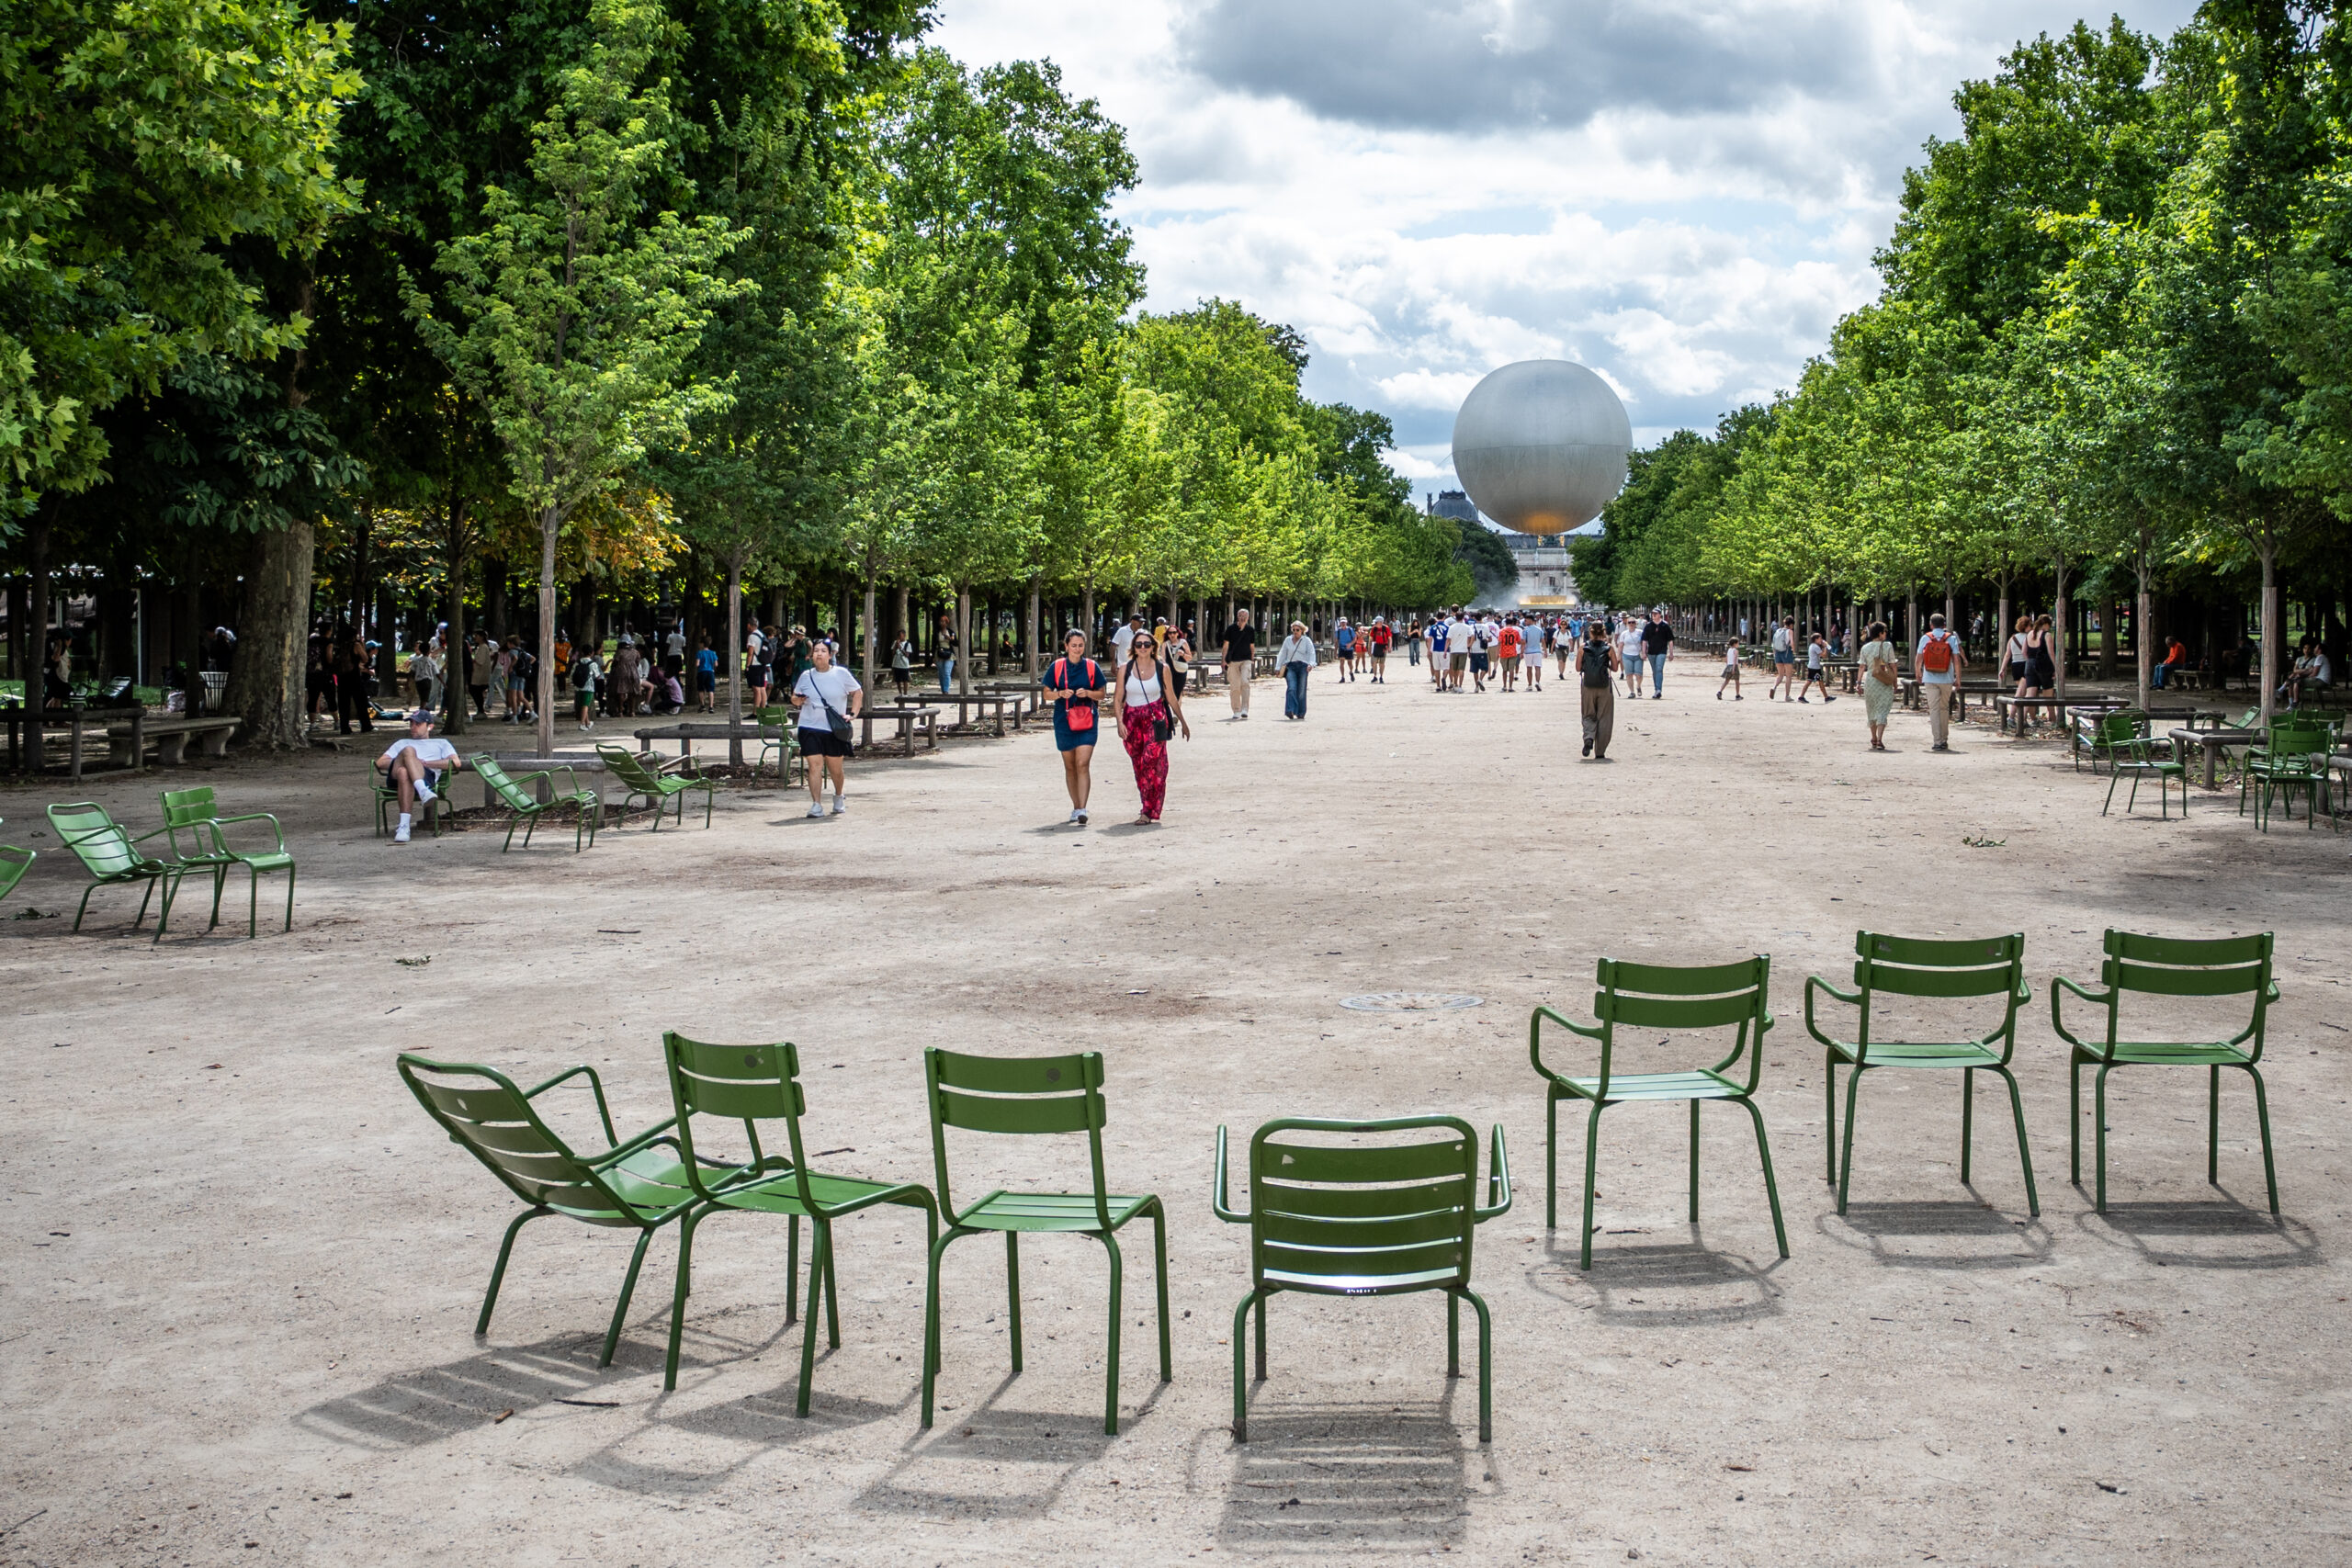
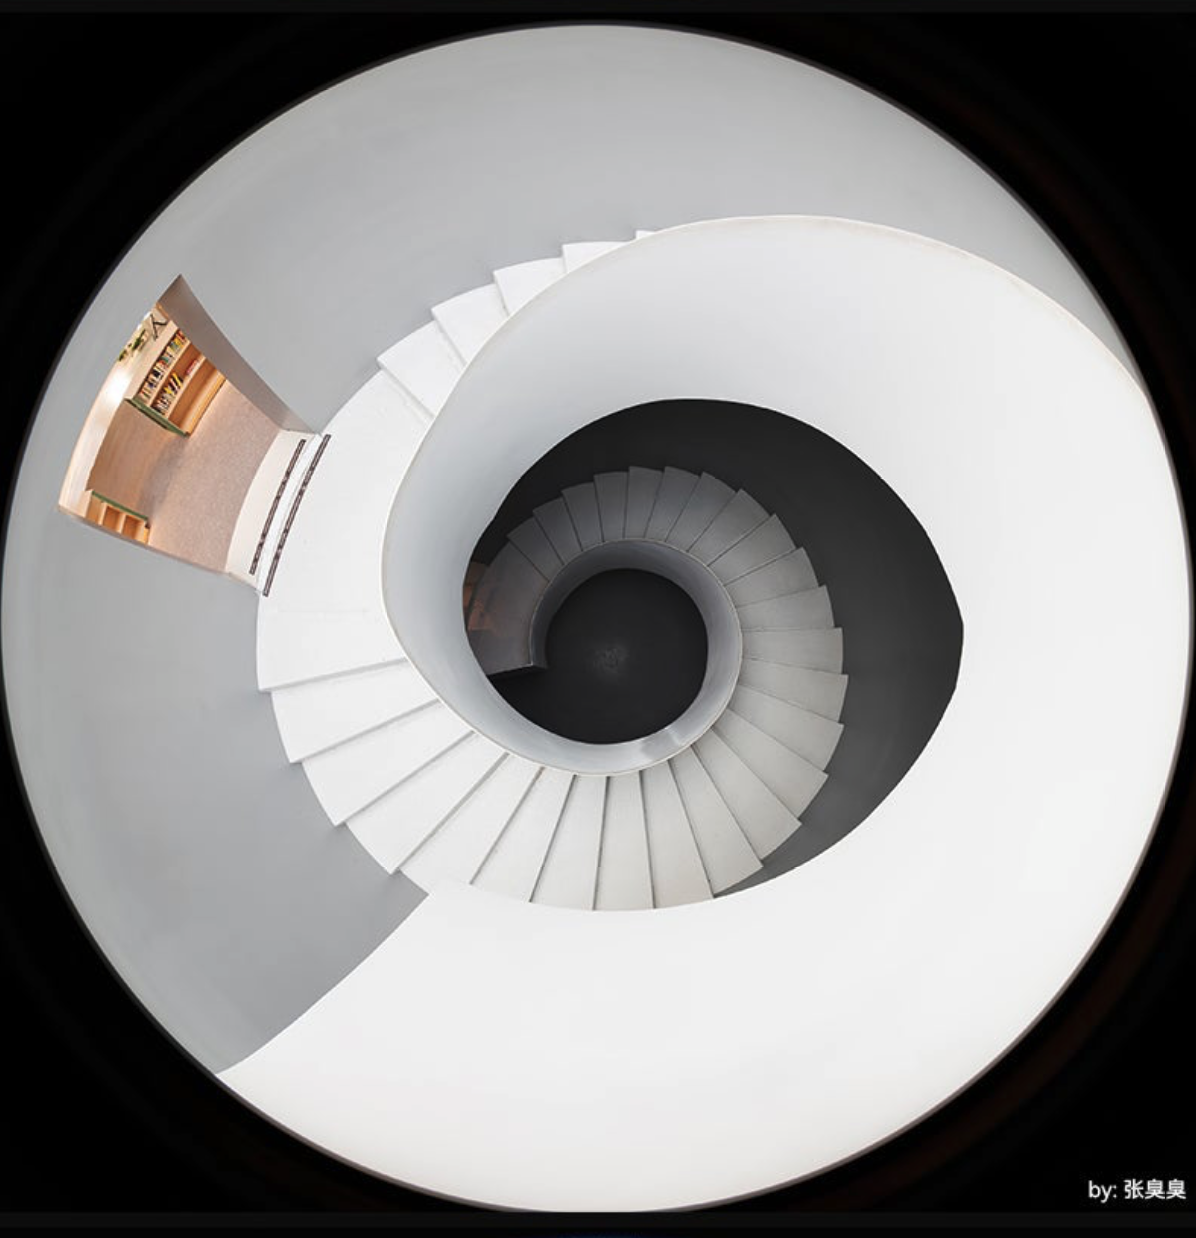
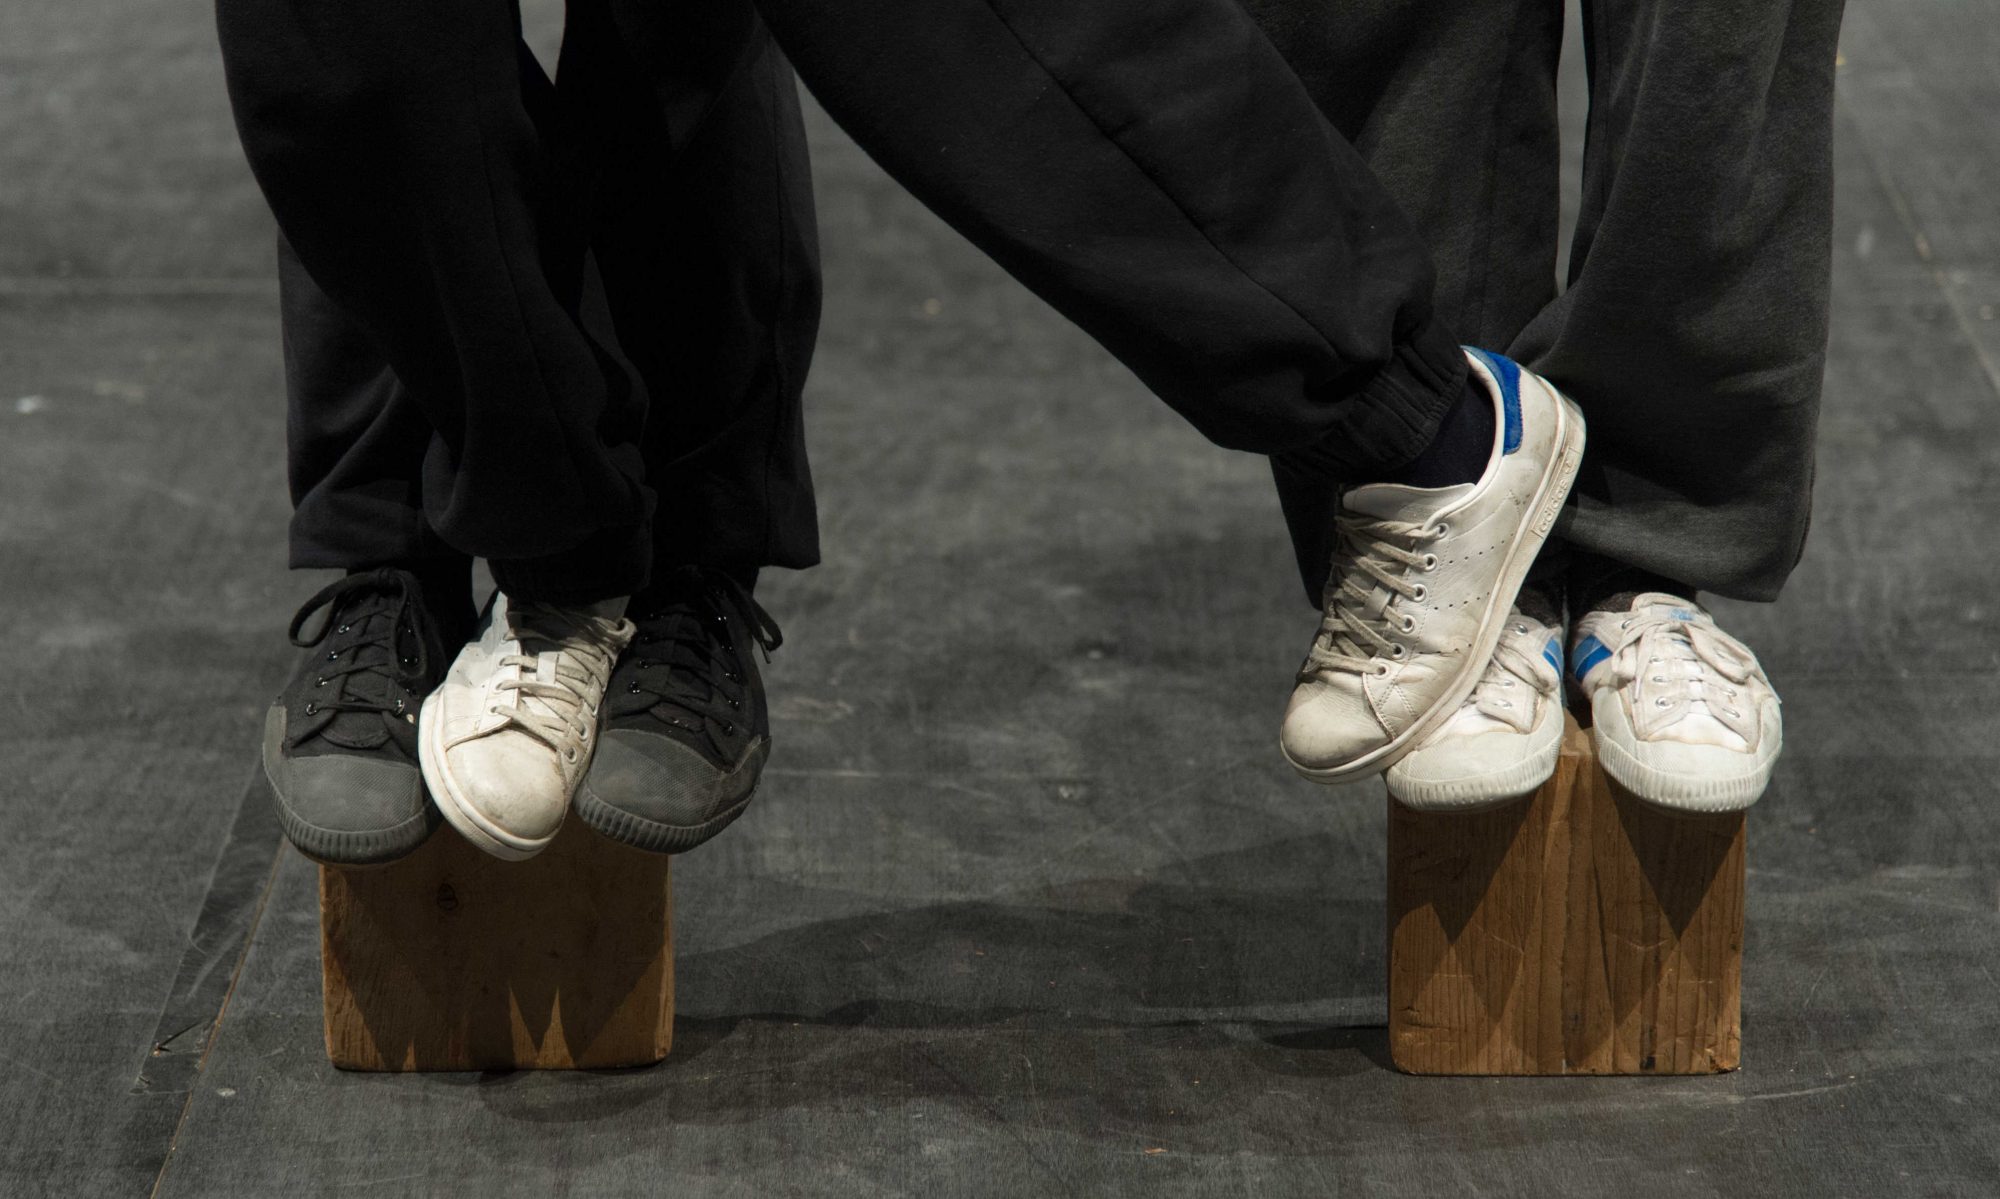
Here are a few of my first images – pretty much ‘out-of-camera’ (not much post-processing)
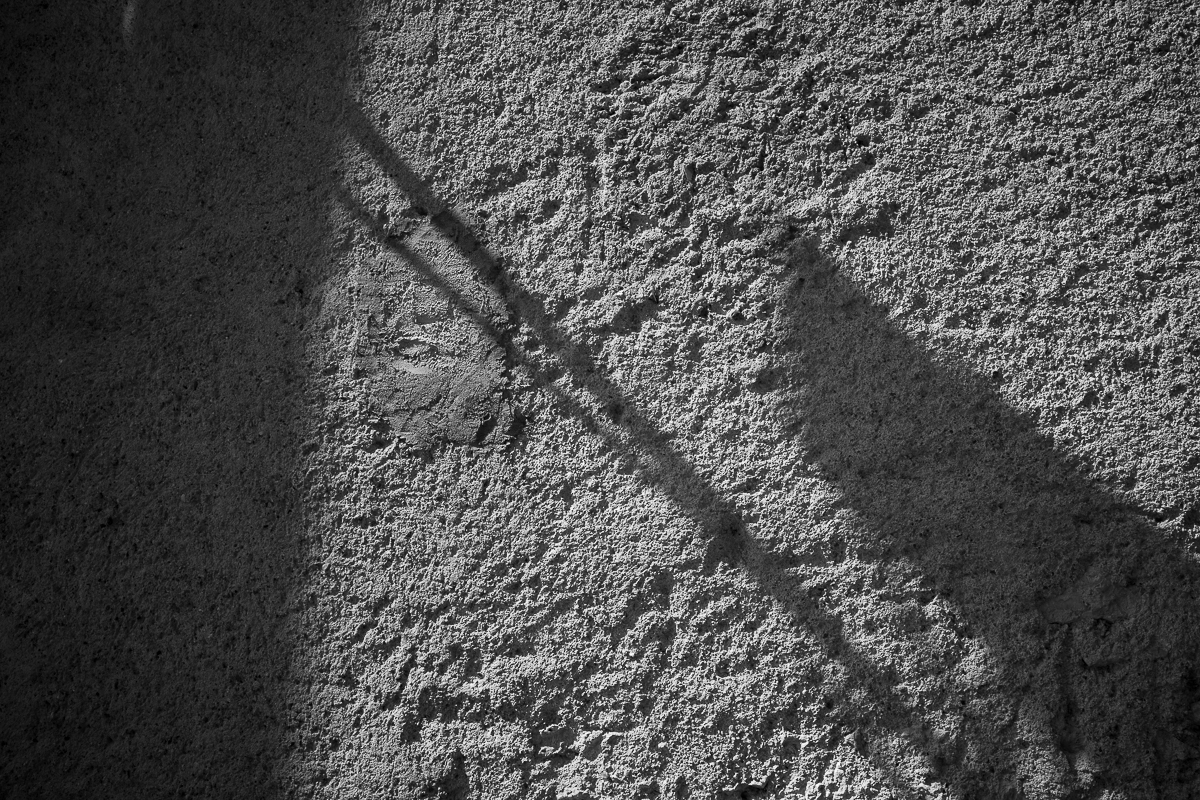
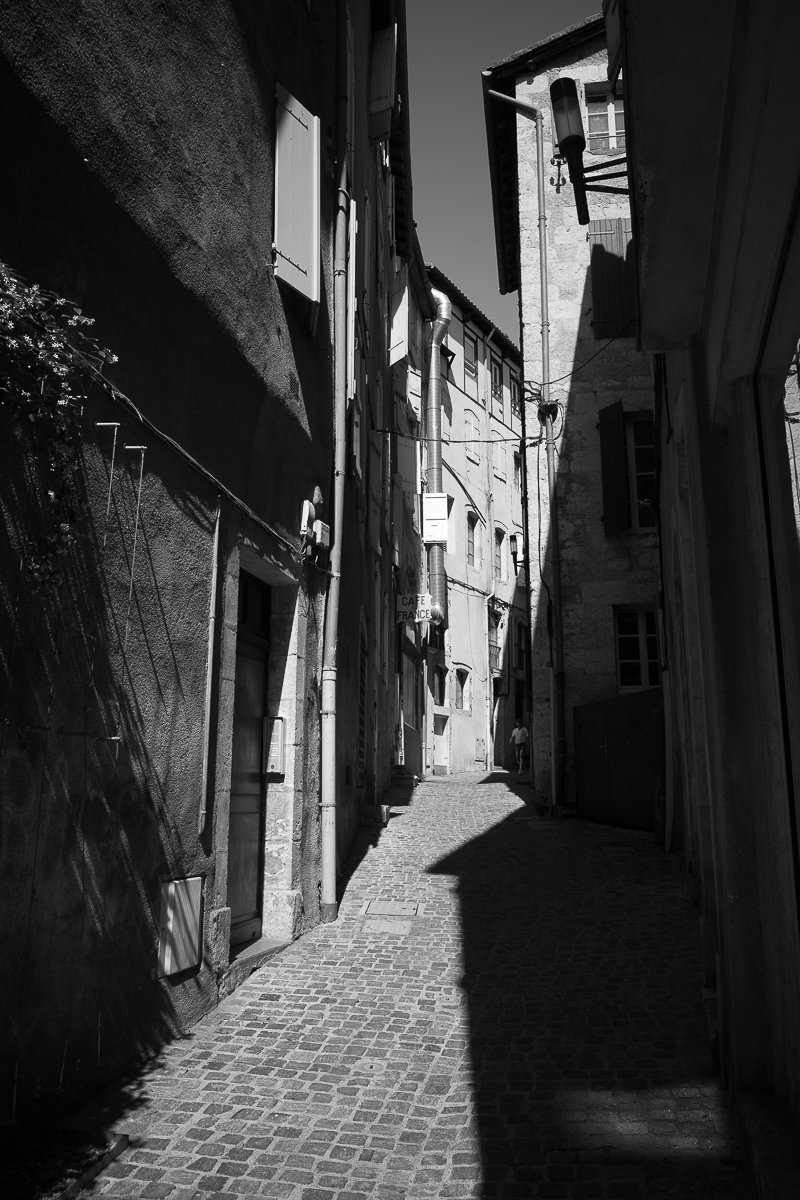
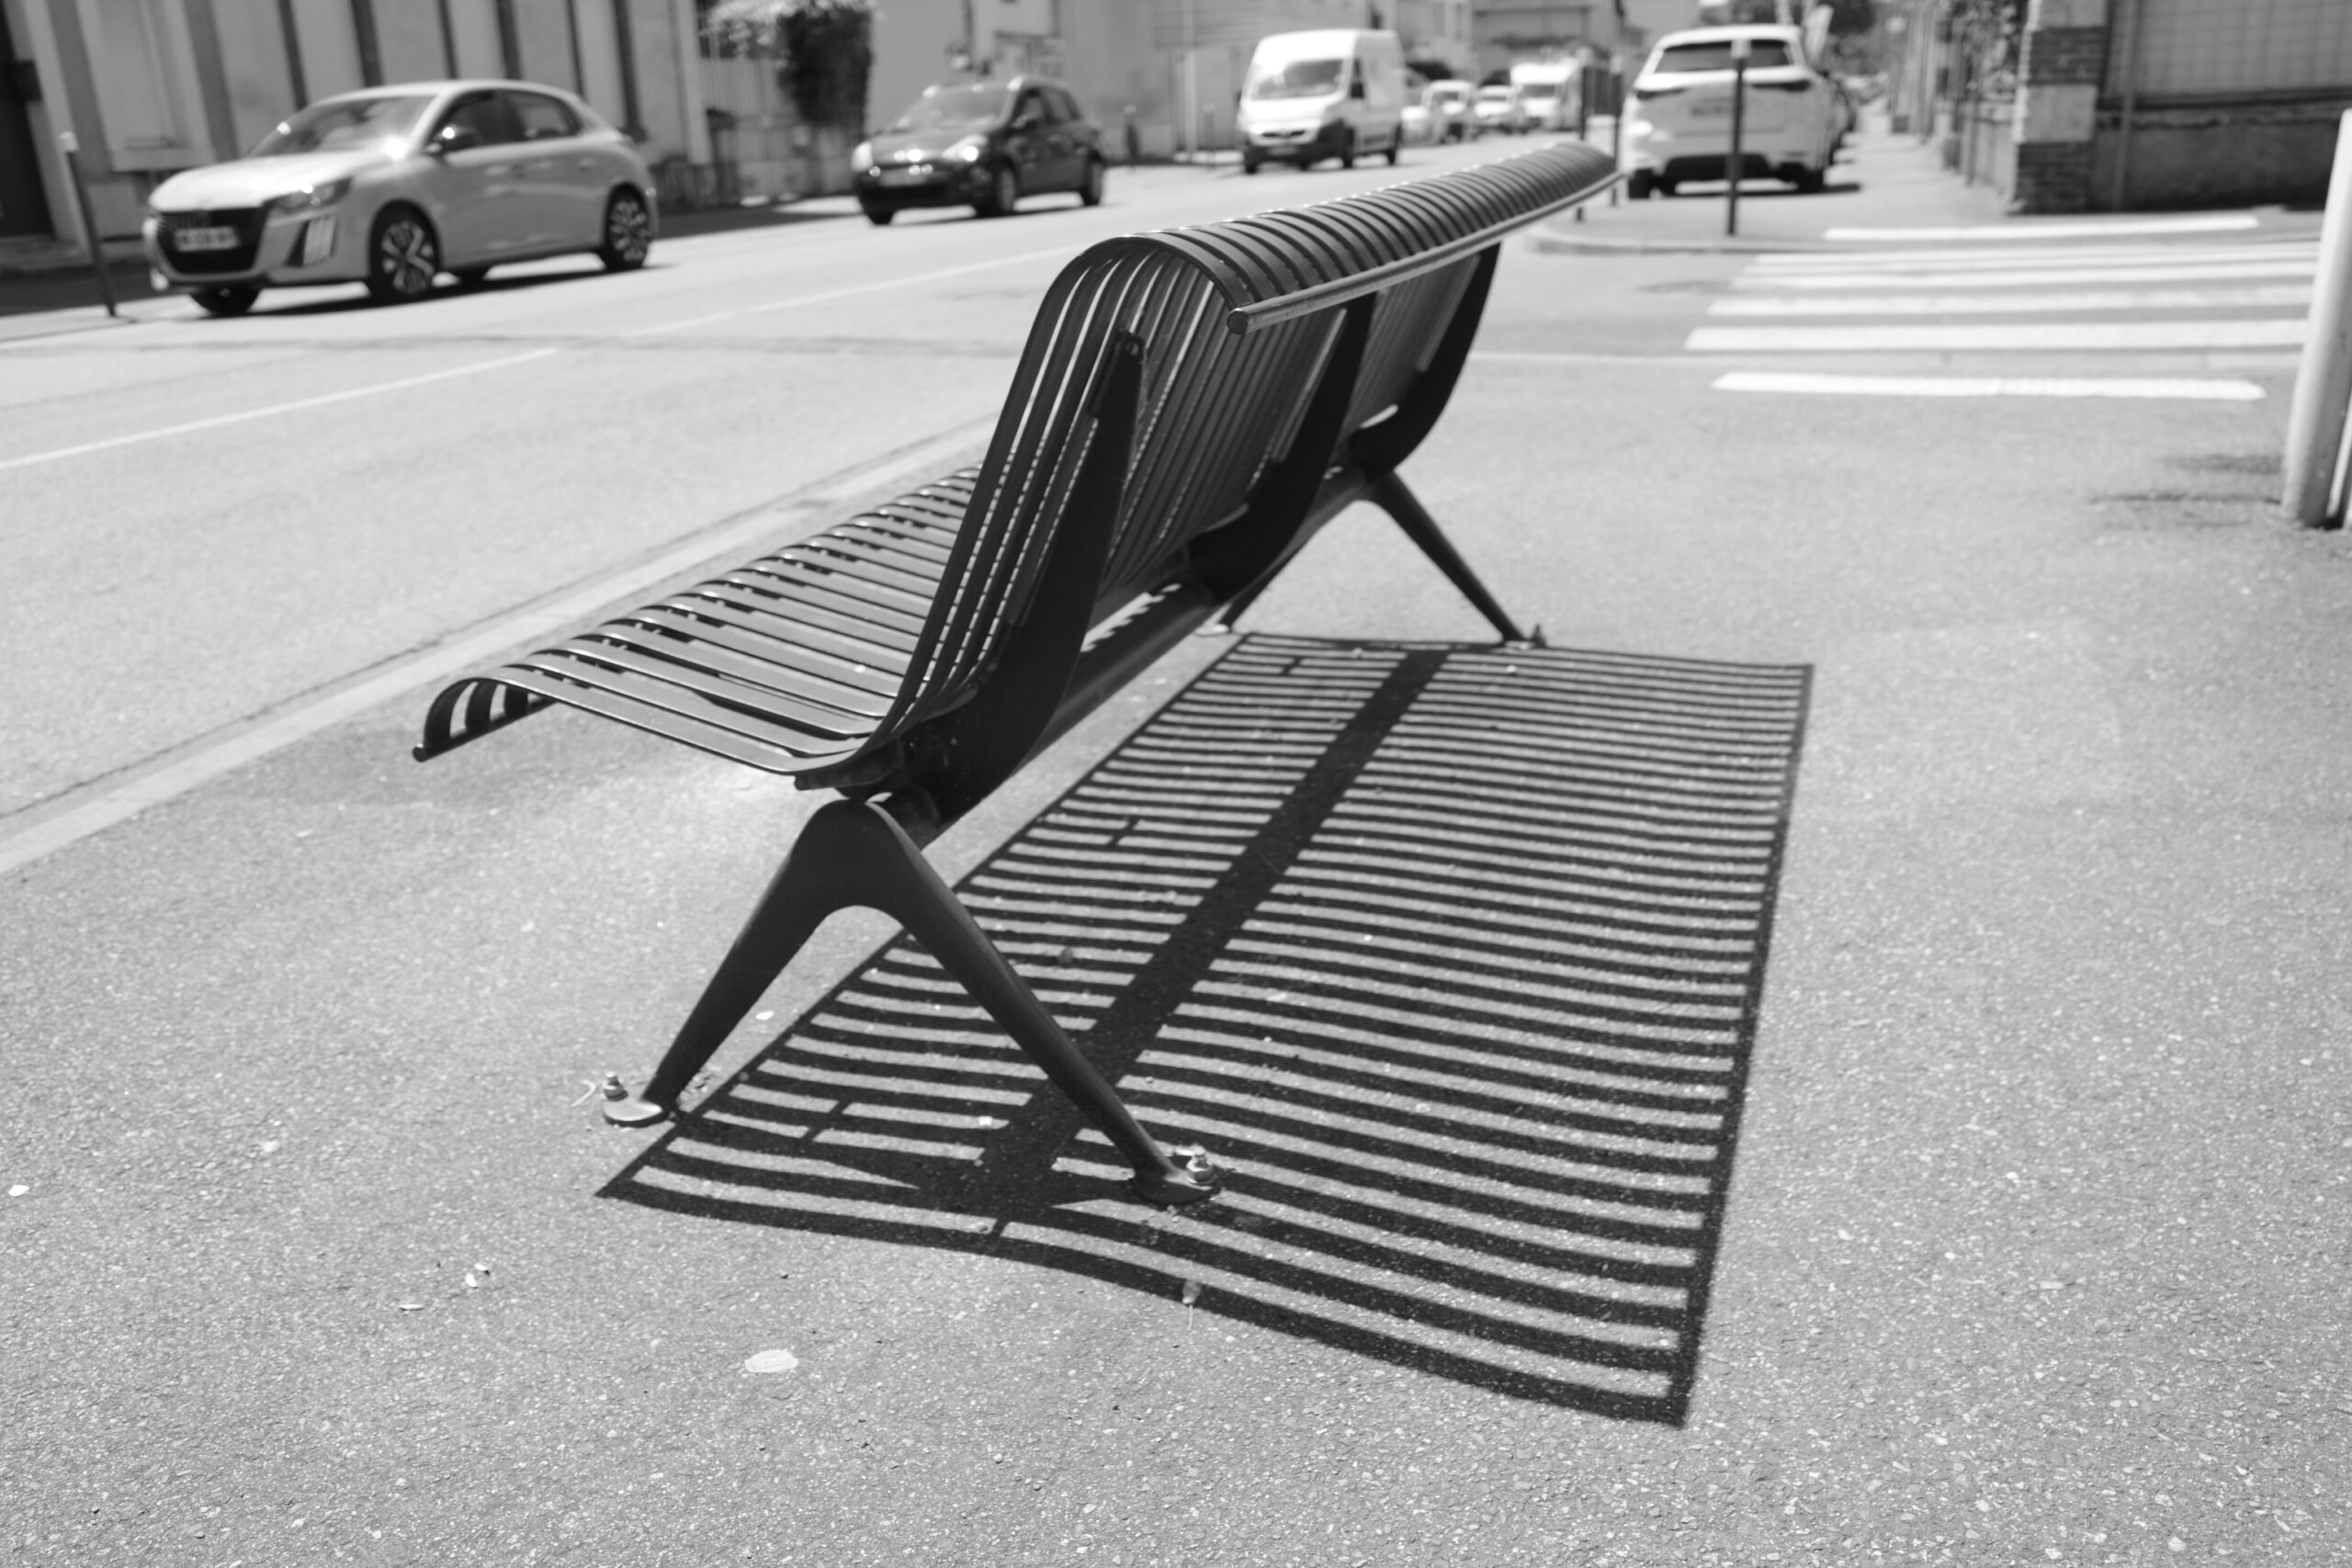
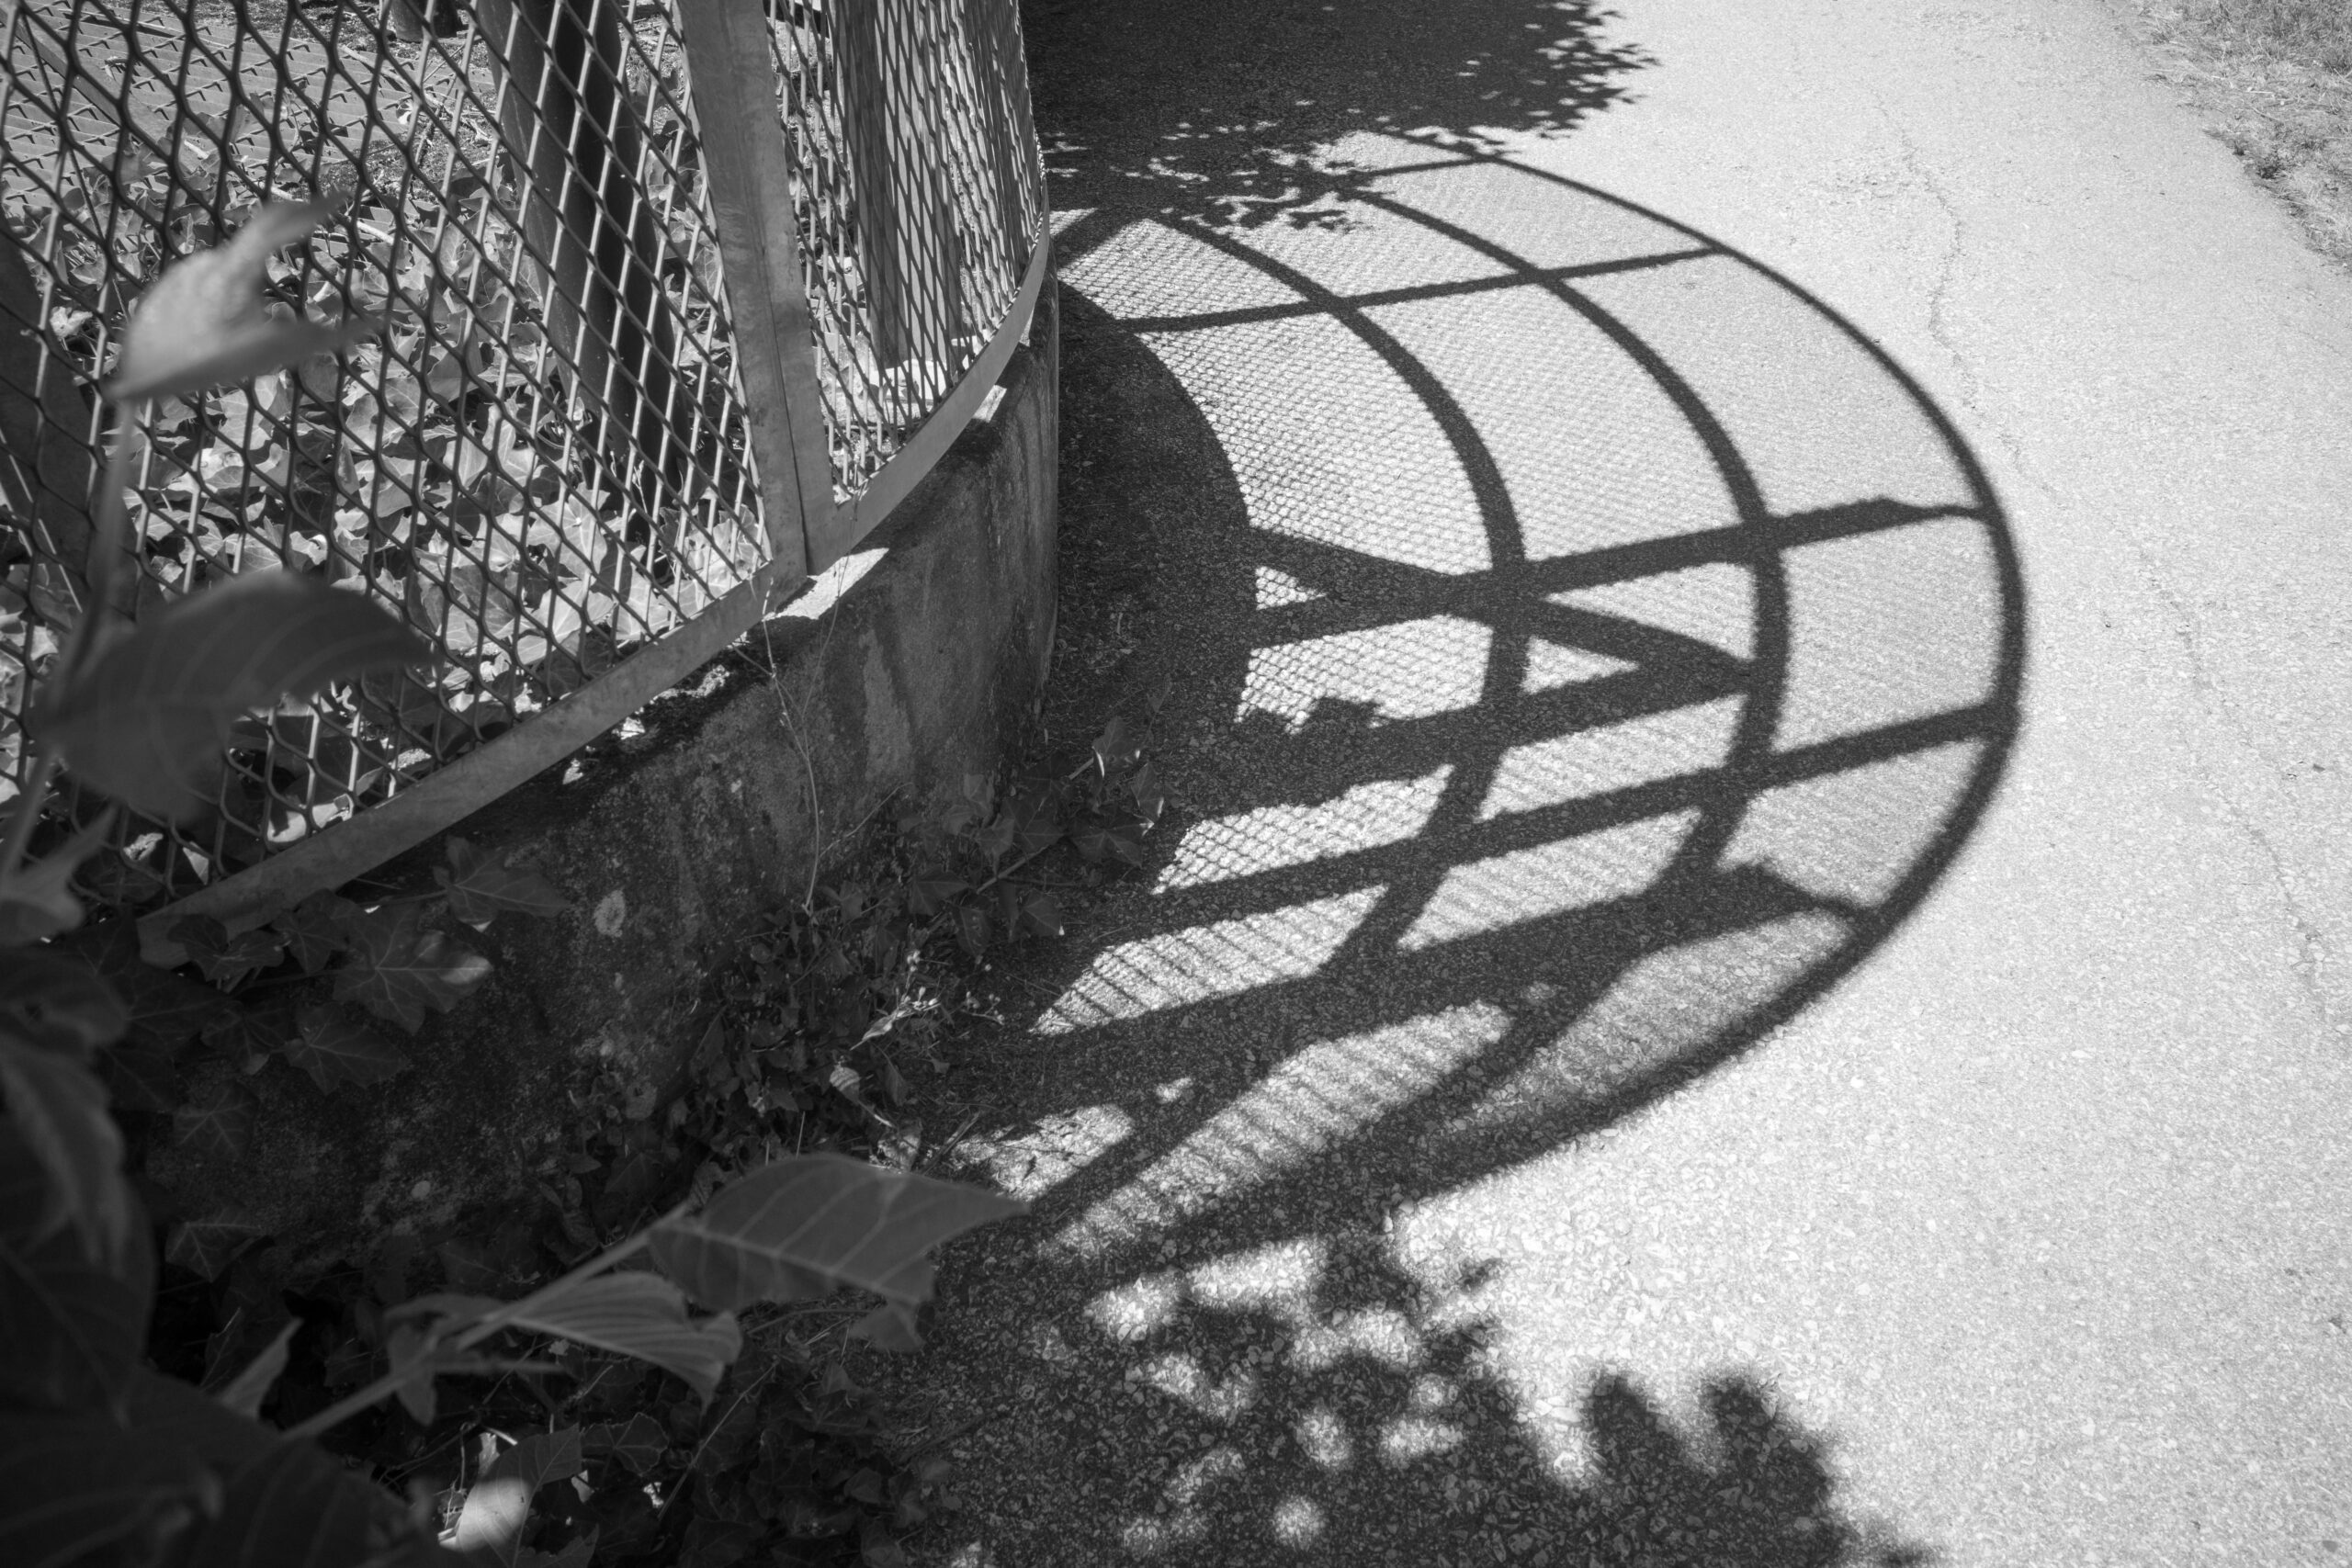
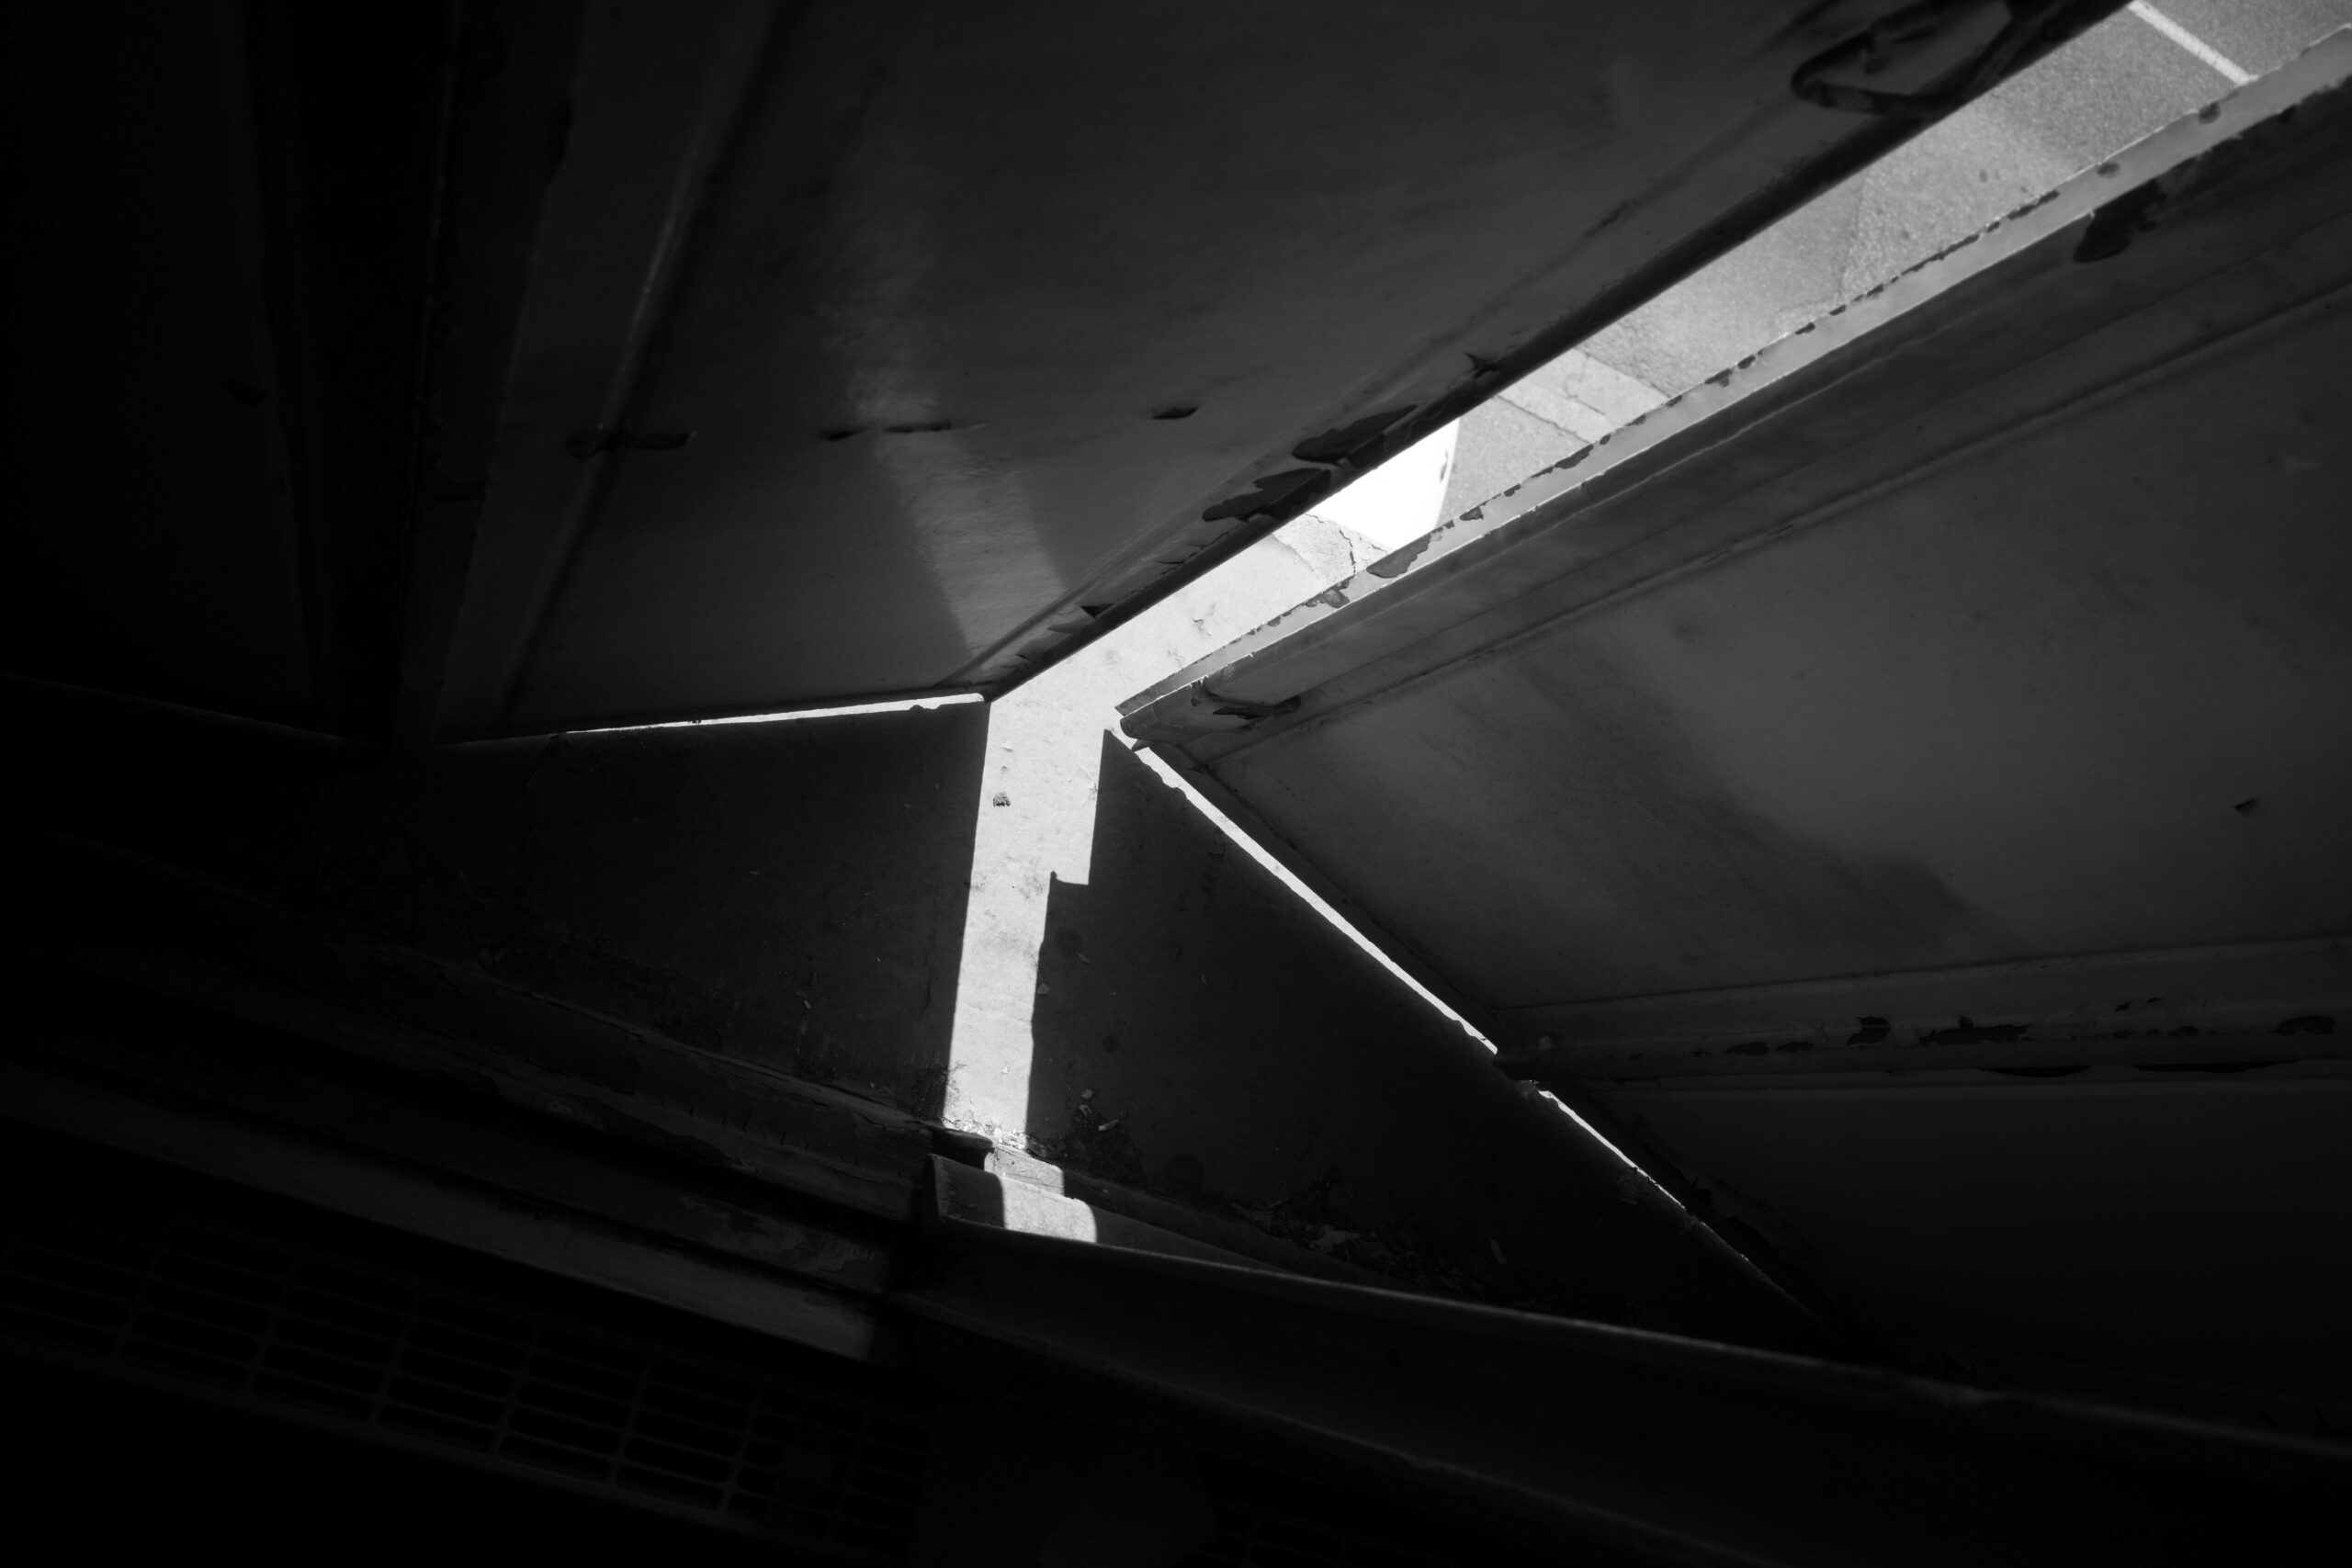
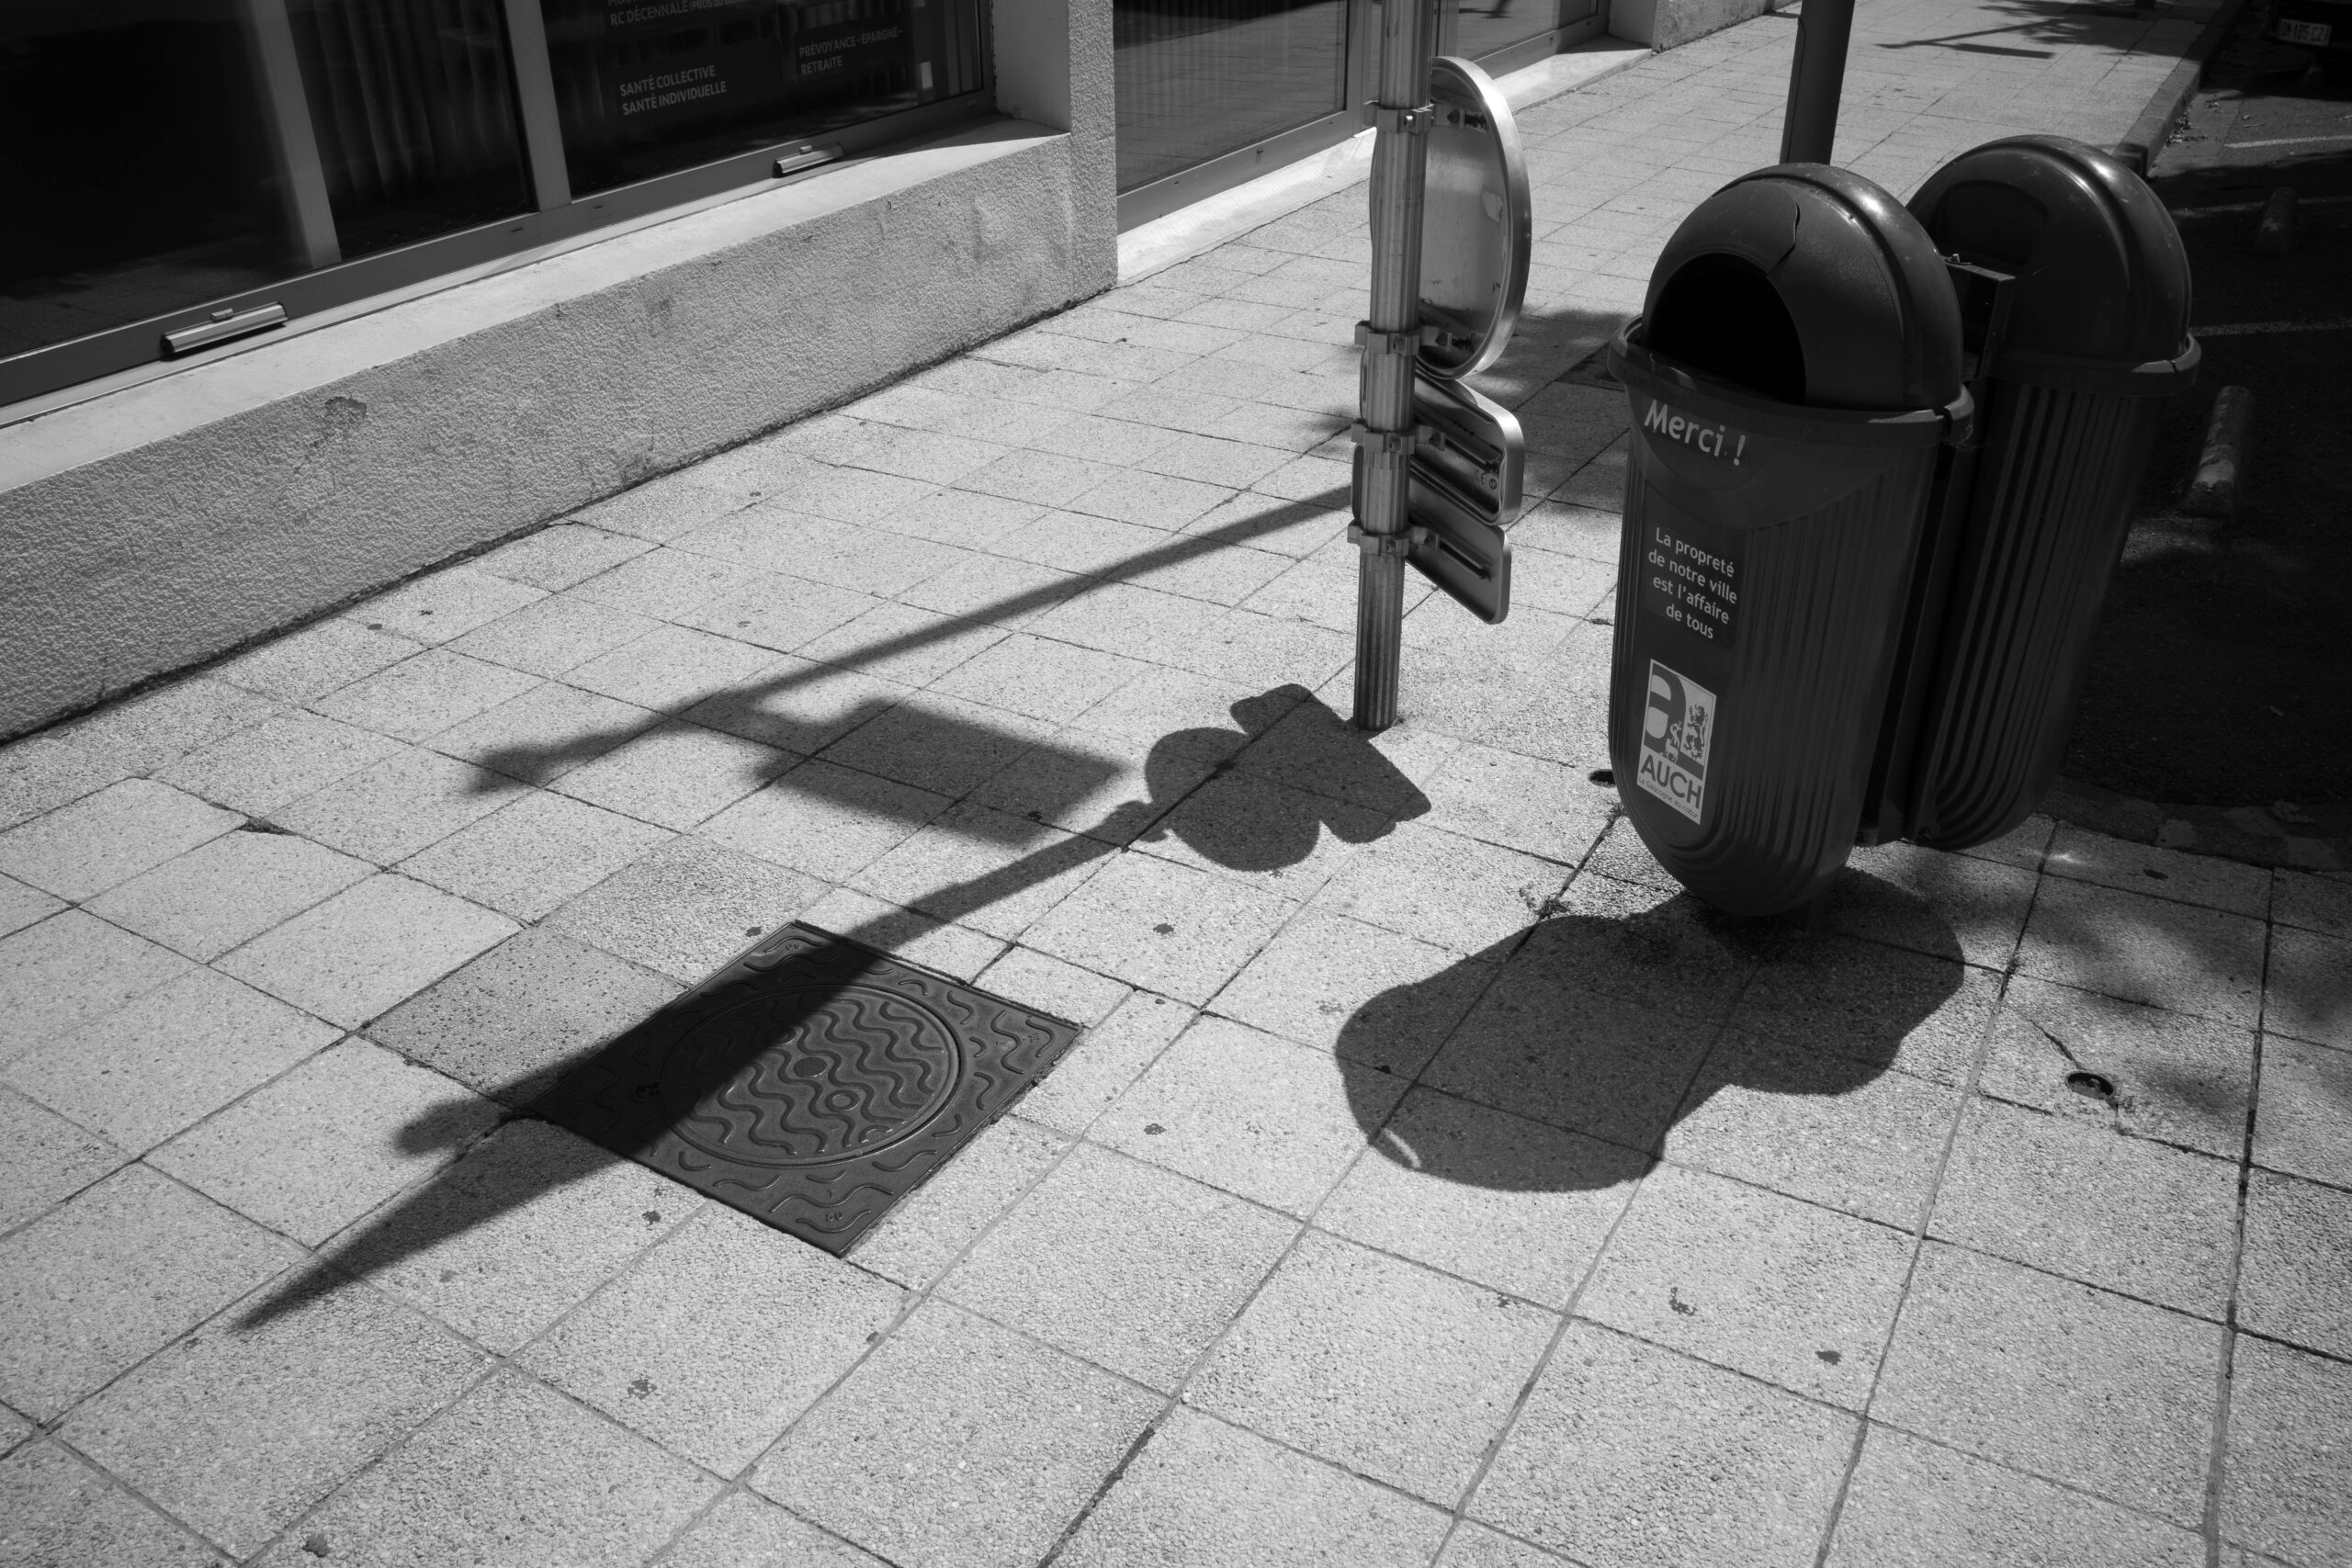
Well I’m having fun anyway – which is the whole point really…