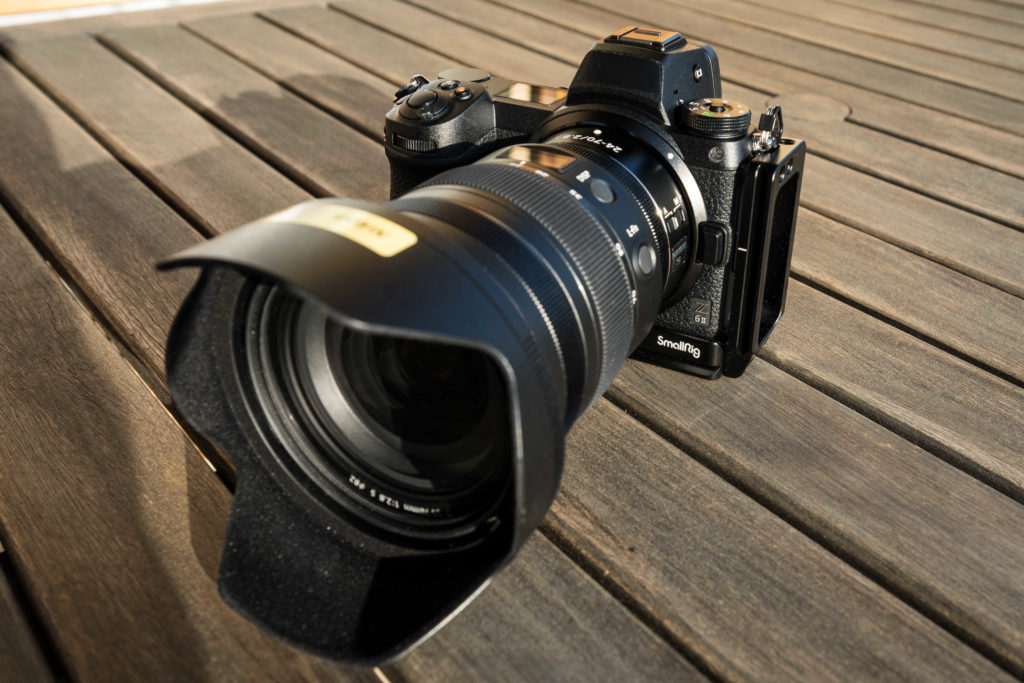
With the arrival of any new camera body, the first thing that has to be done is the initial setup. Camera settings are vital to making the camera useful and easy to use, and once you’ve fine tuned your camera, it’s handy to be able to recall these settings if need be.
Nikon, for instance, allow the camera settings to be saved to the memory card. This is very convenient if you have more than one camera body of the same type, as ‘cloning’ the original settings on to a new body is very easy.
This said, Nikon in their wisdom have decided that the second generation ‘Z’ series mirrorless bodies are NOT the same as the first series. This is frustrating as I have three setups which I use as ‘User’ settings, and instead of just copying these to a memory card and reloading them on the new body, I have to go through every setting, one by one.
With the arrival of the second generation Z6 camera body, I have setup the camera to use my ‘go to’ work settings as the ‘U2’ user defined function. ‘U1’ is for basic day-to-day settings (100 ISO, AF-C etc.) with the work settings on Auto-ISO (6400 ISO), exposure correction -1 etc.

Bear in mind there are a couple of possible errors that can occur when you’re programming the ‘U’ buttons. One of these is that certain camera settings cannot be modified between the ‘U’ numbers – the top screen, for example – if you decide, like me, to turn off the top screen for my U2 value, it’ll be off for ALL of the User settings – so double check after having selected or deselected values.
Another annoying thing is that the camera settings are recorded according to the initial position of the Mode dial – so if you inadvertently leave the Mode dial on ‘P’, make the setup changes and SAVE the settings to a ‘U’ button, the selected Mode will be P – if you never use P and always use A, this means you then have to go back and start again…believe me, it’s a PITA.
