Monumental WOT

(Waste Of Time)

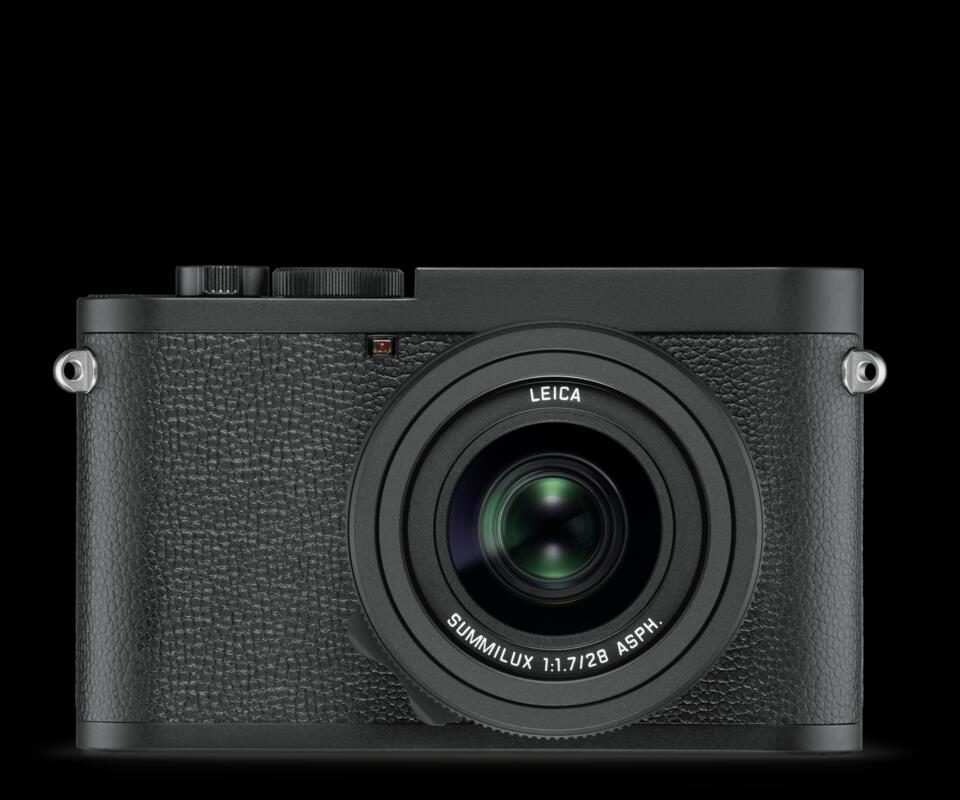
Yesterday NIKON announced the NIKON Zfc – instead of continuing to update and improve the existing range of full-frame mirrorless cameras, NIKON have been convinced (by God knows who) to launch a ‘retro’ styled APS-C mirrorless body.

Will this make anybody a better photographer? Will this correct ANY of the annoying little faults in the existing range of cameras? Will this die a death like the hopelessly over-rated (by NIKON) Df?

No, no, more than likely yes.

Who really needs an APS-C body? Particularly if, in keeping with the ‘S’ series lenses, and the ‘retro’ feel, new lenses are required…

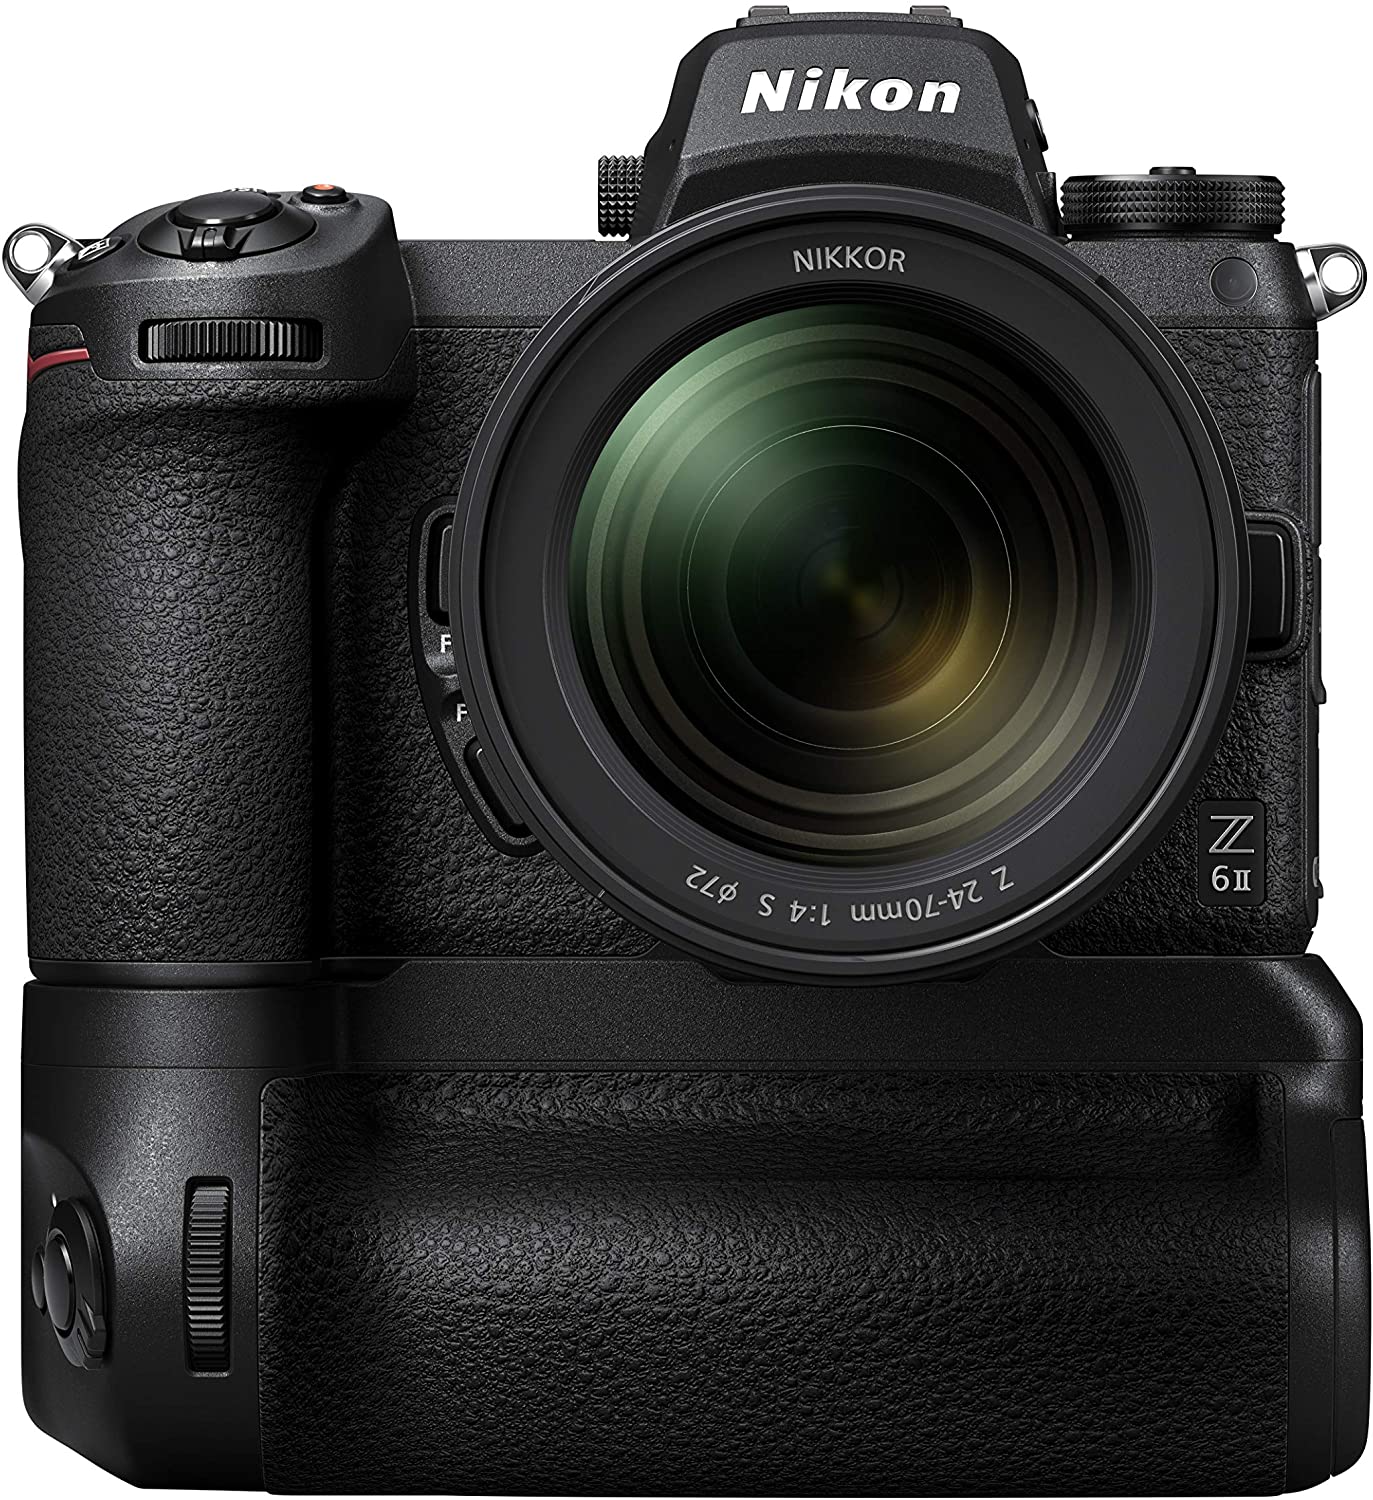
The price point is interesting – at time of launch there’s already a 100€ discount – normally priced at 999€ here in France, it’s available for 899€ body only. The NIKON Z5 (full frame) is available for 500€ more WITH a lens….

Sure, it’s small – but the Z series in general are by no means large…and the very useful grip at the right hand end of the camera has to be purchased as an optional extra…yeah sure, let’s go back to the FM2 – while we’re thinking of it, why not go back to the original ‘F’?

I can’t help thinking that NIKON management are launching this camera as a smokescreen to hide other, equally useless, developments. The ‘S’ series lens roadmap has still got a number of holes waiting to be filled, and using the Corona virus as an excuse for not being able to produce material is getting ridiculous. Why announce an item only to say, three days later, that there will be serious supply chain delays?

If you hadn’t already worked it out, this is a Z50 in a retro body…and you pay a premium for this ‘pleasure’ – 100$US more!

Sorry mates – not impressed. As an old friend of mine used to say, « nice try but no big cigar »

Swimming pools and tightrope walkers

June this year has really started with a bang. As for most of Northern Europe, it’s been wet and cold, but our planed escape to l’Hérault coincided with a massive change in temperature – reaching 35° one day this last week. Hence the « swimming pool » reference in the title.

Bargot-Grandjeans cooling off in the swimming pool

We had invited my daughters to spend a long weekend with us in our favourite B&B and when they all discovered the pool it was difficult to get them out. Even Jack, at 8 months, became a fan.

Nadia & Nico en-route…

Before the family arrived we decided to sign-up for a 3 hour walk around the area with Nico Bertin, a professional guide. The idea was to ‘discover’ part of the area and visit a winery at the end of the walk. We met up with Nico only to find that we were the only ones, so we had an excellent walk (4.5 hours – 12kl) topped off with a wine tasting in St Jean de Buèges.

This is the view from our bedroom window – a wonderful way to wake up and prepare ourselves for a huge breakfast!

La source de la Buèges

When the family arrived we had organised visits to different places that we’ve come across over the years of visiting this area. One of the, the source of the river Buèges is almost fairy-tale like, with clear blue water and a really beautiful, peaceful setting. While we were there I was able to take some half-decent portraits (these people never stop moving!)

We were only away a week, and a couple of days after we returned, the weather changed back to wet and windy – we were very lucky really. This change in the weather brought into doubt whether or not I would be able to photograph Tatiana (the tightrope walker) giving a show at the Château of Mons, near Condom. It rained and thundered all day – and even arriving at the château the weather was horrible – but luckily it dried up, and the 100 or so guests were able to watch her show.

Tatiana is a very talented « fil de feriste » (tight rope walker) and never seems the slightest bit phased by the prospect of dancing on a steel cord 5 metres (or 55 metres) above the ground. I’ve been following her since 2017 and she has never worn a safety harness, not even crossing the Gers to ‘walk’ to the cathedral in Auch, 50 metres off the ground.

Before the walk in Auch I had chatted to her and mentioned the rain that day – « Oh no problem » she said « if anything, it actually helps my shoes ‘stick’ to the rope ».

July should be interesting too – Welcome in Tziganie are finally able to stage their festival at the beginning of the month so photographically, it could be fun. I just hope the rain will finally stop…

The BIG picture…

Just come across this new lens adaptor from FOTODIOX.

Hasselblad V to NIKON Z mount

FOTODIOX are an American company that make camera and lens adaptors. I got to know of them when I discovered that they were the only company (at the time) that produced a filter holder for the bulbous front element of my NIKON 14-24 f/2.8 lens.

Anyway, this new adaptor is made to fit NIKON Z series cameras, and it allows the use of Hasselbald lenses – which is neat, ‘cos I’ve got a bunch of those…

What’s more, it allows the creation of much LARGER square images because the mount allows the camera to turn 360° – I’ll let FOTODIOX show how it’s done.

The photographer takes 4 images, one after another, turning the camera through 90° after each image is taken. Then it’s a simple matter to merge the images in Photoshop to produce the final square image – equivalent to a 46 x 46 mm square sensor.

This is an excellent idea, and for someone who likes square images, this could be great fun to try…I just have to find the 300$ to fund it…

I like straps…but I don’t….

A strap on a camera is a bit of a problem for me – I obviously need to be able to carry the camera when I’m not actually using it, but straps do tend to get in the way when you’re working, I find.

Op/Tech an American company, make an excellent strap, the Mirrorless Strap

This is a 40 cm strap, roughly 4cm wide with a non slip interior – this clips onto the long adjustable camera connectors (shown in the image above) so ideally you can detach the camera from the strap.

Yes, but…this still leaves the long connecters.

Peak Design came up with a very neat (and small) system for attaching things to cameras that they call Rapid Anchor links – these consist of a thin cord which fits through the D-rings on the camera, and a round plastic button which clips into the Peak Design camera straps. When these are fitted to the camera they are virtually invisible and don’t get in the way while using the camera. They also resist a weight of 90kg apparently…

Great – so now, how do we put the two together?

Simple – with these…

These are simply straps with the correct size snap links for the shoulder strap, and open ended flat braids which are the right size for the last item needed – the Peak Design Anchors

The flat braided strap passes through the top of the connector, and the round buttons clip into the lower half.

Now I can have a comfortable strap when I need one, and virtually nothing attached to the camera when I need that – simple!

Taking the piss…to a whole new level.

This is a camera that makes images in black and white.

LEICA Q2 Monochrom

This in itself is not really remarkable….and I can see the advantages. LEICA, the camera manufacturer, have been making B&W only models of a number of their digital cameras for some years now. This model, with a fixed 28mm lens, will set you back 5590€ (or ‘only’ 5090€ if you buy the Q2 version that makes color images.)

Yes, it’s expensive, but the build quality is exemplary, and as they only make 8 they have to make some profit after all.

What I find amazing is the text found at the end of the ‘what’s in the box’ list:

Le Leica Q2 MONOCHROM est fourni avec pare-soleil et son bouchon. Si vous préférez utiliser l’appareil sans pare-soleil, le bouchon livré n’est pas compatible. Le bouchon d’objectif est disponible en accessoire supplémentaire.

The LEICA Q2 MONOCHROM is supplied with a lens hood with it’s own lens cap. If you prefer to use the camera without the lens hood, the lens cap supplied will not fit the lens. The correct lens cap is available as an optional extra.

What the fuck???

Nikon Battery Grip

With the release of the updated mirror-less Z series ‘ll’ we now have to possibility to bolt on a brand new battery grip, the MB-N11

NIKON MB-N11 for Z6/Z7ll

It’s a hugely expensive piece of kit – and most sane human beings will ask how can NIKON have the balls to ask 400€ for a battery box?

It’s easy – it’s NIKON. Point.

The fact that mirror-less cameras burn through batteries at a rate of knots means that, with a single battery lasting less than an hour (in a production situation) it’s such a pain in the arse losing any temporary setup changes when you turn off the camera to replace the battery, that having two available makes perfect sense – yes, even at 400€, sadly.

The frustrating thing with this design is the ‘stalk’ that replaces the battery in the camera. Up until now, all the pro and semi-pro battery grips connected to the camera electronics via a set of contacts on the underside of the camera – making it a simple job of just screwing the. battery grip onto the camera and the job is done.

NIKON, for reasons best known to themselves, have decided that it’s a much better idea to make people take the battery door off, take the battery out, replace it with the battery grip, lose the battery door (or worse, break the tiny plastic hinge pins…) before being able to turn the camera on…

Brilliant – many thanks to the NIKON designers – sterling work my friends.

NIKON Z6 + battery grip MB-N11

This is what it all looks like once it’s in place. Sure, it does have the added shutter and AF-ON buttons and front and rear thumb wheels for adjustments in a vertical configuration, and with two batteries should last (me at least) a whole show…but I must be f*****g mad to pay all that….for this….but I probably will.

Back Button Focus

Just a couple of personal thoughts on Back Button Focus. I’m surprised at the number of people who don’t use this tool – it allows you to have a lot more control over what the camera is doing…

This is a NIKON mirrorless camera (but many NIKON cameras are similar) – and at the top right is a little button marked AF-ON. When you receive the camera, the default setting for the AF activation is the shutter button. To reassign this to the AF-ON button, go to the Custom Setting Menu and scroll down to a7 AF Activation.

a7 AF Activation Menu

Now you can select AF-ON only which will decouple the AF activation from the shutter button and assign it to the AF-ON button instead. Once you have scrolled to AF-ON only, click on the right arrow button which will display the Out-of-focus release menu. Select Enable

This allows the camera to make a picture even if the subject isn’t perfectly sharp.

Now all this actually gives you a lot more than just moving buttons.

1 : A first pressure on the shutter button will now lock the exposure setting.

2 : If the camera is setup correctly, with the Focus Mode (Photo Shooting Menu) set to AF-C Continuous AF, you will be able to control BOTH the exposure AND the autofocus at the same time, but independently.

Think of the flexibility – you can lock (or not) the exposure while independently controlling what the AF is doing – this is even more important when using the 3D AF tracking functions.

This takes a bit of getting used to, but everyone I’ve spoken to that has adopted this system are firmly convinced it’s the only way to go!

3D Squirrel

In an effort to test the new 3D Tracking firmware update, I waited for our ‘tame’ squirrel to come and find his breakfast this morning…this is the result

Squirrel – using 3D Tracking – NIKON Z7 105mm f/2.8 at f/8

I think you’ll agree – it’s sharp. And given the rapidity of the squirrels movements, I have to say I’m impressed…and eager to see what I can manage with circus performers who, agreed, move fast….but not that fast!

NIKON Z Series Firmware Updates

The latest series of NIKON Z series firmware updates (Z6/7 3.3, Z6ll 1.2) have finally convinced me to try 3D Tracking autofocus. The new firmware has made this much more precise and therefore more interesting to me, particularly with circus performers hurling themselves all over the place in front of my lens…

These settings were available from the previous firmware update – this update has just made them more accurate.

The 3D Tracking works very differently depending on which Focus Mode has been selected, and this can make a huge difference to the way you capture your images.

AF-S Single AF – once you have identified/selected the area/object to track, the camera will automatically follow the selection until you press the button to which you have assigned the 3D Tracking, turning it off – turning it again on allows you to change your selection.

AF-C Continuous AF – you must keep your finger on the AF-ON button to ‘force’ the 3D Tracking to follow the subject. Releasing the AF-ON button effectively resets the selection and you can select another area.

There are just three steps to setting up 3D Tracking autofocus.

Step 1 – In the Custom Setting Menu, select A7 – AF Activation and select AF-ON only. This will turn on the AF-ON button for focusing.(This should ALWAYS be activated, IMHO)

Step 2 – Still in the Custom Setting Menu, select F2 – Custom control assignment and set one of the buttons to Subject Tracking – I’ve chosen the Fn2 button by the lens

Step 3 – change the Focus mode to Auto-area AF – this is done by clicking the ‘I’ (info) button and using the joystick to navigate to the Focus mode logo – click on that and the choice of focus modes is displayed – select Auto-Area AF (at the right)

Using 3D tracking is relatively simple, but takes a bit of getting used to. When the Fn2 (in my example) button is pressed a large white square outline lights up in the middle of the viewfinder – point the camera to the area/object you wish to track and press the AF-ON button. Depending on the Focus Mode selected (AF-S Single point or AF-C Continuous) the camera will react differently.

As previously stated, in AF-S mode, once you have identified/selected the area/object to track, the camera will automatically follow the selection until you press the button to which you have assigned the 3D Tracking, turning it off – turning it again on allows you to change your selection.

In AF-C mode, you must keep your finger on the AF-ON button to ‘force’ the 3D Tracking to follow the subject. Releasing the AF-ON button effectively resets the selection and you can select another area.

The nice thing is that all of this can be saved to one of the ‘U’ settings – you could, for example, set U2 to Auto ISO, normal (spot) AF and U3 to the same Auto ISO but with 3D tracking – that way if the movement was too rapid for the camera using 3D tracking, you can quickly change back to ‘regular’ continuous AF with the U2 setting.

At my next circus residence I’ll be able to do some real-world testing of these two options – I’ll let you know how I get on.